Blog
Are You Making These 5 Costly Mistakes with Mycorrhizae for Plants? (Plus the Quick Fix)
Mycorrhizae are one of the most powerful tools in modern gardening, yet most growers unknowingly sabotage their investment with simple mistakes that prevent these beneficial fungi from doing their job. If you've been adding mycorrhizal inoculants to your garden without seeing the explosive root growth and nutrient uptake you expected, you're probably making one of these five costly errors.
The fact of the matter is, mycorrhizae can transform your plants' health and resilience: but only when applied correctly. These mistakes don't just waste your money; they can actually set your plants back weeks in development. Let's fix that.
Mistake #1: Drowning Your Mycorrhizae with Overwatering
This is the number one killer of mycorrhizal relationships, and it happens more often than you'd think. Many gardeners assume that keeping soil consistently moist creates ideal conditions for fungal growth. This is not the case.
Mycorrhizal fungi require oxygen to survive and establish their networks. When soil stays waterlogged, the fungi literally suffocate. Native drought-tolerant plants, in particular, will not become mycorrhizal if they stay too wet because the fungal spores cannot germinate in anaerobic conditions.
But here's the tricky part: letting plants dry out completely while they're trying to establish mycorrhizal relationships is equally problematic. Plants need approximately 20% of their energy reserves to commit to the symbiotic relationship with mycorrhizae. If they're stressed from drought, they simply won't have the resources to support the fungi.
The Quick Fix: Water so the top portion of your root ball is allowed to dry out between waterings. This creates the perfect balance: enough moisture for the fungi to remain viable while providing the oxygen-rich conditions they need to colonize roots. Check soil moisture 2-3 inches down before watering again.
Mistake #2: Applying Mycorrhizae in Extreme Heat
Temperature matters more than most gardeners realize. High temperatures of 140°F and above will kill mycorrhizal propagules before they ever get a chance to establish. This is particularly problematic during summer transplanting or in regions with intense heat.
Many growers make the mistake of applying mycorrhizae during the hottest part of the day or storing their inoculants in hot garages or sheds. The fungi are living organisms, and like most beneficial microbes, they're sensitive to temperature extremes.
The Quick Fix: Apply mycorrhizae during cooler parts of the day: early morning or late afternoon work best. Store your mycorrhizal products in a cool, dry place, ideally between 35-85°F. If you're transplanting during hot weather, consider waiting for a cooler day or creating shade cloth protection for newly inoculated plants.
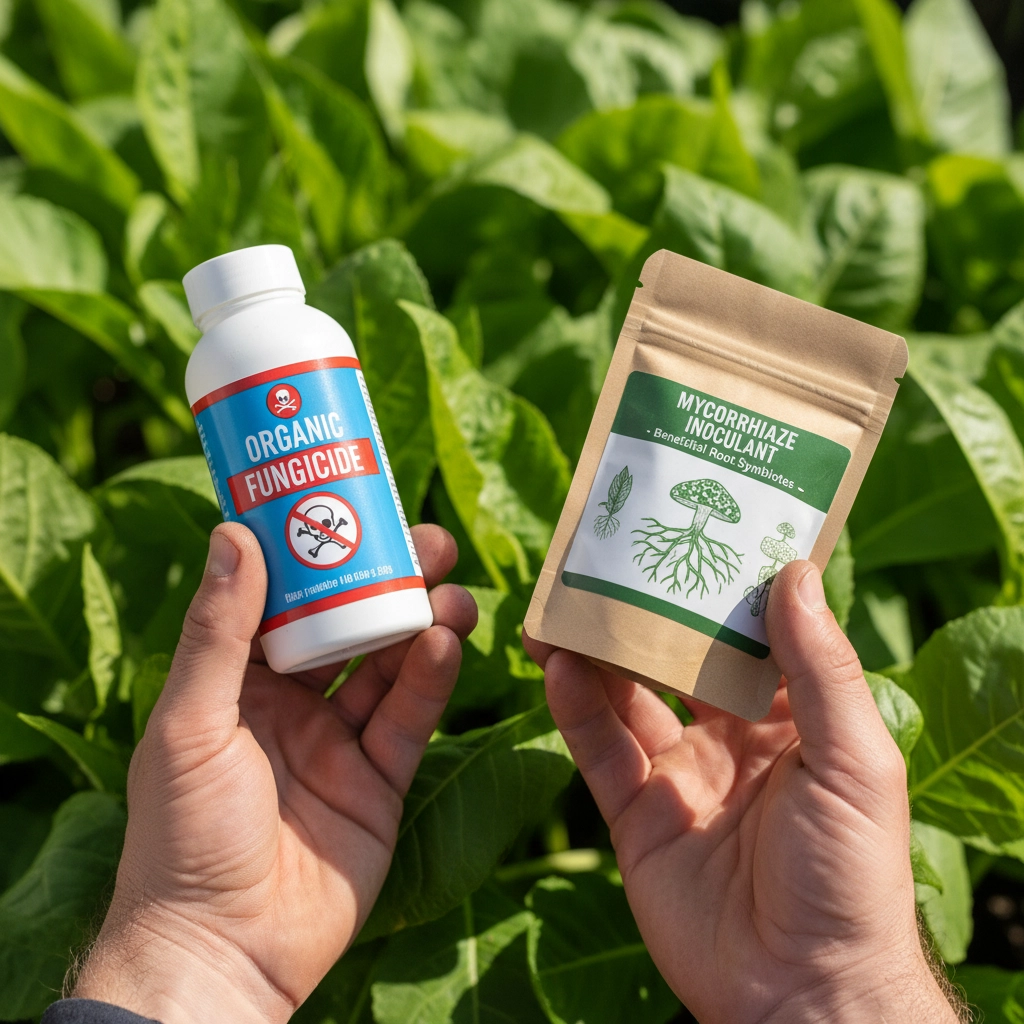
Mistake #3: Using Fungicides That Kill Your Investment
This mistake seems obvious, but it's surprisingly common. Gardeners will apply mycorrhizae one day, then spray fungicides the next, effectively undoing their work. Certain fungicides are particularly detrimental to mycorrhizal fungi viability, destroying the beneficial organisms you've just spent money introducing.
The problem compounds when dealing with persistent fungicides that remain active in the soil for weeks. Even organic gardeners can fall into this trap with copper-based fungicides or other "natural" treatments that still harm beneficial fungi.

The Quick Fix: Research fungicide compatibility before mixing products. Look for mycorrhizae-friendly fungicides or biological alternatives. Many beneficial bacteria and Trichoderma products work synergistically with mycorrhizae rather than against them. When you must use fungicides, wait at least 2-3 weeks before applying mycorrhizae, or apply the fungi to areas not treated with fungicides.
Mistake #4: Applying Mycorrhizae to High-Phosphorus Soils
High phosphorus levels won't kill mycorrhizae, but they will essentially put them into dormancy. Plants won't trigger germination of mycorrhizal spores when phosphorus is already abundant because they don't need the fungi's help accessing this nutrient.
This is particularly frustrating because one of mycorrhizae's primary functions is to solubilize phosphorus and make it available to plants. When phosphorus is already high, plants lose the incentive to form the symbiotic relationship, and your inoculant investment sits inactive in the soil.
Many commercial potting soils and fertilizers are loaded with phosphorus, creating this exact scenario. Gardeners wonder why their expensive mycorrhizal products aren't working, not realizing their soil chemistry is preventing colonization.
The Quick Fix: Test your soil phosphorus levels before applying mycorrhizae. Ideal P levels for mycorrhizal colonization are low to moderate: typically under 70 ppm. If phosphorus is high, reduce or eliminate phosphorus-heavy fertilizers for 4-6 weeks before inoculating. Focus on nitrogen and potassium during establishment phase.
Mistake #5: Poor Timing and Application Methods
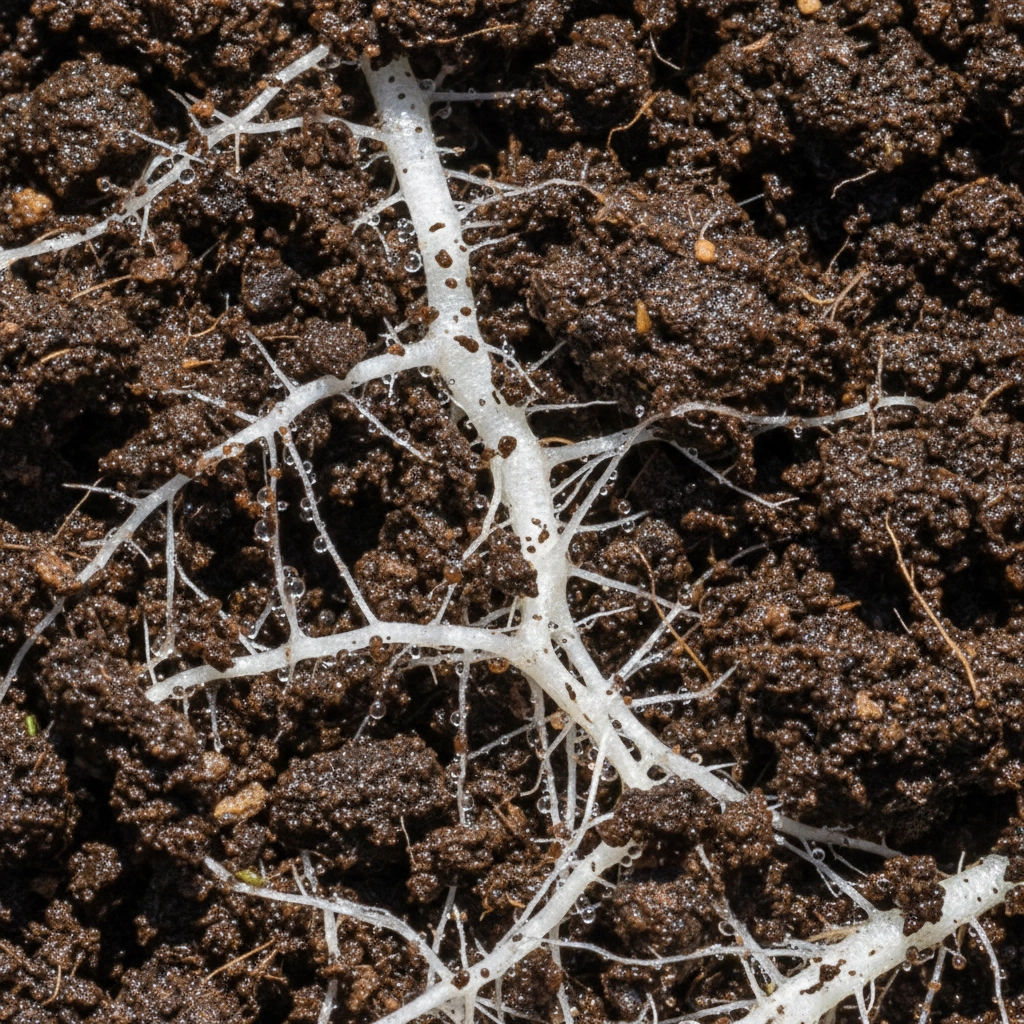
Timing is everything with mycorrhizae. Many gardeners apply the fungi as a soil amendment weeks before planting, or they sprinkle it on top of soil after plants are established. Neither approach provides the direct root contact necessary for colonization.
Mycorrhizal spores need root exudates to germinate: they literally need to "taste" the roots to know when to spring into action. Without direct contact, spores can remain dormant in the soil indefinitely. Additionally, expecting immediate visible results leads many gardeners to give up too quickly on what is actually a successful inoculation.
The Quick Fix: Apply mycorrhizae directly to roots during transplanting or as a root drench for established plants. Dust bare roots with dry inoculant, or mix it into transplant holes. For existing plants, create a solution and apply it near the root zone where it can be absorbed.
Be patient with results. Mycorrhizae begin working immediately at the cellular level, but visible benefits typically appear after 4-6 weeks of establishment. Full colonization and maximum benefits often take 8-10 weeks.
Understanding the Timeline: When Things Actually Happen
Setting realistic expectations prevents premature judgment about your mycorrhizae's effectiveness. Here's what actually happens:
- Days 1-10: Spore germination and initial root contact
- Weeks 2-4: Fungal network establishment begins
- Weeks 4-8: Visible improvements in plant vigor and stress resistance
- Weeks 8+: Full symbiotic benefits including enhanced nutrient uptake and drought tolerance
You can safely reapply mycorrhizae every 2-3 weeks during the establishment phase. Unlike chemical fertilizers, there are no negative effects from using more than the suggested amount: though over-watering with any additive can reduce soil oxygen levels.
Bonus Considerations That Make a Difference
Mulch Selection: Certain mulch types can negatively impact mycorrhizal establishment. Avoid fresh wood chips or high-carbon mulches that tie up nitrogen during the establishment phase.
Weed Management: Aggressive weeds can compete with or parasitize mycorrhizal networks before your desired plants benefit. Control weeds before inoculating for best results.
Soil Compaction: Heavily compacted soils prevent fungal network expansion. Light cultivation or the addition of organic matter improves mycorrhizal success rates.
Recommended Product: MYKOS by Xtreme Gardening

MYKOS is a concentrated endo-mycorrhizae inoculant that helps plants build larger, more efficient root systems, increase nutrient and water uptake, and reduce transplant shock. For best results, coat roots at transplant for direct contact, keep phosphorus moderate, and avoid overwatering as outlined above. Ready to put your mycorrhizae to work? Shop MYKOS and the rest of your mycorrhizae needs at Perfect Gardens—competitive pricing, fast shipping, and practical grower support when you need it.
The bottom line? Mycorrhizae are incredibly powerful when used correctly, but they're not magic. These five mistakes account for most failed inoculations and disappointed gardeners. By avoiding overwatering, temperature extremes, incompatible chemicals, high phosphorus levels, and poor application timing, you'll maximize your investment and create the thriving plant-fungal partnerships that define successful gardens.
Remember, you're not just applying a product: you're introducing living organisms that need the right conditions to thrive. Treat them as the valuable biological partners they are, and they'll reward you with healthier, more resilient plants that can better handle stress and extract nutrients from your soil.