Blog
From Zero to Harvest: The Complete Beginner's Guide to Compost Tea Brewers (Start This Weekend)
Sarah stared at her struggling tomato plants last spring, frustrated after spending hundreds on fertilizers that promised the world but delivered mediocre results. Then her neighbor Mike mentioned something called "compost tea" and how it transformed his entire garden in just one season. Fast forward six months, and Sarah's now the one neighbors ask for advice: all because she built a simple compost tea brewer in her garage over a weekend.
This isn't some complicated brewing operation that requires a chemistry degree. Compost tea is liquid gold for your plants: a living fertilizer packed with beneficial microorganisms that supercharge soil health and plant growth. The best part? You can have your own brewer built and bubbling away by Sunday afternoon.
Why Compost Tea Changes Everything
Think of compost tea as a probiotic smoothie for your plants. While regular fertilizers just dump nutrients into the soil, compost tea delivers an entire ecosystem of beneficial bacteria, fungi, and microorganisms that create lasting soil health. These microscopic helpers break down nutrients into forms plants can actually use, protect roots from diseases, and improve soil structure over time.
Mike learned this the hard way. "I was dumping synthetic fertilizers on my vegetable garden for years," he explains. "Plants would grow fast initially, then crash. The soil was dead: just dirt holding up plants on life support." After switching to compost tea, his soil transformed into dark, rich earth that holds moisture better and produces consistently healthy plants without constant feeding.
What You Actually Need (No Fancy Equipment Required)
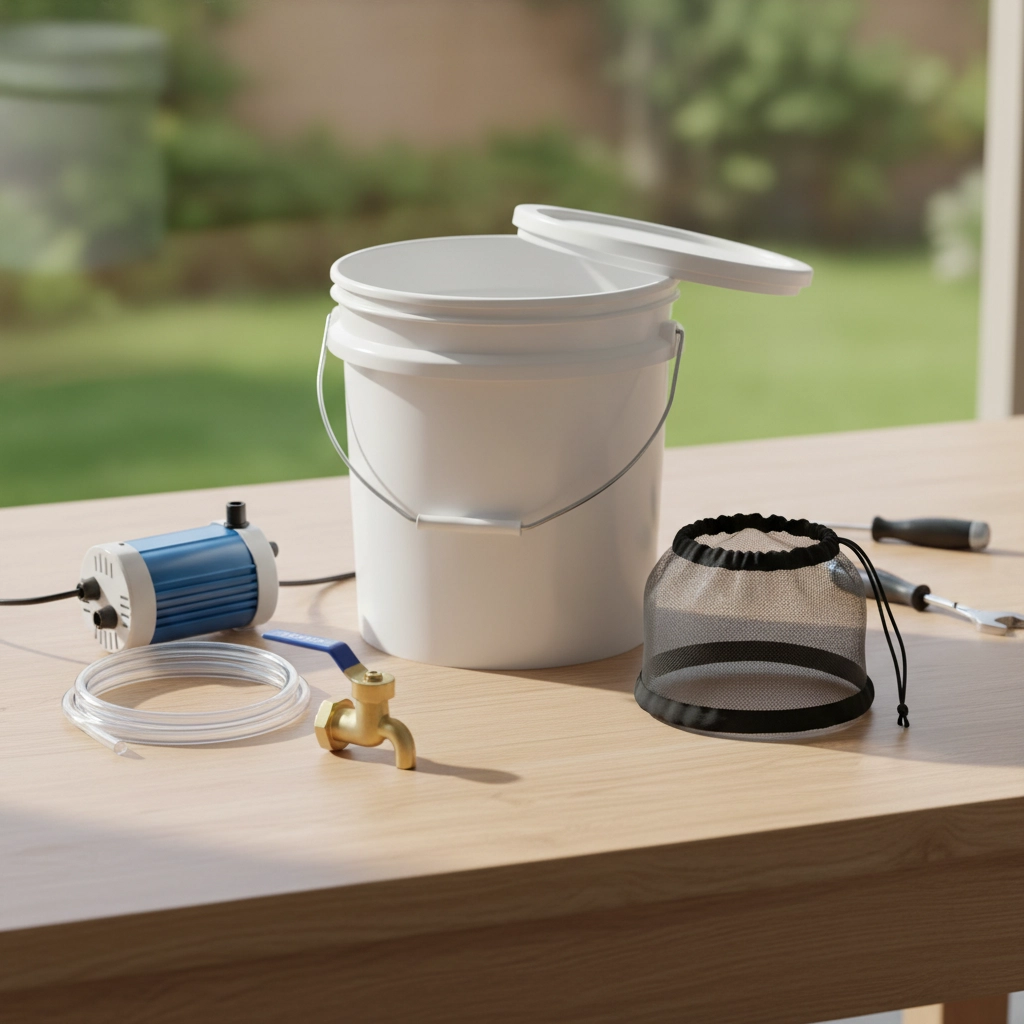
The beauty of starting with compost tea is that you probably have most components lying around already. Here's what successful first-time brewers like Sarah gathered for their weekend builds:
Your Brewing Container: Start with a food-grade 5-gallon bucket. Skip the 55-gallon barrels for now: they're overkill for beginners and harder to manage. Sarah found hers at a local bakery for free (they toss dozens weekly after using them for frosting).
Aeration System: You need an electric air pump: the kind used for aquariums works perfectly. This is your only real purchase if you don't have one already. The pump keeps beneficial microorganisms alive by providing constant oxygen.
Delivery Components: Clear vinyl tubing connects your pump to the brewer. You'll also want a simple spigot near the bottom for easy dispensing. Mike recommends avoiding fancy ball valves: basic spigots work better and cost less.
Brewing Bag: A large paint strainer bag or nut milk bag (about 12x12 inches) holds your ingredients while letting the good stuff steep into the water. These cost under $5 at hardware stores.
Total investment for a functional brewer? Under $40 if you buy everything new, often much less if you scrounge components.
Building Your Weekend Warrior Brewer
The 5-gallon bucket method is perfect for beginners because it's forgiving, portable, and produces enough tea for most home gardens. Here's how Sarah tackled her build:
Saturday Morning Setup: Start by drilling two holes in your bucket. The first goes about 2 inches from the bottom for your air hose: just big enough for the tubing to fit snugly. The second hole, positioned about 4 inches from the bottom, accommodates your spigot.
Sarah's tip: "Drill slowly with a sharp bit. I cracked my first bucket rushing this step."
Aeration Assembly: Thread your air hose through the bottom hole and connect it to your pump with the vinyl tubing. The hose should reach nearly to the bucket's bottom to maximize bubbling action. Seal around the hole with aquarium-safe silicone if needed.
Spigot Installation: Install your spigot with rubber washers on both sides and wrap the threads with teflon tape to prevent leaks. Position it high enough that sediment won't clog it, but low enough that you can drain most of the tea.
Testing Phase: Fill your bucket with water and run the pump for 30 minutes. You should see vigorous bubbling throughout. If bubbles are weak, check for air leaks in your connections.
The Foolproof Beginner Recipe
Once your brewer passes its test run, making your first batch is surprisingly straightforward. Sarah's neighbor Tom, who's been brewing for three years, shared this beginner-friendly recipe that works consistently:
For 5 Gallons of Tea:
- 5 gallons of non-chlorinated water (rainwater is ideal, but dechlorinated tap water works)
- 1 cup high-quality finished compost
- 1 cup worm castings
- 1 tablespoon liquid kelp or soluble seaweed extract
The Brewing Process: Fill your brewer with water and run the aeration for one hour if using tap water: this removes chlorine that would kill beneficial microorganisms. Place all solid ingredients in your brewing bag and suspend it in the water using binder clips attached to the bucket rim.
Continue aerating for exactly 24 hours at around 72°F. Tom emphasizes timing: "I set phone alarms. Too short and you don't get full microbial activity. Too long and the tea goes anaerobic and starts smelling like sewage."
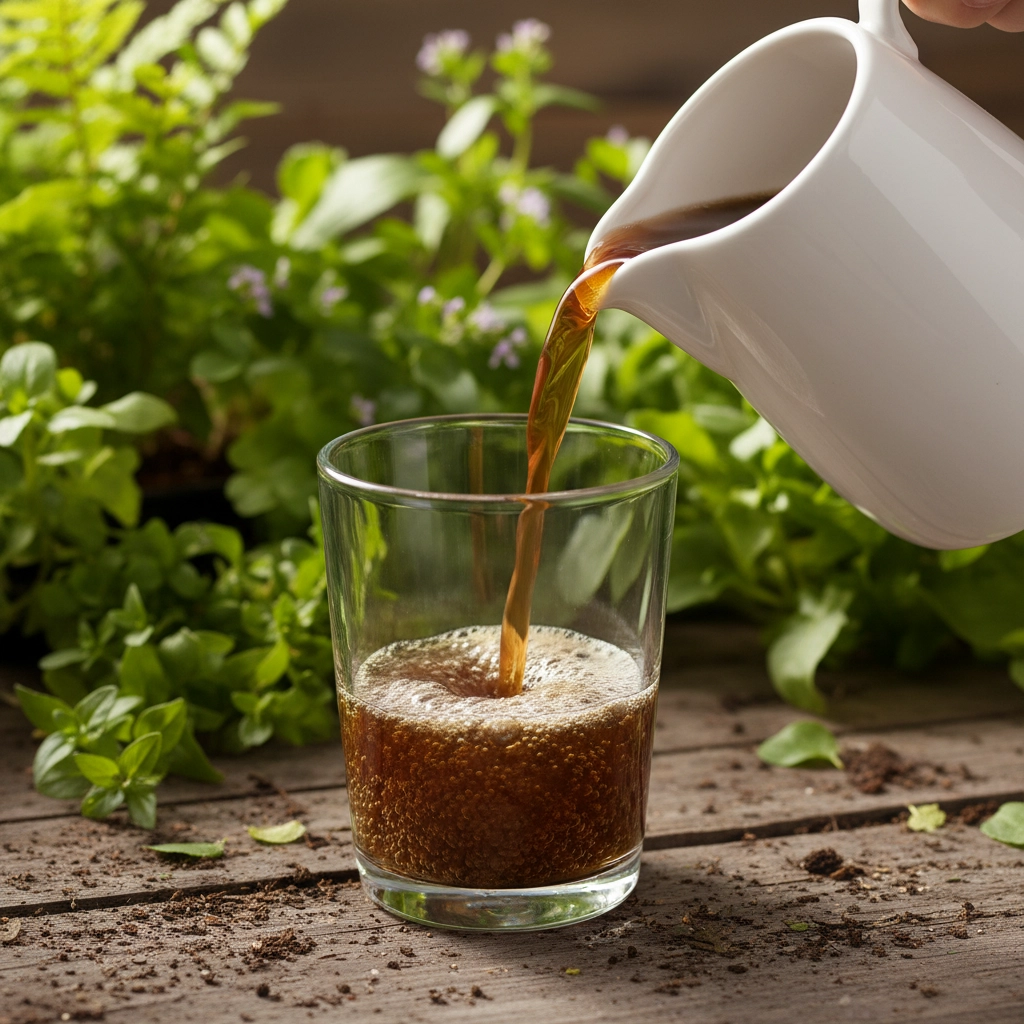
After 24 hours, remove the brewing bag (save the solids for your compost pile), strain the tea through cheesecloth if desired, and apply immediately for maximum benefit.
Real-World Success Stories and Lessons Learned
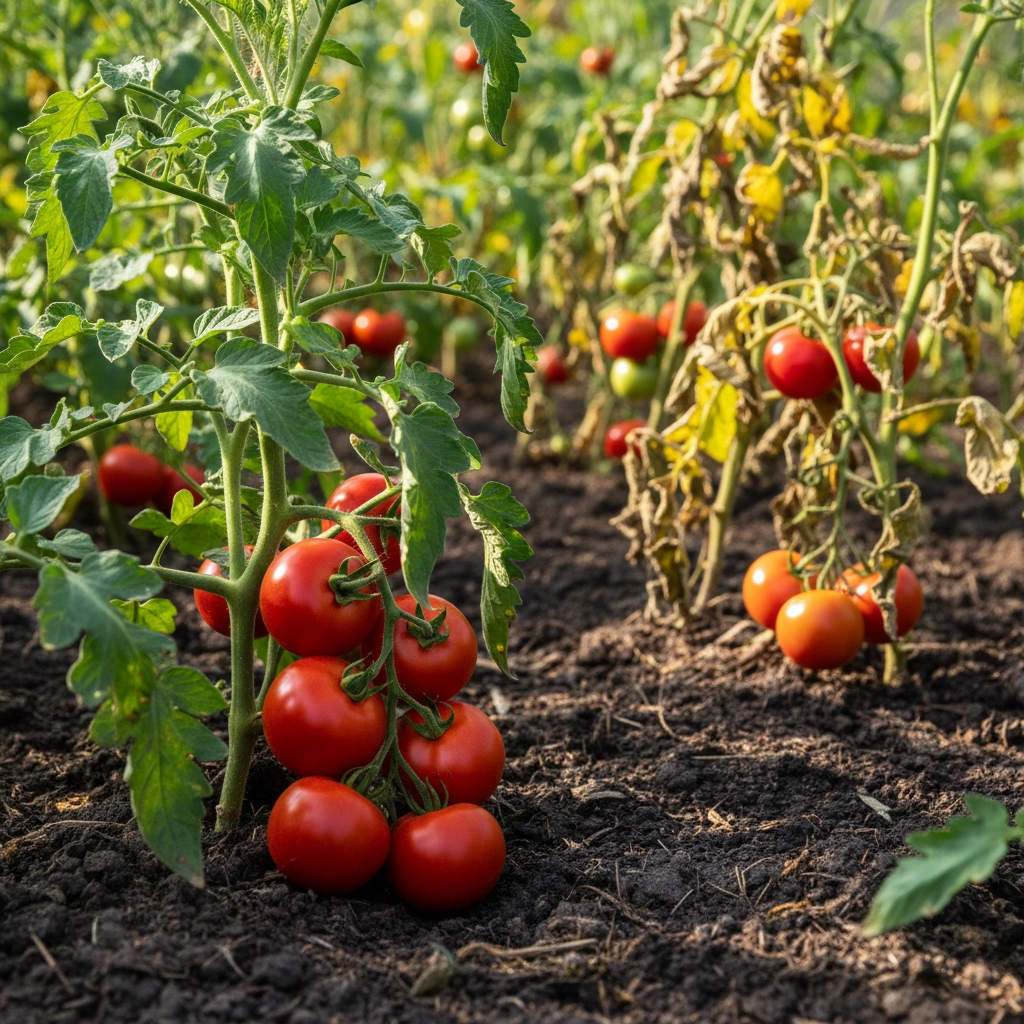
The proof is in the growing. Sarah's tomatoes, which struggled to produce 20 pounds of fruit the previous season, yielded over 60 pounds after regular compost tea applications. "The plants looked healthier, handled heat stress better, and the fruit actually tasted better," she notes.
Mike saw similar results with his roses. "I was battling black spot and aphids constantly. After switching to compost tea, both problems virtually disappeared. The roses bloom continuously now instead of in waves."
But it's not always smooth sailing. Tom learned some hard lessons during his first year:
Temperature Matters: Hot summer brewing can turn tea anaerobic quickly. "I lost three batches when temperatures hit 85°F because I stuck to the 24-hour rule. Now I reduce brewing time to 18 hours when it's hot."
Water Quality Is Critical: City water with chloramines (not just chlorine) can kill your microbial brew even after aeration. "I switched to collecting rainwater after several weak batches. Made all the difference."
Fresh Application Is Key: Compost tea loses potency rapidly after brewing. Sarah learned this when she made a big batch for the week: "Plants showed minimal response to day-old tea compared to fresh stuff. Now I brew smaller batches more often."
Advanced Tips from Seasoned Brewers
Once you've mastered basic brewing, experienced growers like Tom suggest these upgrades:
Ingredient Experimentation: After your first successful batches, try adding molasses (1 tablespoon per 5 gallons) to feed beneficial bacteria or fish emulsion for extra nitrogen. Different plants respond to different additives.
Application Timing: Early morning or evening applications work best. "I learned not to spray during peak sun," Tom explains. "UV can kill the microorganisms you just brewed."
Dilution Strategies: While some growers apply full-strength tea, others dilute 1:1 with water for foliar feeding or sensitive plants. Experiment to find what works for your garden.
Equipment Maintenance: Clean your brewer thoroughly after each batch to prevent biofilm buildup that can harbor harmful bacteria. Sarah uses a diluted bleach solution, then rinses extensively before the next brew.
Scaling Up: When You're Ready for More
Success with the 5-gallon system often leads to bigger ambitions. Tom upgraded to a 25-gallon system after his first season: "I was brewing twice a week to keep up with my expanding garden. The larger system lets me make enough for neighbors too."
Larger systems require more robust aeration: multiple air stones and stronger pumps: but follow the same basic principles. Tom recommends mastering the small system first: "You'll make mistakes learning. Better to waste 5 gallons than 25."
Some growers eventually install permanent systems with timers and multiple brewing vessels for continuous production. "It sounds extreme, but when you see the results, it makes sense," Mike notes.
Your Weekend Action Plan
Here's your realistic timeline for getting started this weekend:
Saturday Morning (2-3 hours): Source your bucket, drill holes, and assemble the basic brewer. Test with water to ensure proper aeration and no leaks.
Saturday Afternoon: Gather your ingredients: compost, worm castings, and seaweed extract. Fill with dechlorinated water and start aerating.
Saturday Evening: Add your brewing bag with ingredients. Set up your pump in a location where it can run undisturbed for 24 hours.
Sunday Evening: Harvest your first batch of compost tea. Apply immediately to see which plants respond best in your specific garden conditions.
Most first-time builders finish their setup in a few hours and have drinkable tea by Sunday night. Sarah's advice for nervous beginners: "Start simple and don't overthink it. The plants will tell you if you're doing it right."
Your garden will never be the same once you discover what living soil can do. Those beneficial microorganisms are waiting to transform your growing space: you just need to give them the right environment to thrive.