Blog
How to Set Up Automatic Watering Stakes in 5 Minutes
Let's be honest: watering your plants consistently is one of those things that sounds simple until life gets in the way. You forget one day, overcompensate the next, and suddenly your root zone is either bone dry or swimming in stagnant water. Neither scenario ends well.
That's where automatic watering stakes come in. These ceramic-tipped devices (like Blumat stakes) deliver water on-demand, directly to your plants based on soil moisture levels. No timers. No guesswork. And the best part? You can have them up and running in about five minutes.
This guide walks you through the entire setup process, step by step. We'll also cover why this method pairs perfectly with the no-runoff watering strategy: keeping your root zone oxygenated and your precious trace minerals right where they belong.
Why Automatic Watering Stakes Are a Game-Changer
Before we dive into the how-to, let's talk about why these little ceramic cones deserve a spot in your grow space.
Traditional watering methods: whether by hand or on a timer: tend to have one major flaw: they don't respond to what the plant actually needs. You either water on a schedule (which doesn't account for temperature, humidity, or growth stage) or you eyeball it (which is hit or miss at best).
Automatic watering stakes solve this by using a moisture-sensing ceramic tip. When the soil dries out, the clay cone draws water from your reservoir through the tubing. When the soil is moist enough, the flow stops. It's passive, elegant, and incredibly effective.
Here's what makes them ideal for serious growers:
- Consistent moisture levels – No more wet/dry cycles that stress your plants.
- Supports no-runoff watering – Delivers small, frequent doses instead of flooding the pot.
- Keeps oxygen in the root zone – Fresh water means fresh oxygen with every micro-watering.
- Prevents stagnant water buildup – Water doesn't sit and go anaerobic.
- Perfect for busy schedules – Set it up once and let it do its thing.
If you've read our recent post on the no-runoff watering method, you know that water starts to stagnate after about 8 hours. Automatic watering stakes align perfectly with this philosophy: providing consistent, on-demand moisture without ever creating runoff that flushes away vital trace minerals.

What You'll Need
Before you start, gather the following:
- Ceramic watering stakes (Blumat Classic or similar)
- Flexible tubing (usually included with the stakes)
- A water reservoir (bucket, jug, or collapsible tank)
- A bowl of water (for soaking the ceramic tips)
- Optional: T-connectors and shut-off valves (for multi-plant setups)
Most kits come with everything you need. If you're setting up multiple plants, look for a kit that includes T-bar connectors so you can run one reservoir to several stakes.
Step-by-Step: Setting Up Your Automatic Watering Stakes
Here's the five-minute breakdown. Seriously: once you've done this once, it becomes second nature.
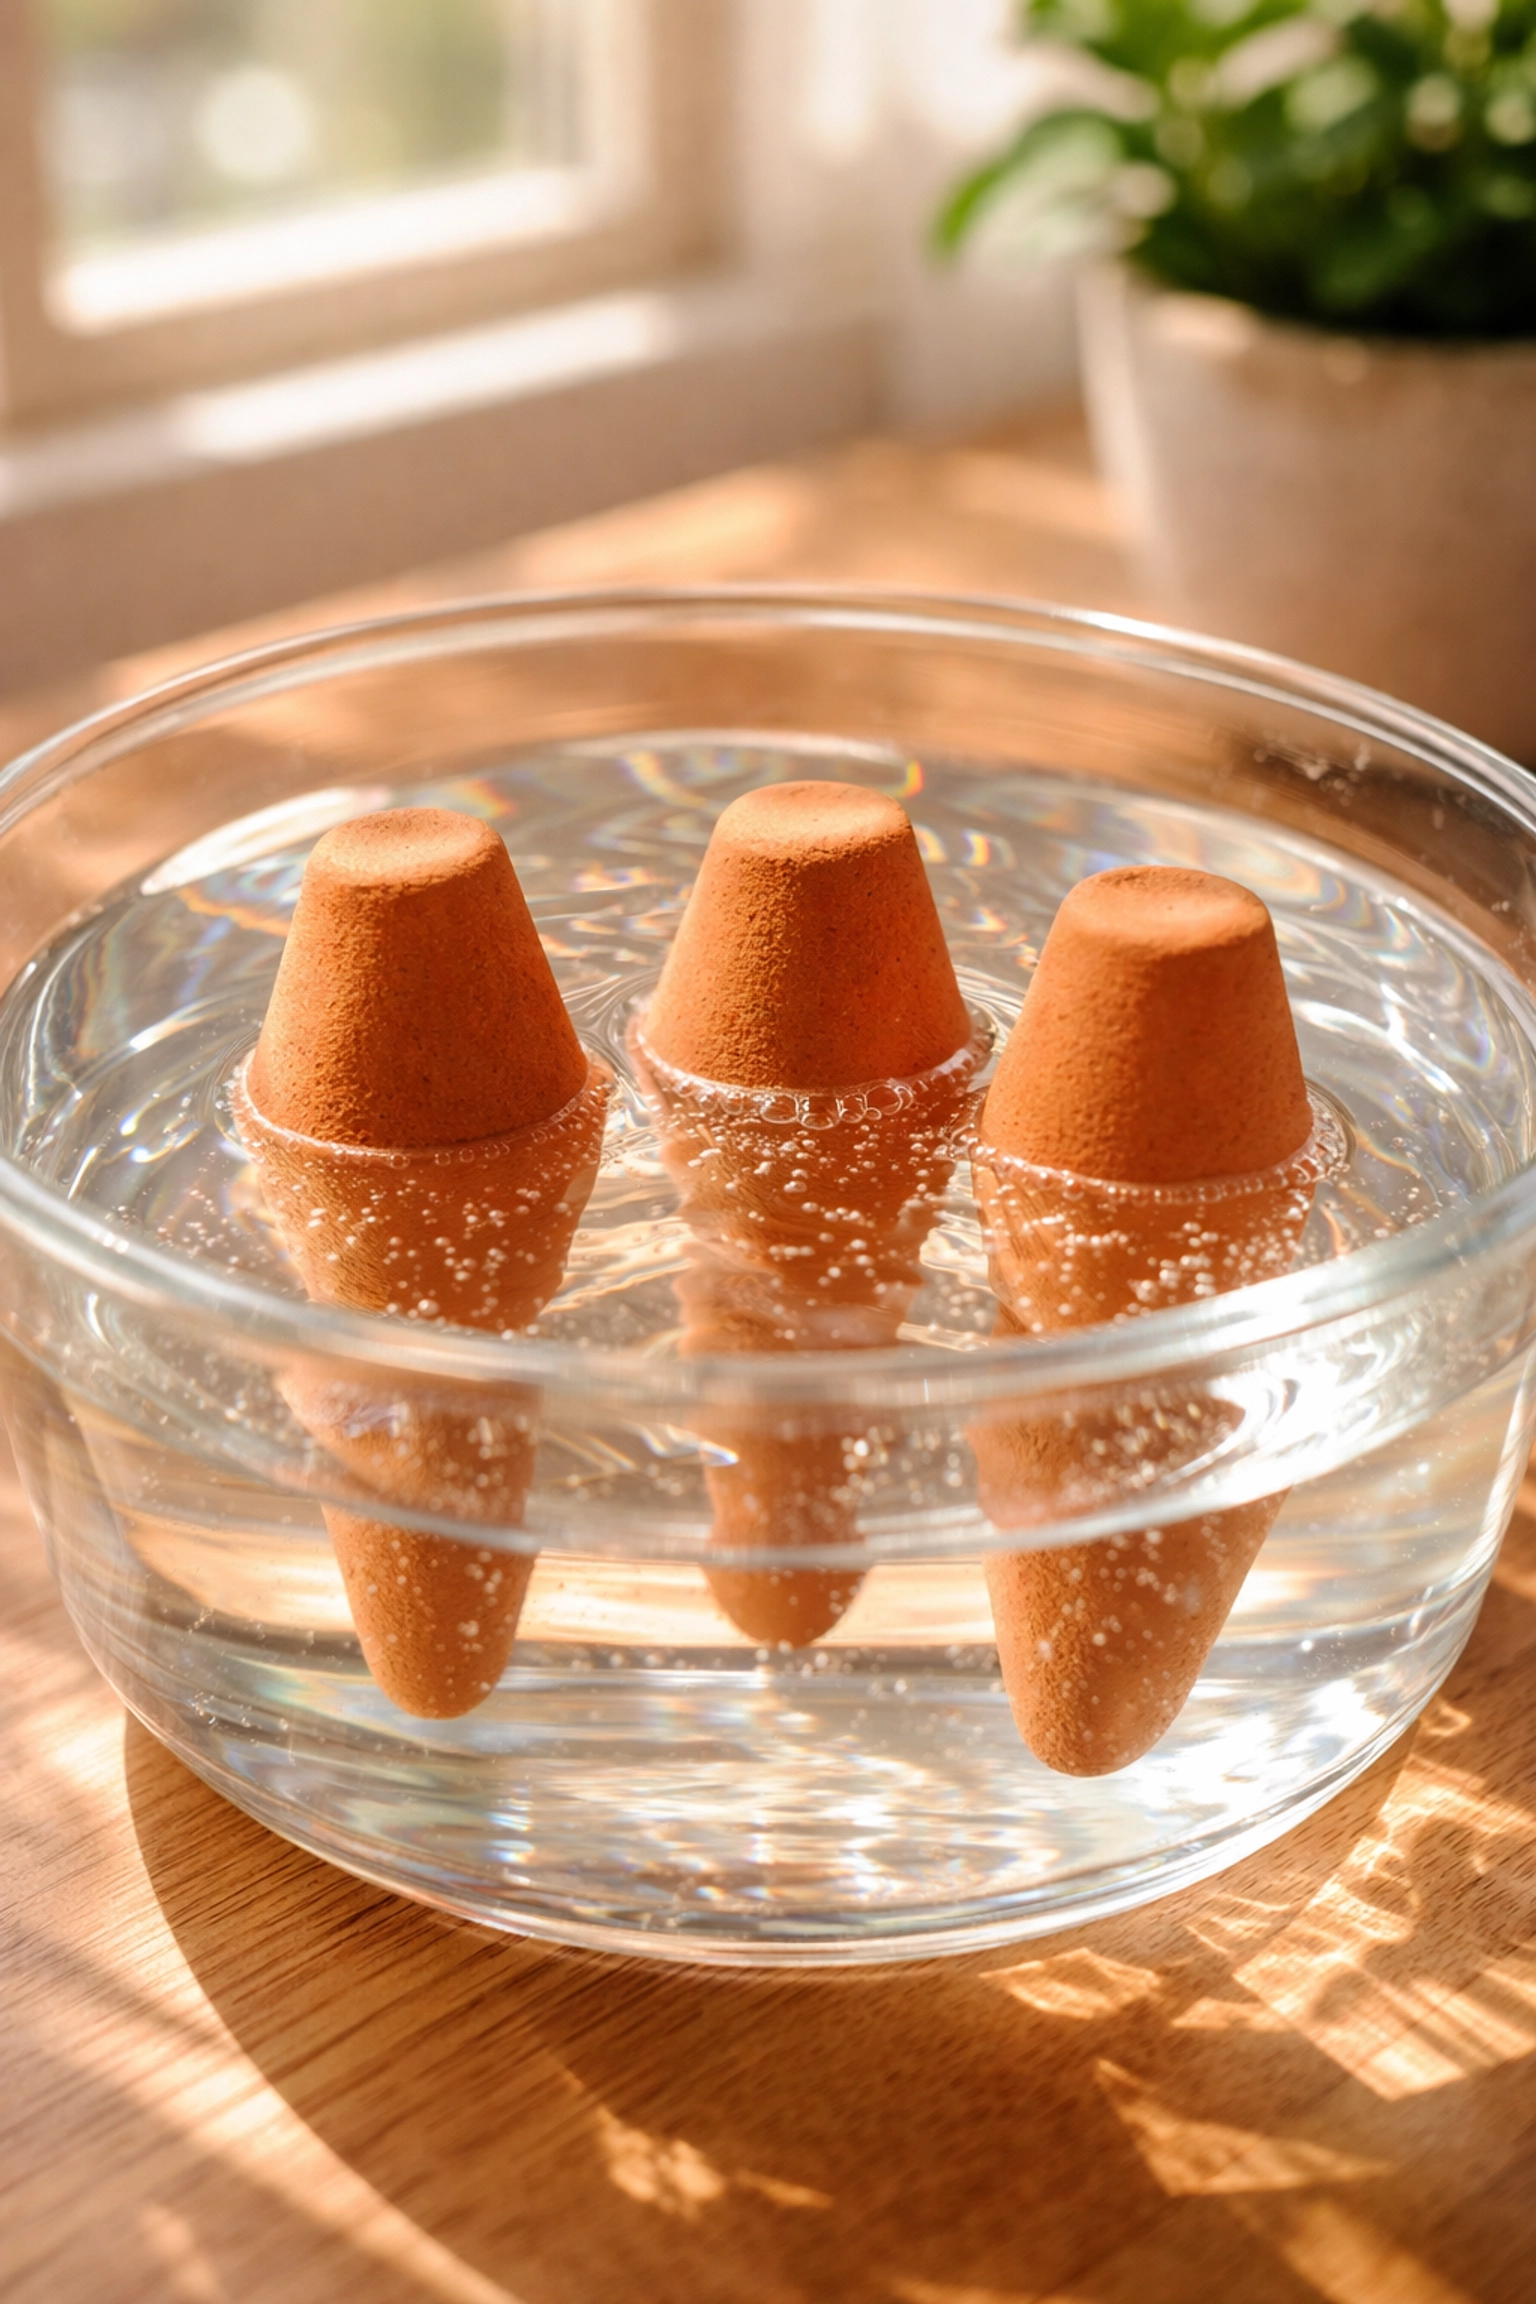
Step 1: Soak the Ceramic Tips
Fill a bowl with water and submerge the ceramic cones for at least 10–15 minutes. This saturates the porous clay, which is essential for the moisture-sensing mechanism to work properly.
Why this matters: If the ceramic isn't fully saturated, it won't create the suction needed to draw water from the reservoir. Dry ceramic = no flow.
While the tips are soaking, you can prep your reservoir and tubing.
Step 2: Fill the Stakes with Water
Once the ceramic tips are soaked, remove the green cap from each stake. Fill the hollow body of the stake completely to the brim with water: no air pockets.
Pro tip: Keep the ceramic tip submerged while you fill the stake. This prevents air from getting trapped inside, which can block water flow later.
After filling, press the cap back on firmly. The stake should now be a sealed, water-filled unit with a saturated ceramic tip.
Step 3: Connect the Tubing to Your Reservoir
Attach one end of the tubing to the stake's cap fitting. Place the other end into your water reservoir.
Here's a trick that speeds things up: Attach the cap to the tubing while both are submerged in water. This pushes out any remaining air bubbles and allows watering to start almost immediately once you insert the stake into the soil.
Your reservoir can be as simple as a 5-gallon bucket or as fancy as a collapsible water tank with volume markings. Just make sure it's clean and positioned near your plants.

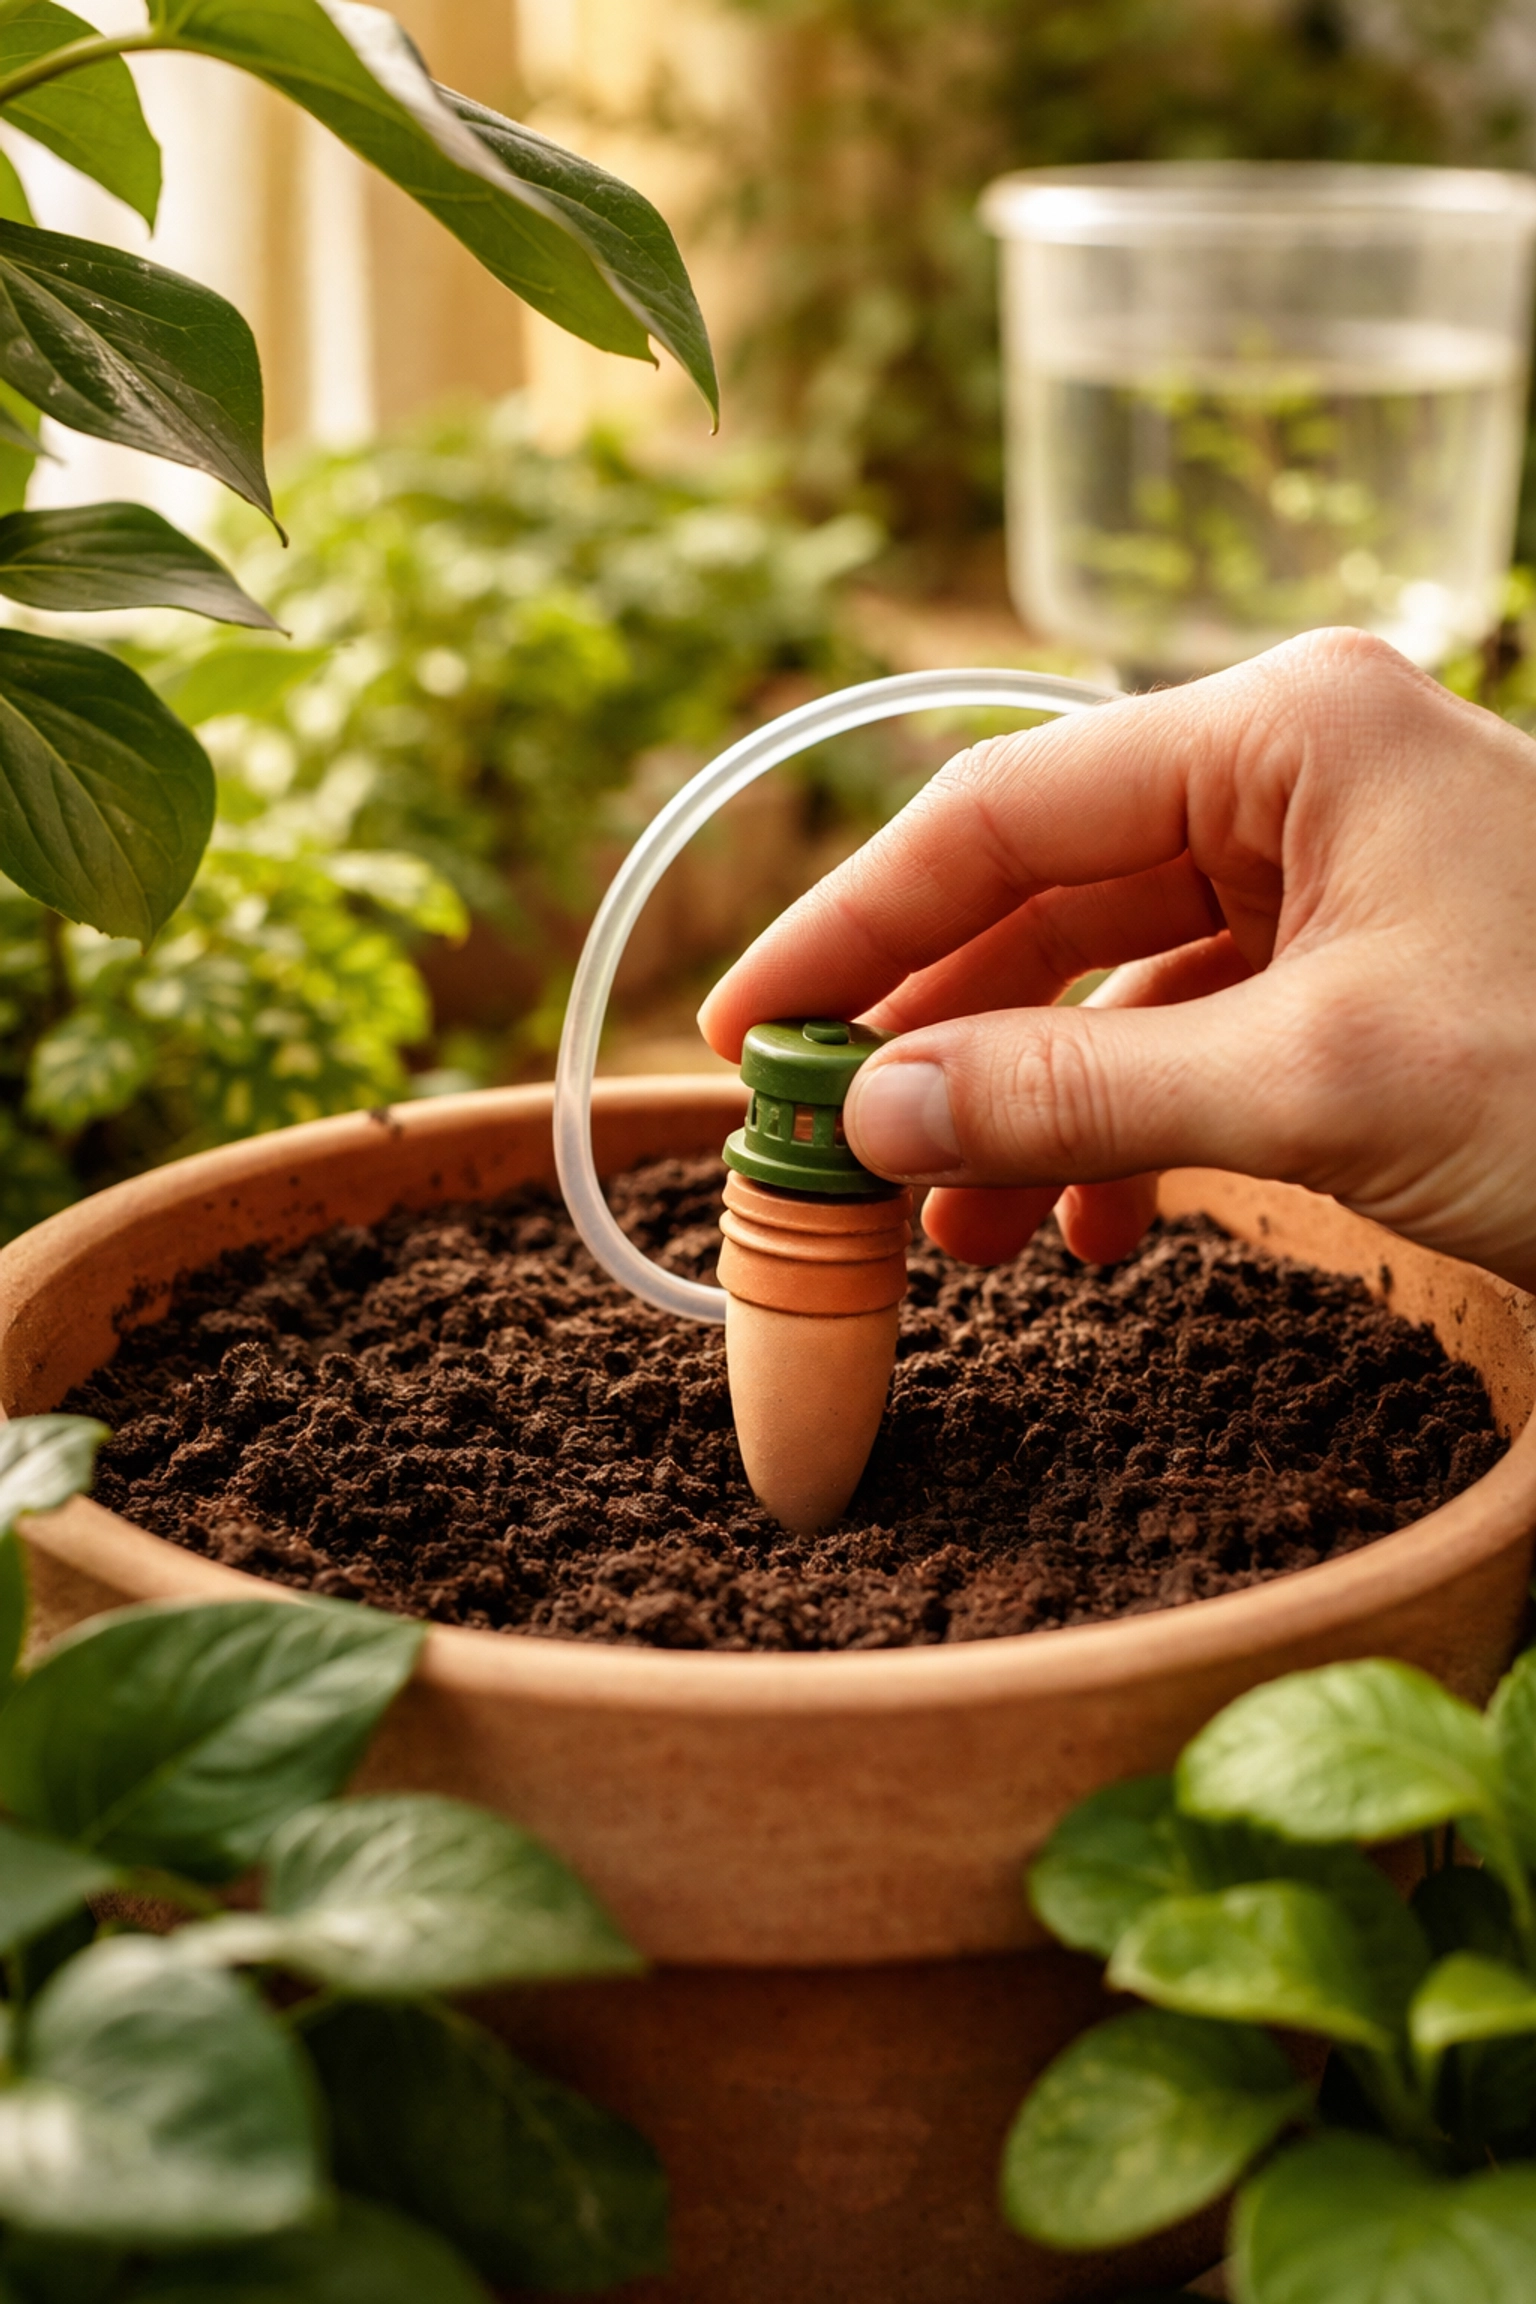
Step 4: Place the Stakes in the Soil
Now comes the fun part. Push the ceramic cone into the soil near the plant's root zone. The entire clay tip should be underground: only the plastic body and cap should be visible above the soil surface.
Placement tips:
- Position the stake about 2–3 inches away from the main stem.
- For larger pots, you may want 2–3 stakes per container for even coverage.
- Make sure the soil around the ceramic tip is in firm contact: no air gaps.
If you're running multiple stakes from one reservoir, use T-connectors to split the tubing. Most kits include these, and they're straightforward to install.
Step 5: Fine-Tune the Flow
This is where you dial things in. The water flow rate depends on two main factors:
- Reservoir height – The higher the reservoir relative to the plant, the more water pressure (and faster flow). Lower it for a slower drip.
- Soil moisture level – The stakes self-regulate based on how dry the soil gets. Drier soil = more suction = more water drawn.
For the first day or two, keep an eye on your soil moisture. If the soil seems too wet, lower your reservoir or slightly loosen the cap to reduce suction. If it's too dry, raise the reservoir or check for air bubbles in the tubing.
Once you find the sweet spot, the system basically runs itself.
How This Supports the No-Runoff Strategy
Here's where automatic watering stakes really shine for growers who care about root health and nutrient retention.
The no-runoff method is all about figuring out exactly how much water your pot can absorb daily: without any water ever coming out the bottom. Why? Because every time water flushes through your pot, it carries away tiny trace minerals that are essential for enzyme production and overall plant health.
Automatic watering stakes align perfectly with this approach:
- Small, frequent doses – Instead of drenching the soil once a day, stakes deliver water in micro-amounts throughout the day.
- No runoff – The system only provides what the soil can absorb, so nothing drains out the bottom.
- Oxygenated root zone – Fresh water coming in means fresh oxygen for your roots, preventing that stagnant, anaerobic environment that develops when water sits too long.
- Trace minerals stay put – Your Drops of Balance and other micronutrients remain in the root zone where bacteria can access them for enzyme production.
If you've been overwatering (and most growers do at some point), switching to automatic stakes can be a revelation. Your plants get consistent moisture, your minerals stay in the pot, and you stop playing the guessing game.
Common Mistakes to Avoid
Even though the setup is simple, there are a few pitfalls to watch out for:
- Not soaking the ceramic long enough – Give it a full 15 minutes. Rushing this step causes flow problems.
- Air bubbles in the tubing – These block water flow. Submerge everything during assembly to prevent them.
- Reservoir too low – If gravity isn't helping, water won't flow. Elevate your reservoir at least a few inches above the pot.
- Dirty reservoir water – Algae and debris can clog the system. Use clean water and consider covering your reservoir to block light.
- Forgetting to refill the reservoir – The system only works if there's water to draw from. Check levels every few days.
Final Thoughts
Automatic watering stakes won't solve every problem in your garden, but they're one of the simplest upgrades you can make for consistent, stress-free watering. They're especially valuable if you're following a no-runoff approach and want to keep your root zone oxygenated without flushing out precious trace minerals.
Setup takes about five minutes once you get the hang of it. And once it's dialed in, you can spend less time worrying about watering schedules and more time watching your plants thrive.
If you have questions about integrating automatic watering into your grow setup: or want recommendations on which stakes work best with our soils and nutrients: head over to our Grow Help Videos or Contact Us directly. We're always happy to help.