Blog
One HERMIE Can RUIN Everything!
Hey everyone, Mark here from Perfect Gardens. I got another great question from one of my VIP clients, Adam Wall. He's an incredible human being: seriously motivational. He does have a disability and speaks a little slow, but don't let that fool you. His content is worth your time. I'll make sure to link his channel in the description of the original video.
Adam asked me: "If one of your plants hermies, what do you do about it? How do you fix the environment so that when you put new plants in, they don't also produce seeds?"
Great question. And honestly, it's one that doesn't get talked about enough: especially by commercial growers who think they can just remove the plant and move on. Spoiler alert: it's not that simple.
Let's break this down.
What Exactly Is a "Hermie"?
If you're new to growing or just getting into the hobby, let me give you a quick rundown of how plant reproduction works.
A male plant produces pollen sacs. A female plant produces flowers. When pollen from a male reaches a female flower, seeds are created. That's the natural cycle: male pollen plus female flower equals seeds.
But sometimes, you get a plant that decides to do both jobs at once. This is called a hermaphrodite plant, or what growers affectionately (or not so affectionately) call a "hermie."
A hermie develops both male and female reproductive parts on the same plant. This means it can self-pollinate: and if it's in a room with other female plants, it can pollinate those too. The result? Seeds in your buds. Not what you want.
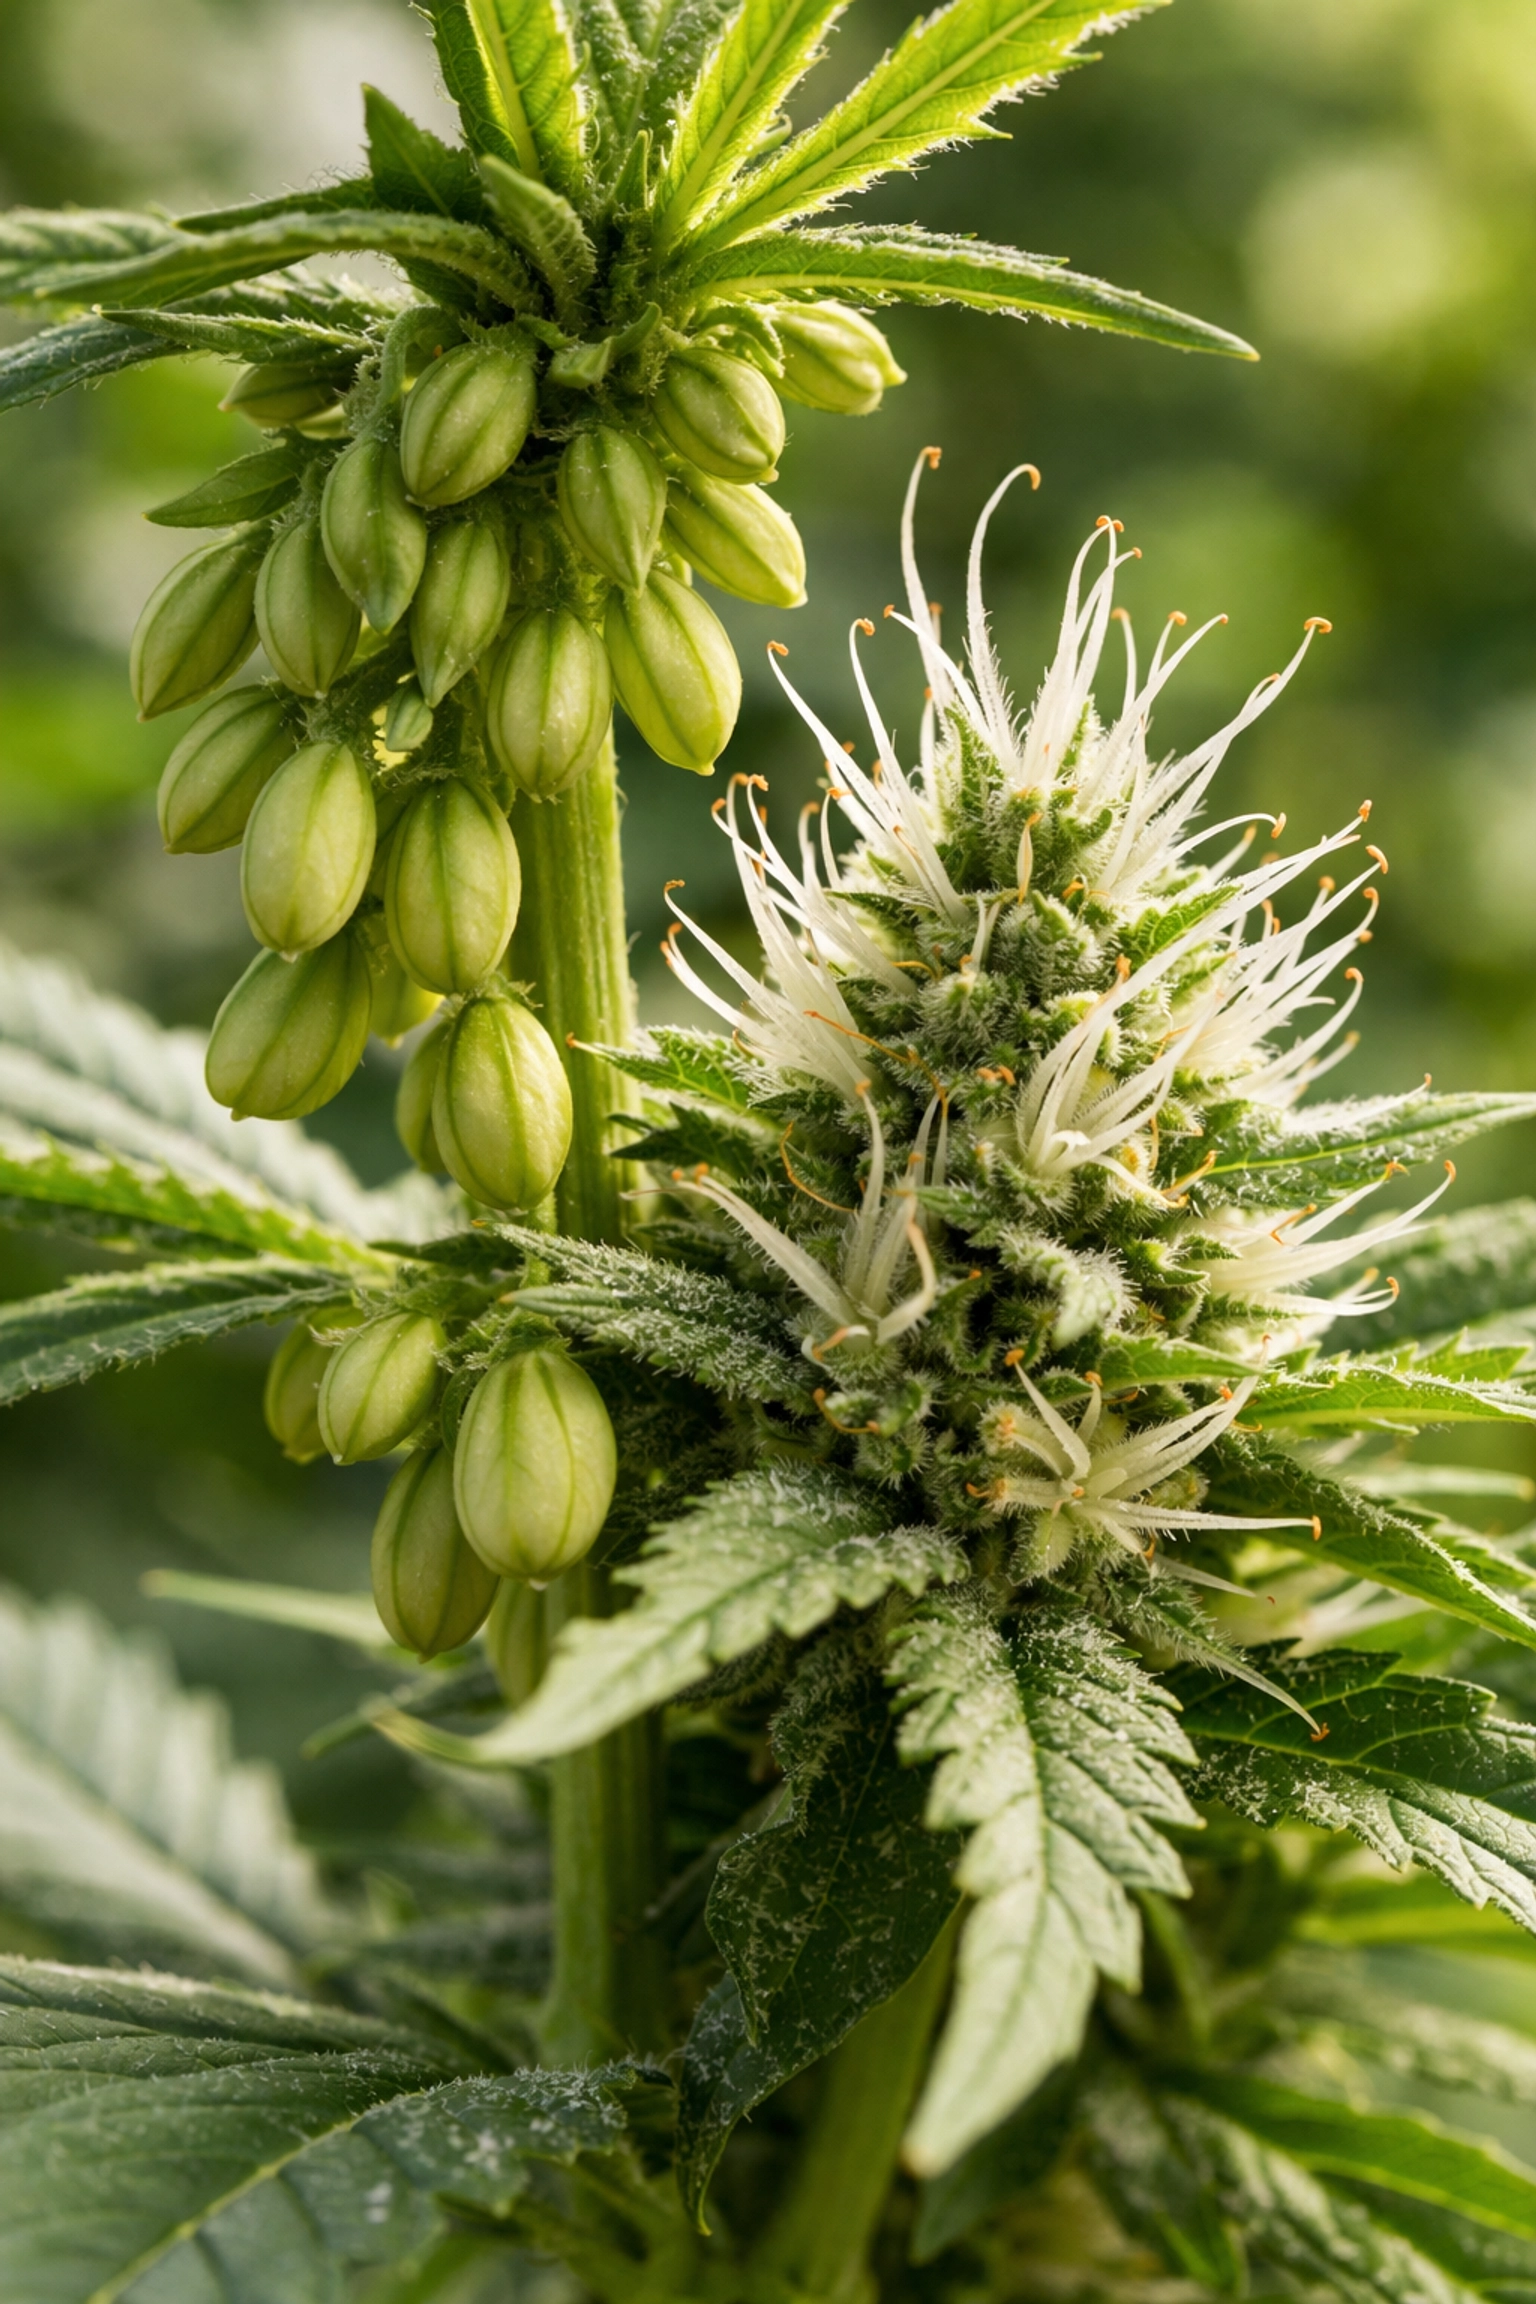
The tricky part is that you often don't see those seeds right away. They're usually undeveloped and hidden inside the flower until you're well into harvest. By then, the damage is already done.
The Real Problem: Pollen Doesn't Just Disappear
Here's where it gets serious.
When your hermie releases pollen, it doesn't just land on leaves and call it a day. That pollen gets into everything: your walls, your fans, your ventilation system, every nook and cranny of your grow space. And unlike dust, you can't just ignore it.
If you remove the hermie plant but don't clean the room, that pollen is still there. The moment you turn your fans back on for your next crop, that pollen starts circulating again. Your new plants can get seeded by your old crop, even though the original hermie is long gone.
This is where a lot of growers get confused. They see seeds in their second crop and assume that batch went hermie too. But in reality, it's residual pollen from the first round doing the damage.
The Solution: Total Sterilization
There's no way around it. If you've had a hermie in your grow room, you need to deep clean everything.
We're talking:
- Walls – Wipe down every inch.
- Fans – Disassemble if possible and scrub thoroughly.
- Ventilation system – Spray cleaning agents inside to sterilize the ductwork.
- Pots and containers – Wash them. Don't just reuse them as-is.
- Trays, shelves, and fixtures – Anywhere pollen could have settled.
Every surface that could have come into contact with pollen needs attention. This isn't about being paranoid: it's about protecting your next crop.

What to Use for Cleaning
You don't need fancy chemicals. A good go-to is hydrogen peroxide (H2O2). It's effective, relatively safe, and won't leave behind residues that could harm your plants.
Spray it on surfaces, into your ventilation system, and anywhere pollen might be hiding. Let it sit, then wipe down. Repeat as needed.
Other growers use diluted bleach solutions or commercial grow room sanitizers. Whatever you choose, make sure it's safe for use in environments where plants will be growing and that you rinse or ventilate properly afterward.
Pro Tip: Get the Pollen Wet
Here's a trick that can save you a lot of headaches.
If you miss a spot while wiping: and let's be honest, you probably will: getting the pollen wet can help neutralize the threat.
When pollen gets wet and then dries, it adheres to the surface it's sitting on. Think of it like dirt on a car. When you get dirt wet and let it dry, it sticks. Same concept with pollen.
So even if you can't wipe every single surface perfectly, misting the room with water (or a cleaning solution) can help lock that pollen in place so it doesn't become airborne again when your fans kick back on.
Step 1: Wipe everything you can reach.
Step 2: Mist down surfaces you might have missed.
Step 3: Let it dry before restarting your ventilation.
This two-step approach: wiping plus wetting: gives you the best chance of neutralizing any lingering pollen.
Home Growers vs. Commercial Operations
If you're a home grower with a tent or a small room, this process is manageable. Tedious, sure. But doable in a day or two.
Commercial operations? That's a different story.
Large-scale grows can't always shut down for a full sterilization. But that doesn't mean you can skip this step. What you need to do is clean in sections.
Have your team start wiping down one area of the grow room at a time. Not just once: every week or two until you've completed a full growth cycle. Then do it again. And again.
The goal is to reduce pollen concentration gradually while keeping production running. It's not ideal, but it's better than letting contamination spread unchecked.
How Long Should You Keep Cleaning?
Here's the honest answer: at least one full growth cycle.
After your deep clean, run your next crop and monitor closely. If you see seeds again, that means there's still pollen circulating somewhere. Go back in and clean again.
Continue this process until you complete a full harvest with zero seeds. Only then can you be confident that your grow space is truly clean.
It's a grind, but it's the only way to be sure.
Why This Matters More Than You Think
A single hermie can cost you an entire harvest. For home growers, that's months of work down the drain. For commercial operations, we're talking thousands: sometimes tens of thousands: of dollars in lost product.
And the worst part? It's often preventable. Many growers don't realize the importance of sterilization after a hermie event. They remove the plant, shrug, and move on. Then they're surprised when the next batch has the same problem.
Don't be that grower.
Final Thoughts
Whether you're running a small tent in your basement or managing a commercial facility, the protocol is the same:
- Identify the hermie and remove it immediately.
- Deep clean every surface in your grow space.
- Use hydrogen peroxide or a similar sanitizer.
- Get pollen wet to prevent it from becoming airborne.
- Maintain cleaning routines for at least one full cycle.
- Monitor your next crop for any signs of seeds.
It's not glamorous work, but it's essential.
If you're dealing with a hermie situation and feeling overwhelmed, we're here to help. Perfect Gardens offers grow tent consulting where we can walk you through the cleanup process step by step and help you get your room back on track.
Stay vigilant out there, and happy growing.