Blog
10 Reasons Your Compost Tea Brewer Isn't Working (And How to Fix It)
Compost tea is often called "liquid gold" by organic gardeners, and for good reason. When done right, it’s a living probiotic drink for your plants that boosts immunity, improves nutrient uptake, and supercharges the soil food web.
But here’s the reality: brewing compost tea isn’t just "soaking dirt in a bucket." It’s a biological process. If you’ve noticed your tea smells like a swamp, looks like motor oil, or: worse: your plants are reacting poorly to it, your brewer (or your process) is failing you.
At Perfect Gardens, we see these mistakes all the time. The good news? Most of them are easy to fix. Let’s dive into the 10 most common reasons your compost tea brewer isn't working and how to get your microbial levels back on track.
1. You’re Starting with "Garbage" Compost
The "Garbage In, Garbage Out" rule applies perfectly to brewing. If your starting material is stagnant, contains pathogens, or hasn't fully decomposed, you are essentially brewing a concentrated batch of bad bacteria.
The Problem: Using "hot" manure or unfinished compost that still has visible food scraps or a sour smell. This introduces anaerobic pathogens to your tea from the start.
The Fix: Use only high-quality, fully finished compost or worm castings. It should be dark, crumbly, and smell like a fresh forest floor. If you aren't sure about your local source, consider adding a proven microbial inoculant to jumpstart the population of "good guys."
2. Inadequate Aeration (The Oxygen Crisis)
Microbes are just like us: they need oxygen to breathe. In a compost tea brewer, you are trying to multiply aerobic (oxygen-loving) microbes. If oxygen levels drop, the "bad" anaerobic microbes take over.
The Problem: Your air pump is too weak for the volume of water, or your air stones are clogged. If the water isn't vigorously bubbling like a rolling boil, you aren't getting enough dissolved oxygen.
The Fix: Ensure your pump is rated for at least double the size of your reservoir. For a 5-gallon bucket, a small aquarium pump usually isn't enough. You want high-output air stones or a professional system like the Vortex Brewer, which uses a specialized motion to keep oxygen levels peaked throughout the entire cycle.
 Visual Guide: The difference between a "Stagnant Soak" (Low Oxygen) and an "Active Aerated Tea" (High Oxygen).
3. Chlorine is Killing Your Microbes
This is the silent killer of compost tea. Most municipal tap water contains chlorine or chloramines to kill bacteria. While that’s good for drinking water, it’s a disaster for a "living" tea.
The Problem: You’re filling your brewer straight from the tap. The chlorine immediately starts sterilizing the very microbes you are trying to grow.
The Fix: You have two options. First, you can let your water sit in an open bucket with an air stone running for 24 hours to "off-gas" the chlorine. However, this doesn't always work for chloramines. The better solution is using a water treatment like Drops of Balance or a dedicated filtration system.
4. You’re Overstuffing the Brew Bag
It’s tempting to think that "more compost equals stronger tea." In reality, packing too much material into a small brew bag creates a "dead zone" in the center where water and oxygen cannot reach.
The Problem: Compaction. When the compost is packed tight, the middle of the bag becomes anaerobic, and you end up brewing pathogens inside the bag while trying to grow beneficials outside of it.
The Fix: Use a loose ratio. A general rule is about 1 to 2 cups of compost per 5 gallons of water. Ensure the bag has plenty of room for the compost to "tumble" and move around as the air bubbles hit it.
5. Temperature Extremes
Microbial life is highly sensitive to the environment. If it’s too cold, they go dormant and don't multiply. If it’s too hot, they die off or the water loses its ability to hold oxygen.
The Problem: Brewing in a garage that is 40°F or leaving a black bucket in the direct sun where it hits 90°F+.
The Fix: Aim for a "Goldilocks" zone of 65°F to 75°F. This is the ideal range for most beneficial soil microbes to thrive. If you’re brewing in the winter, a small submersible heater (like those used in hydroponics) can keep your tea at the perfect temperature.
6. Low-Quality Brew Bag Fabric
Not all mesh is created equal. If the holes in your brew bag are too small, the microbes (especially the larger fungi) can’t actually escape into the water. If the holes are too large, you get a silty mess that clogs your sprayers.
The Problem: Using old socks or tight-weave burlap. These often "slime over" during the brew, preventing any real extraction.
The Fix: Use a dedicated 400-micron mesh bag. This size is specifically designed to allow beneficial fungi and bacteria to pass through while keeping the heavy sediment contained.
7. Over-Fertilizing the Brew (The Sugar Trap)
To get microbes to multiply fast, we often add "food" like molasses or fish hydrolysate. But adding too much sugar can cause a microbial explosion that consumes all the oxygen in minutes.
The Problem: Adding several cups of molasses to a 5-gallon brew. This leads to a "crash" where the microbes eat, reproduce, suffocate, and die: all before you even get the tea to your garden.
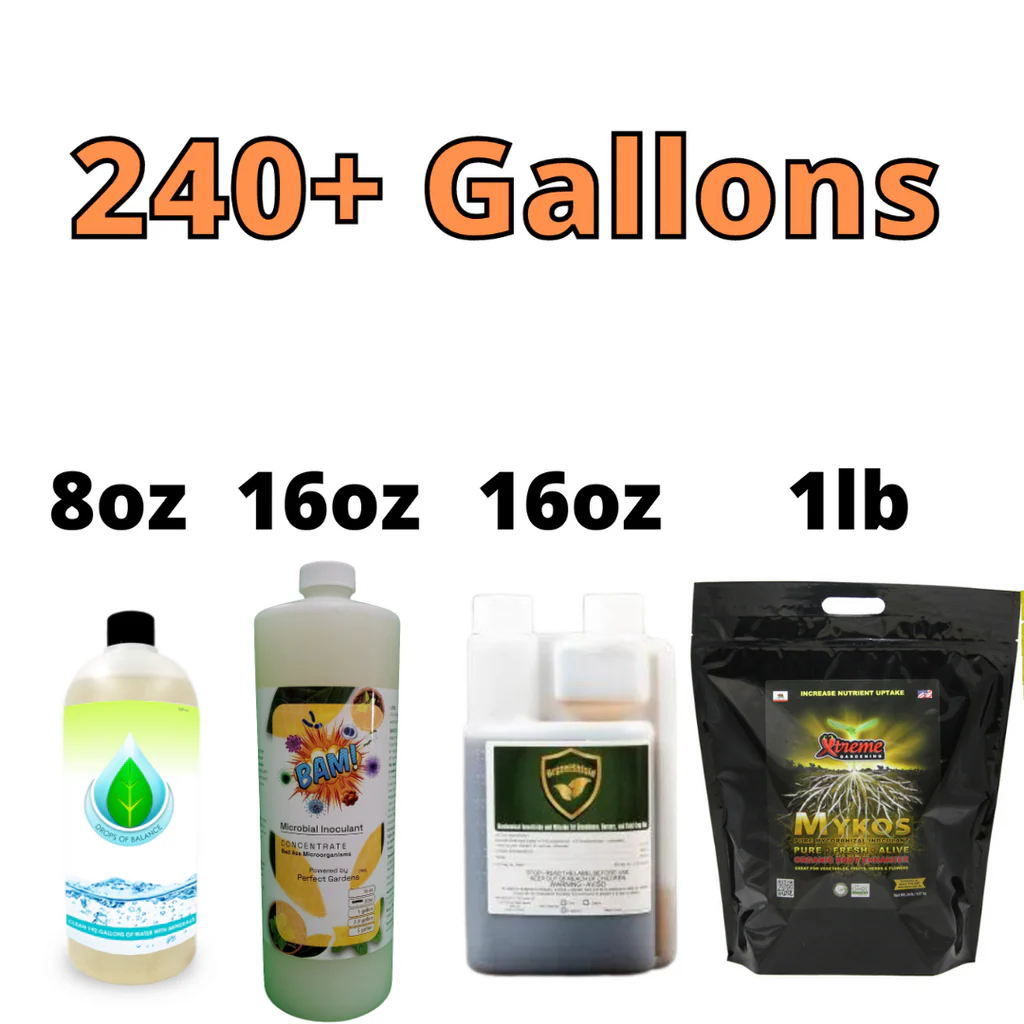
The Fix: Use additives sparingly. A tablespoon or two of unsulphured blackstrap molasses is usually plenty for 5 gallons. If you want to take it to the next level, use a balanced kit like the Nutrient and Microbial Inoculant Kit to ensure you have the right balance of food and life.
8. Poor Extraction Agitation
Microbes don't just "fall off" the compost into the water. They are physically stuck to the organic matter with "biological glue." You need physical force to strip them off so they can enter the liquid.
The Problem: A "tea bag" style soak with no movement. The water stays clear because the microbes are still clinging to the compost inside the bag.
The Fix: You need agitation. This is why high-end brewers like the Vortex Brewer are so effective; they create a constant vortex that uses water friction to strip the microbes away. If you’re using a bucket, make sure your air stones are positioned directly under the bag to keep it "dancing."
9. Brewing Too Long (The "Stink" Test)
There is a peak window for compost tea. Most teas reach their maximum microbial density between 24 and 48 hours. After that, the food source runs out, and the population starts to die off.
The Problem: Thinking that a 5-day brew will be "extra strong." In reality, a 5-day brew is usually a bucket of dead microbes and foul-smelling waste.
The Fix: Stick to the 24-36 hour mark. If the tea smells like anything other than "earthy" or "sweet," do not put it on your plants. If it smells like rotten eggs or ammonia, it has gone anaerobic and should be dumped in a far corner of the yard (not on your prize crops!).
10. Turning Off the Air Before Draining
This is a technical mistake that can ruin future batches.
The Problem: You turn off the air pump, let the tea sit for 20 minutes while you find your watering can, and then drain it. In those 20 minutes, the microbes settle to the bottom, oxygen levels plummet, and biofilm begins to coat your air stones and tubing.
The Fix: Always drain your tea while the air is still running. This keeps the microbes suspended in the water and prevents the "sludge" from settling inside your equipment, which makes cleaning much easier and keeps your hardware sanitary for the next run.
The Result: What Success Looks Like
When you fix these ten issues, the results are undeniable. Healthy compost tea increases the "CEC" (Cation Exchange Capacity) of your soil, meaning your plants can actually use the nutrients you’re giving them.
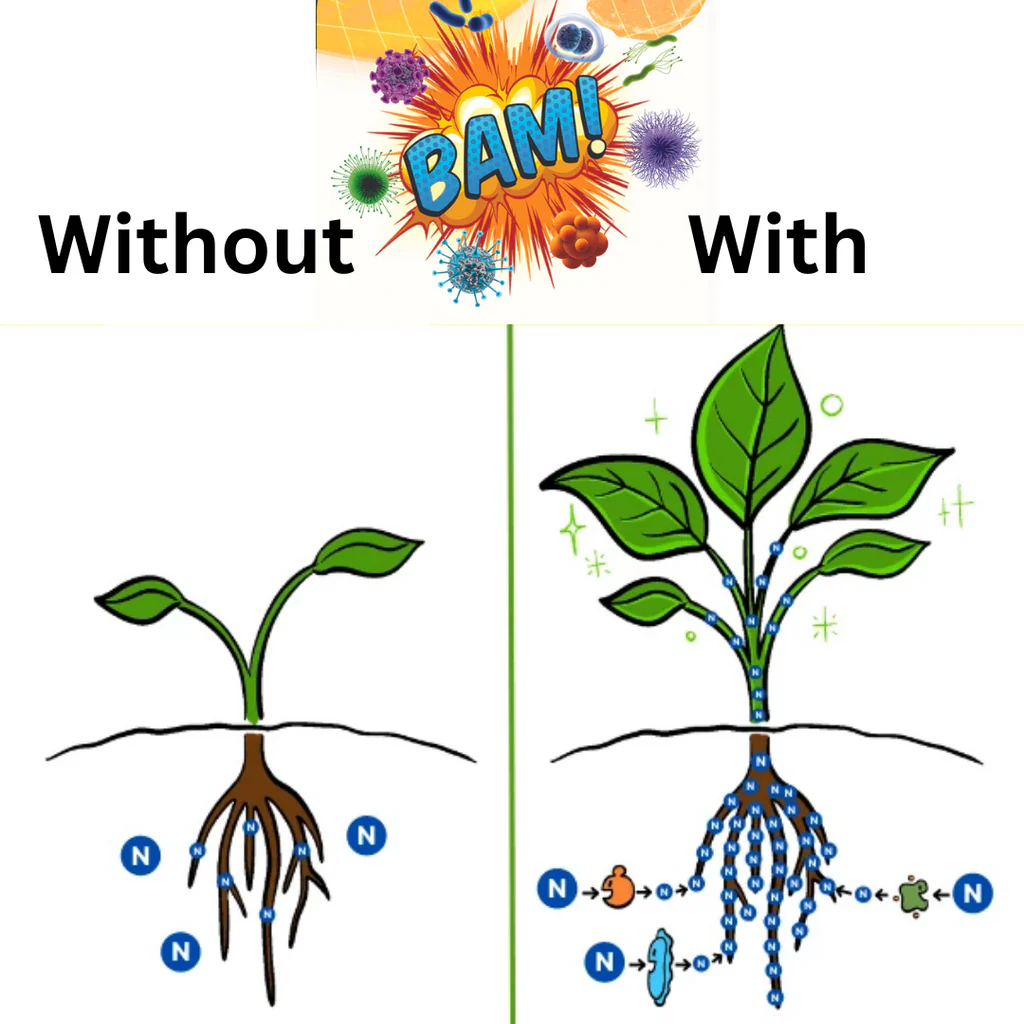
As you can see in the comparison above, the plant on the right has a significantly more developed root system. This is the direct result of beneficial microbes (like those found in BAM! Microbial Inoculant) creating a symbiotic relationship with the roots.
Final Pro-Tips for the Best Brew:
- Clean Everything: After every brew, scrub your bucket and bag with hydrogen peroxide or a mild soap. Biofilm buildup is the #1 cause of "failed" future batches.
- Use Mycorrhizae: For the best results, add a high-quality mycorrhizal powder like Xtreme Gardening Mykos directly to your transplant holes while using your tea as a soil drench.
- Apply Immediately: Compost tea is "living." Its "shelf life" is only about 4-6 hours once the air is turned off. Use it or lose it!
If you're tired of DIY bucket headaches and want a system that guarantees high dissolved oxygen and perfect extraction every time, check out our Complete Hydroponic Systems and brewer setups.
Stop guessing and start growing! If you have questions about your specific setup, head over to our Grow Help section for more deep dives.