Blog
7 Grow Light Mistakes That are Killing Your Yields
You've got your grow lights set up. Plants are under the canopy. Everything looks good... except your yields aren't matching what you expected. Sound familiar?
Here's the thing: most growers think buying quality grow lights is the hard part. It's not. The hard part is using them correctly. And the fact of the matter is, even experienced growers make basic mistakes that cut their yields in half without realizing it.
Let's walk through the seven most common grow light mistakes that are quietly killing your harvest, and more importantly, how to fix them.
Mistake #1: Running Inadequate Light Intensity
This is the big one. Many beginners underestimate just how much light cannabis and high-yield crops actually need. If your plants are stretching, producing airy buds, or generally looking underwhelming, light intensity is usually the culprit.
Here's the benchmark you need to know: during the flowering stage, your plants need a PPFD (Photosynthetic Photon Flux Density) range of 600–1000 µmol/m²/s to maximize bud development. Anything below that, and you're leaving yield on the table.
Light intensity has a direct, linear relationship with yield. More light (within safe parameters) equals more photosynthesis, which equals bigger, denser harvests. If you're running a 100W light in a 4x4 tent and wondering why your yields are disappointing, this is why.
The fix: Calculate your space and ensure you're providing adequate wattage. As a general rule, aim for 30–50 watts per square foot with modern LED grow lights. For a 4x4 space (16 sq ft), that means 480–800 watts of quality LED lighting.
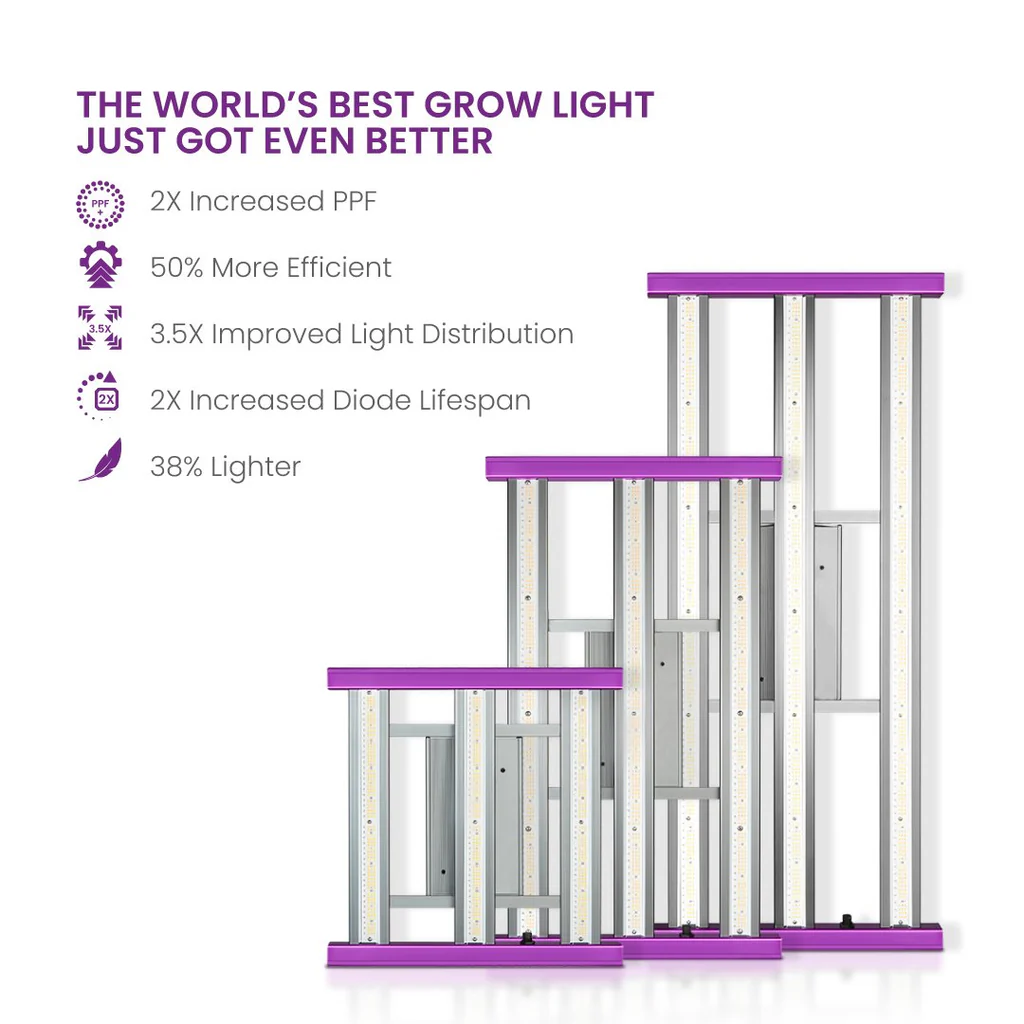
Mistake #2: Poor Light Distribution Across the Canopy
You can have the most powerful grow light on the market, but if it's not distributing light evenly, you're going to see inconsistent results. Some plants will thrive while others in the corners barely produce.
This happens when growers use a single, centrally-mounted light source in larger spaces. The center gets blasted while the edges starve. The result? Uneven plant development, wasted space, and lower overall yields.
The fix: Consider using multiple smaller lights instead of one massive fixture. This creates more even coverage and eliminates dead zones. Light movers are another option, though they add complexity. At minimum, ensure your light is centered properly and sized appropriately for your growing area.
Many commercial-grade LED fixtures now come with multiple adjustable bars specifically to address this problem. Check out our selection of grow lights designed for optimal light distribution.
Mistake #3: Hanging Your Lights at the Wrong Height
Here's where a lot of growers transitioning from HPS to LED get burned. They hang their LEDs at the same height they used for their old HPS lights, 24 to 30 inches, and wonder why their plants are stretching like crazy.
LEDs produce substantially less heat than HPS or CMH lights. This means you can (and should) hang them much closer to the canopy, typically 6–12 inches during flowering. When lights are too high, plants stretch excessively searching for light. Stems weaken, canopy penetration suffers, and yields drop.
But here's the flip side: hang LEDs too close, and you risk light burn or bleaching, especially with high-output fixtures. The sweet spot varies by light model and intensity.
The fix: Start at the manufacturer's recommended height, then adjust based on how your plants respond. Watch for signs of stress, yellowing or bleaching on top leaves means too close, while excessive stretching means too far. Many growers find that gradually lowering lights as plants mature works best.

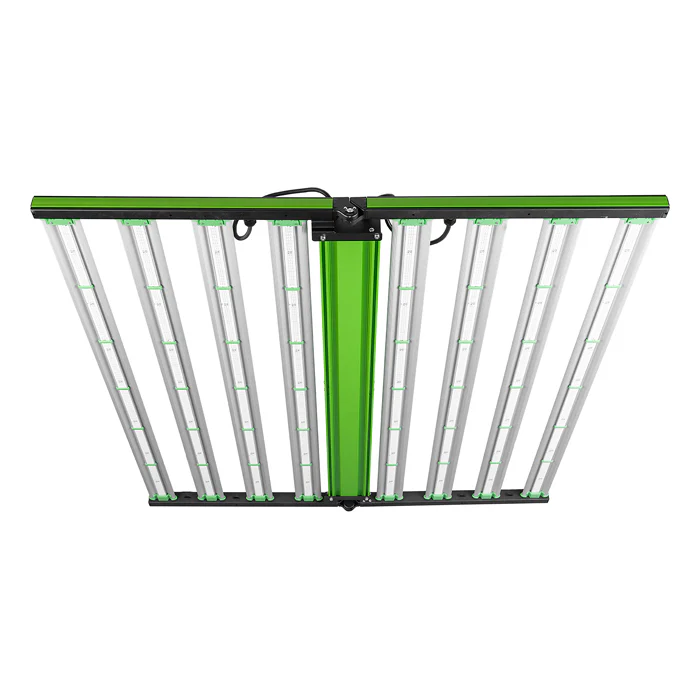
Mistake #4: Using Outdated or Low-Quality Grow Lights
Not all grow lights are created equal. Old-school CFLs, cheap blurple LEDs from Amazon, or worn-out HPS bulbs will cap your potential yields no matter what else you do right.
Modern full-spectrum LED grow lights offer better intensity, better efficiency, and better spectrum control than budget options. Yes, they cost more upfront. But the difference in harvest quality and electricity savings pays for itself in one or two cycles.
Higher quality lighting provides:
- Better wattage-to-usable-plant-energy conversion
- Adjustable light spectrums for different growth stages
- Longer lifespan (50,000+ hours vs 10,000 for HPS)
- Superior PAR values per watt
- Less heat to manage
The fix: If you're serious about yields, invest in quality lighting. It doesn't have to be the most expensive option, but skip the $50 Amazon specials. Look for reputable brands with proven PAR output and full-spectrum capabilities.
Mistake #5: Flying Blind (Not Measuring Light Intensity)
Here's a scenario that plays out constantly: a grower sets up their lights, eyeballs the distance, and hopes for the best. No measurements. No data. Just vibes.
The problem? You have no idea what PPFD your plants are actually receiving. You might think you're providing 800 µmol/m²/s when you're really only hitting 400. Or you might be blasting them with 1200 and stressing them out.
Using a PAR meter to measure PPFD is essential for optimizing yield. It takes the guesswork out of the equation. You can map your entire canopy, identify weak spots, and adjust accordingly.
The fix: Get a PAR meter. Yes, good ones are expensive ($200–500), but they're invaluable for dialing in your setup. If that's not in the budget yet, use manufacturers' PAR charts as a starting point: just understand they're measured in ideal conditions and real-world results vary.
The key metric to track is grams-per-square-foot, not grams-per-watt. This measures how efficiently you're using your space, regardless of how many lights you're running.
Mistake #6: Not Adjusting Light Spectrum for Growth Stages
Different growth stages require different light spectrums. Running the same spectrum from seedling to harvest is like feeding your plants the same nutrients from start to finish: it works, but it's far from optimal.
During the vegetative phase, plants need more blue spectrum light (400–500 nm) to promote strong, compact growth. This keeps internodal spacing tight and builds a solid structure.
When you flip to flowering, plants benefit from more red light (600–700 nm) to stimulate bud development and resin production. Far-red light can also help trigger flowering responses and improve yields.
Many growers with single-spectrum lights wonder why their plants stretch in veg or produce smaller buds in flower. The spectrum mismatch is often the answer.
The fix: If you're buying new lights, look for models with adjustable spectrum control or separate veg/bloom switches. If you're stuck with fixed-spectrum lights, consider supplementing with specific wavelength LED bars during flowering.
Mistake #7: Ignoring Everything That Isn't Light
Here's the reality check: grow lights alone don't create massive yields. They're one piece of a larger puzzle that includes temperature, humidity, airflow, nutrients, and watering.
This is especially important when switching from HPS to LED. Many growers make the jump and keep watering on the same schedule: then wonder why their plants are drooping and showing signs of overwatering. HPS lights run much hotter and dry out soil faster. LEDs don't. You need to adjust your watering frequency accordingly.
Temperature and humidity also shift with LED lighting. You can typically run warmer ambient temps with LEDs (78–82°F) since there's less radiant heat hitting the canopy. VPD (Vapor Pressure Deficit) becomes more important to dial in for optimal transpiration.
The fix: Treat your lighting change as a full environmental reset. Reassess your temperature, humidity, airflow, and watering practices. Monitor how your plants respond and adjust incrementally. Quality grow tents with proper ventilation make environmental control much easier.

The Bottom Line
Most grow light problems aren't about the lights themselves: they're about how we use them. Intensity, height, distribution, spectrum, and environmental integration all matter as much as the fixture you choose.
The good news? Every single one of these mistakes is fixable. Start with one issue at a time. Measure your results. Make adjustments. Your yields will respond.
If you're setting up a new grow or upgrading your lighting, take time to do it right. Calculate your space requirements, invest in quality fixtures, and commit to measuring and adjusting as you learn what your specific setup needs.
Want more guidance on dialing in your grow room? Check out our grow help videos for visual walkthroughs of proper lighting setup and environmental control.
Your plants will thank you. And so will your harvest weight.