Blog
7 Mistakes You’re Making with Your Grow Lights (and How to Fix Them)
Let’s be real for a second: grow lights are the "sun" of your indoor garden. Without them, your plants are essentially sitting in a dark closet trying to survive on hopes and dreams. But just because you bought a fancy LED panel doesn't mean your work is done. In fact, many growers: even those who have a few harvests under their belt: constantly make simple mistakes that lead to stunted growth, airy buds, or even dead plants.
At Perfect Gardens, we see these mistakes every day. The good news? They are all incredibly easy to fix once you know what to look for. Whether you are rocking a high-end KIND LED or a budget-friendly setup, let's dive into the seven most common grow light blunders and how you can correct them today.
1. Using the Wrong Light Spectrum
One of the most common mistakes is not understanding that plants "eat" different types of light depending on where they are in their life cycle. If you use a light that only emits a narrow band of blue light during the flowering stage, you’re going to be disappointed with your yields.
The Mistake: Many growers use lights that are too heavy in the "blurple" (blue/purple) range or stay on a vegetative setting when the plant is trying to flower. Blue light is great for keeping plants short and bushy during the veg stage, but plants need red wavelengths to trigger heavy flowering and fruiting.
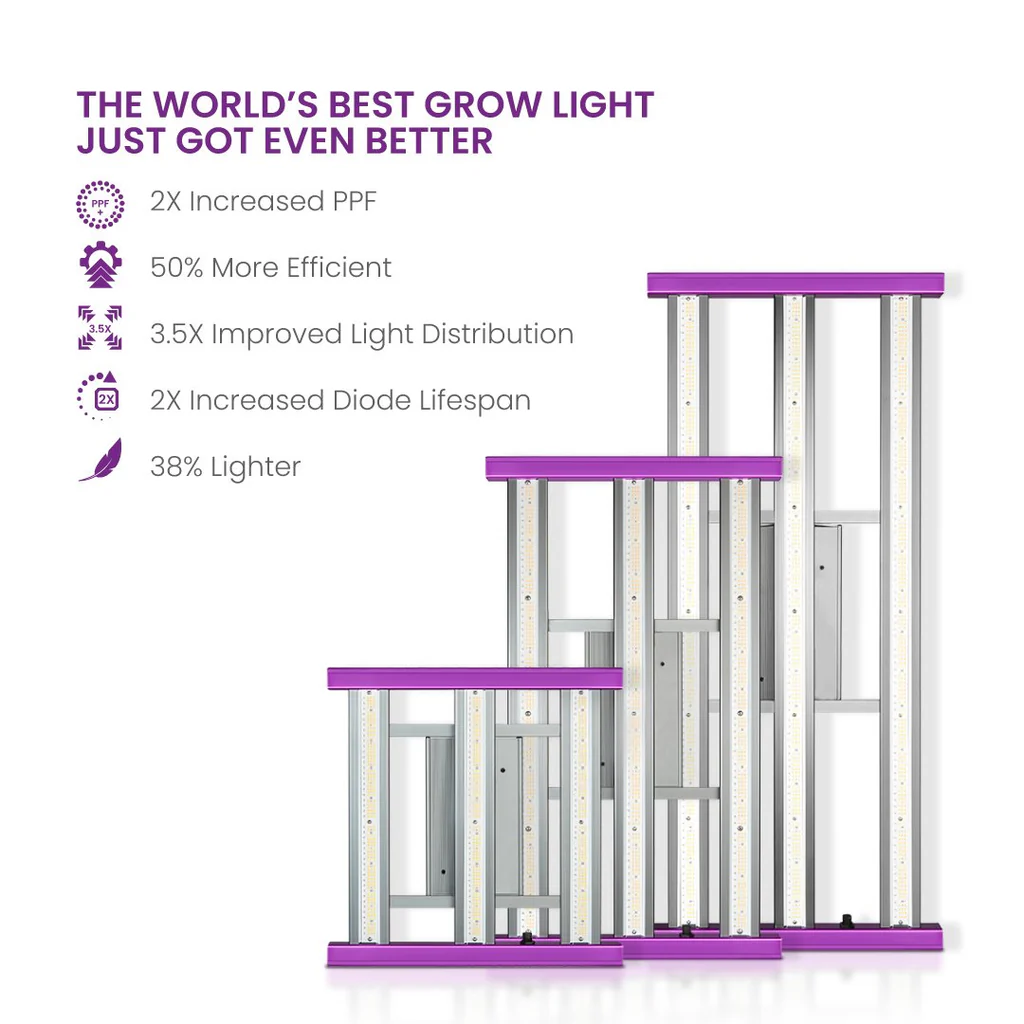
The Fix: Invest in full-spectrum LED grow lights. Modern fixtures, like the Spectrum-Y Wireless LED Grow Light, offer tunable spectrum settings or a complete "sun-like" output that covers everything from UV to IR. This mimics natural sunlight and ensures your plants get exactly what they need from seedling to harvest. If your light has "Veg" and "Bloom" switches, make sure you actually flip them!
2. Hanging Your Lights at the Wrong Height
This is the "Goldilocks" problem of indoor gardening. If the light is too far away, your plants will stretch and become "leggy" as they desperately reach for energy. If the light is too close, you’ll literally cook your leaves, leading to light bleaching or heat stress.
The Mistake: Setting the light and forgetting it. As your plants grow, the distance between the canopy and the light changes. If you don't adjust your hangers, that 18-inch gap quickly becomes a 2-inch gap.
The Fix: Follow a general distance guide, but always watch your plants.
- Seedlings: 24–36 inches (they are delicate!)
- Vegetative Stage: 12–24 inches
- Flowering Stage: 12–18 inches (depending on light intensity)
If you see the top leaves "taco-ing" (edges curling up) or turning white at the tips, your light is too close. High-quality fixtures like MEDIC GROW or KIND LED often come with specific PAR charts that tell you exactly how high to hang them for maximum efficiency.
3. Buying Cheap, Low-Quality LEDs
We get it: growing can be expensive. It’s tempting to hop on a massive online marketplace and buy the cheapest LED that claims to be "2000W" for $60. The problem? Those numbers are almost always a lie.
The Mistake: Cheap LEDs often have poor build quality and "strobe" at a frequency the human eye can't see, but the plant definitely feels. This confuses the plant's internal clock and stunts growth. Furthermore, these cheap lights often lack the proper PPFD (Photosynthetic Photon Flux Density) needed to actually penetrate the canopy.
The Fix: Buy from reputable manufacturers who provide real lab data. Brands like KIND LED provide 50% higher efficiency and a much longer diode lifespan compared to the "bargain" brands. Remember, a good light pays for itself in the first one or two harvests through increased yields and lower power bills. Check out our featured products for gear that actually works.
4. Messing Up the Light Schedule (Photoperiod)
Plants need sleep just like you do. During the "dark" period, plants focus on root development and processing the energy they soaked up during the day.
The Mistake: Leaving the lights on 24/0 for the entire grow or having light leaks in your grow tent. If you are growing photoperiod plants (not autoflowers), even a tiny bit of light during the "off" cycle can stress the plant, causing it to "herm" (produce seeds) or revert back to the vegetative stage.
The Fix: Use a reliable timer.
- Veg Stage: 18 hours on / 6 hours off.
- Flower Stage: 12 hours on / 12 hours off (must be total darkness!).
If you're worried about light leaks, use Black and White Panda Film to seal up your grow space and ensure no outside light is creeping in.
5. Overlooking Light Distribution and "Hot Spots"
Even the most powerful light in the world won't help if it only hits the center 12 inches of your garden.
The Mistake: Using a light that has a very focused "spotlight" effect. This creates a hot spot in the middle where plants get fried, while the plants in the corners are stretching and underperforming.
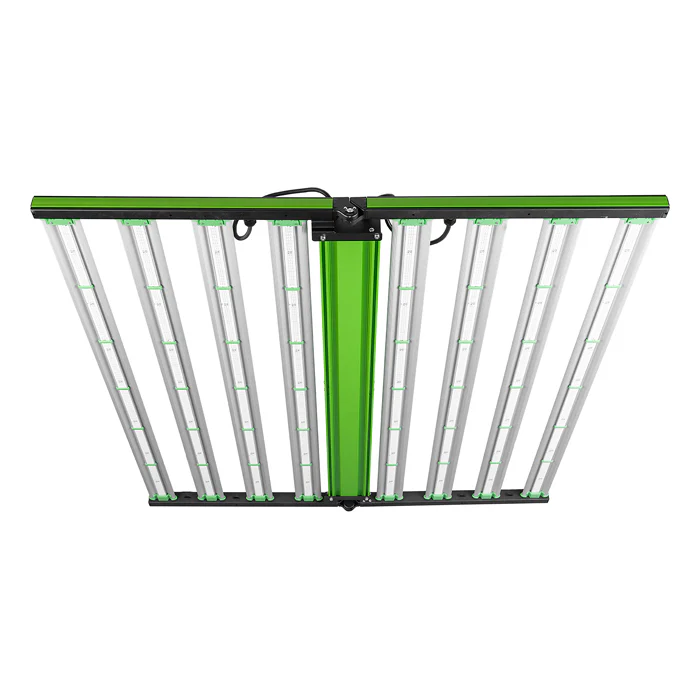
The Fix: Look for lights with multiple bars or a wide-area design. The Commercial-grade LED grow light fixture with adjustable bars is a perfect example of how to spread light evenly across a 4x4 or 5x5 area. Also, don't forget to rotate your plants! Turning your pots every few days ensures that all sides of the plant get equal exposure to the "sun."

6. Neglecting to Clean Your Lights
This is the most overlooked maintenance task in the grow room.
The Mistake: Letting dust, salt spray, and humidity buildup sit on your LED diodes or reflectors. A thin layer of dust can actually block up to 10–20% of the light reaching your plants. If you are using foliar sprays or Compost Tea Brewers, you might even be getting "overspray" on your expensive equipment.
The Fix: Every month (or between harvests), unplug your lights and give them a quick wipe down. Use a soft, dry microfiber cloth. If there is sticky residue, a very slightly damp cloth with a tiny bit of isopropyl alcohol can work, but check your manufacturer’s manual first. Keeping your gear clean keeps your yields high.
7. Ignoring the "Other" Half of the Equation: Nutrients and Environment
You can have the best lights in the world, but if your plants don't have the "building blocks" to turn that light into growth, you're wasting your electricity.
The Mistake: Thinking that more light can fix a nutrient deficiency. In fact, high-intensity light actually speeds up the plant's metabolism. If you have a powerful light like a MEDIC GROW system but you aren't feeding your plants properly, the light will actually kill them faster because the plant is trying to grow but has no "food" to do so.
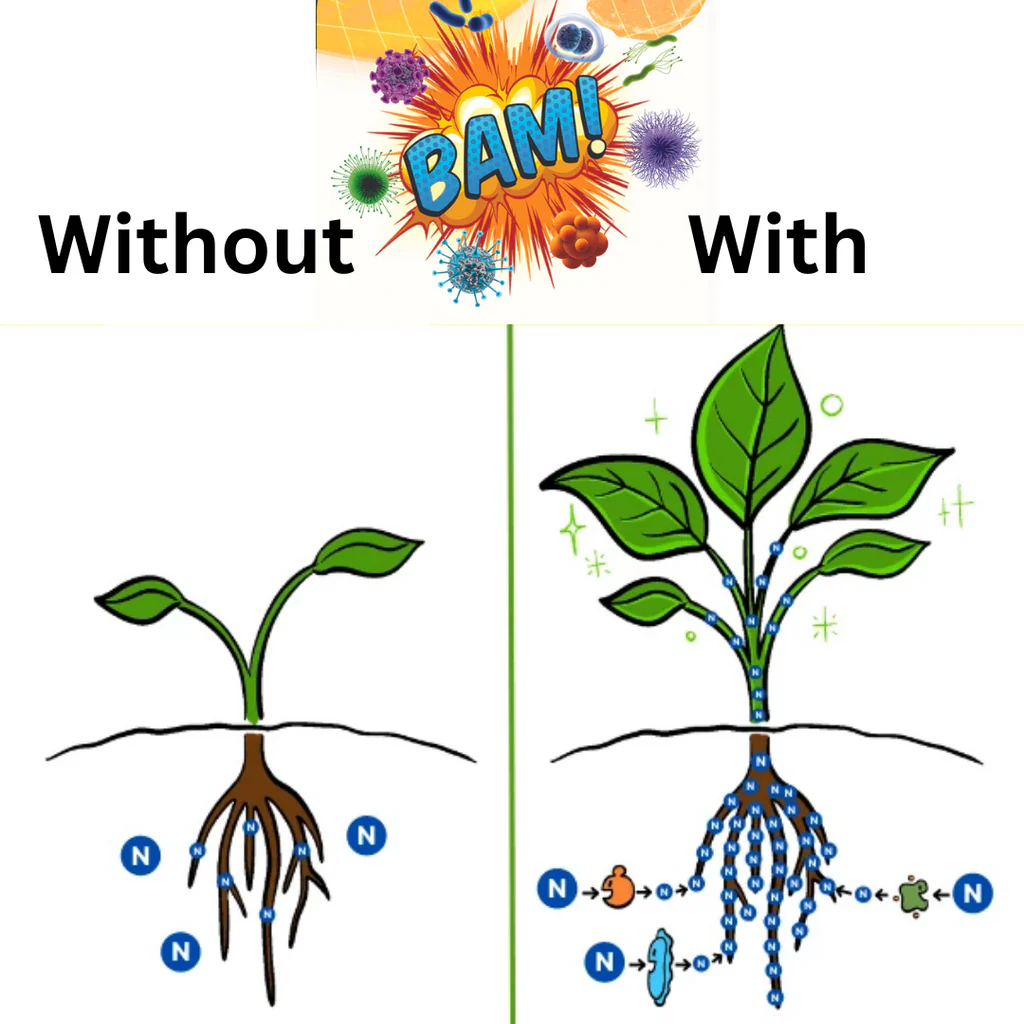
The Fix: Ensure your plant nutrient packages are dialed in. When you increase light intensity, you often need to increase your nutrient intake and ensure your root zone is healthy. We highly recommend using microbial inoculants to help the roots keep up with the demands of high-powered lighting. Healthy roots = happy fruits.
Summary Checklist for Your Grow Lights
To make sure you aren't falling into these traps, run through this quick checklist once a week:
- Check the Height: Is the canopy getting too close? Adjust the hangers.
- Check the Leaves: Are they turning yellow or white at the tips? Move the light up.
- Check the Timer: Is the light turning on and off at the right times?
- Check the Dust: Is the fixture looking a bit gray? Wipe it down.
- Check the Color: Are you in the right spectrum for the current stage of growth?
Indoor gardening is a balancing act. Your grow light is your most powerful tool, but like any tool, it needs to be used correctly. By avoiding these seven mistakes, you'll see faster growth, healthier plants, and much more impressive harvests.
If you’re looking to upgrade your setup or have questions about which light is right for your space, don't hesitate to reach out to us at our Contact Page or check out our Grow Help Videos for more deep dives into the science of growing.
Happy growing, and keep those lights shining bright!