Blog
DIY Compost Tea: Warming Up Your Microbes
As the November frost starts to settle in and the outdoor garden beds go dormant, most growers shift their focus entirely to the indoor grow room. While the environment inside is controlled, the transition to winter brings a unique set of challenges: specifically for those of us who swear by the power of biology.
If you’ve been following Perfect Gardens for a while, you know we are big fans of "living soil" and microbial diversity. The secret sauce to that diversity is often a high-quality DIY compost tea. However, a common mistake growers make during the colder months is forgetting that microbes are living organisms with very specific temperature preferences. If your brewing water is too cold, your "tea" is essentially just cold water with some expensive dirt in it.
Today, we’re diving deep into how to brew compost tea in the winter, focusing on temperature management to ensure your microbes are active, multiplying, and ready to kick your plants into high gear.
Why Temperature Matters for Microbes
Think of microbes like a construction crew. When the weather is nice and the sun is out, they’re working double shifts, building soil structure and breaking down nutrients. But when the temperature drops, they go into a state of dormancy. They don't necessarily die, but they stop "working."
In the world of compost tea, we are trying to achieve an "explosion" of microbial life in a short period (usually 24 to 48 hours). For this to happen, the water needs to be in the "Goldilocks Zone": typically between 65°F and 75°F (18°C to 24°C).
If your brew drops below 60°F, the metabolic rate of the beneficial bacteria and fungi slows down significantly. You might be aerating the water and adding food like molasses, but if it’s too cold, the microbes won't eat, they won't reproduce, and you’ll end up with a very weak tea. Conversely, if the water gets too hot (above 85°F), you risk killing off the beneficials or encouraging the growth of pathogens.
Setting the Stage: Water Prep and Ambient Temps
Before you even grab your compost bag, you need to handle your water. In the winter, tap water often comes out of the pipes at a bone-chilling 45°F or 50°F. If you dump that directly into your brewer, you’re starting behind the 8-ball.
The 6 to 12-Hour Rule: Fill your brewing reservoir: whether it’s a Grow1 collapsible water storage tank or a standard 5-gallon bucket: and let it sit in your grow room for at least 6 to 12 hours. This allows the water to reach "ambient temperature."

If you’re growing in a heated indoor tent, the ambient air is likely around 70-75°F. Letting the water sit not only brings it to the right temperature but also helps with off-gassing chlorine, which is a microbial killer. If you’re in a rush or your tap water is heavily treated, using something like Drops of Balance can help ensure the mineral balance is right before you start the brew.
Essential Ingredients for a Winter Brew
A good compost tea is only as good as its starting materials. In the winter, when fresh compost might be frozen in a pile outside, it’s often better to rely on high-quality, shelf-stable inoculants and amendments.
- Finished Compost or Worm Castings: Use about 2 cups of high-quality worm castings per 5 gallons of water. This is your "seed" material.
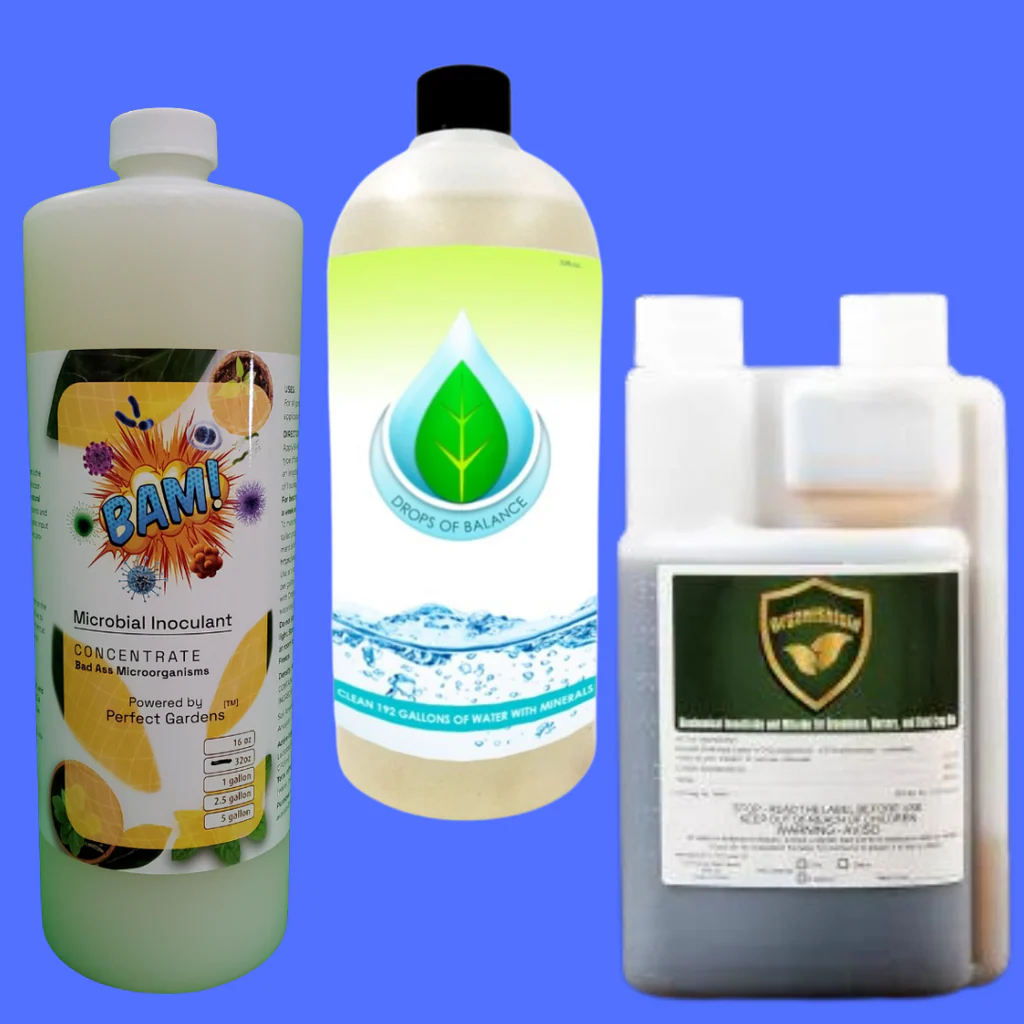
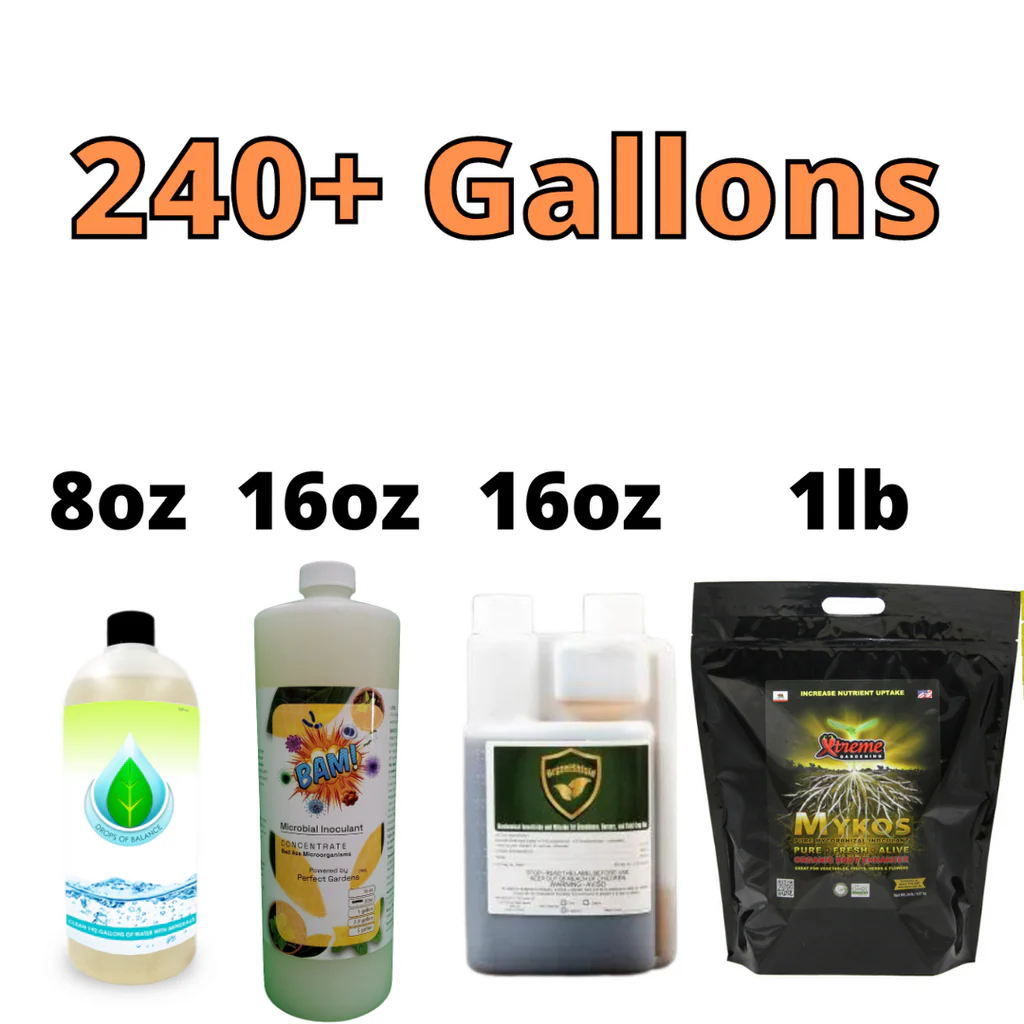
- Microbial Inoculants: Since we want to ensure a robust colony even in cooler conditions, adding a concentrated product like BAM! Microbial Inoculant is a game changer. BAM! (Beneficial Adaptive Microbes) contains a wide range of microbes that are specifically selected for their ability to thrive in various environments.
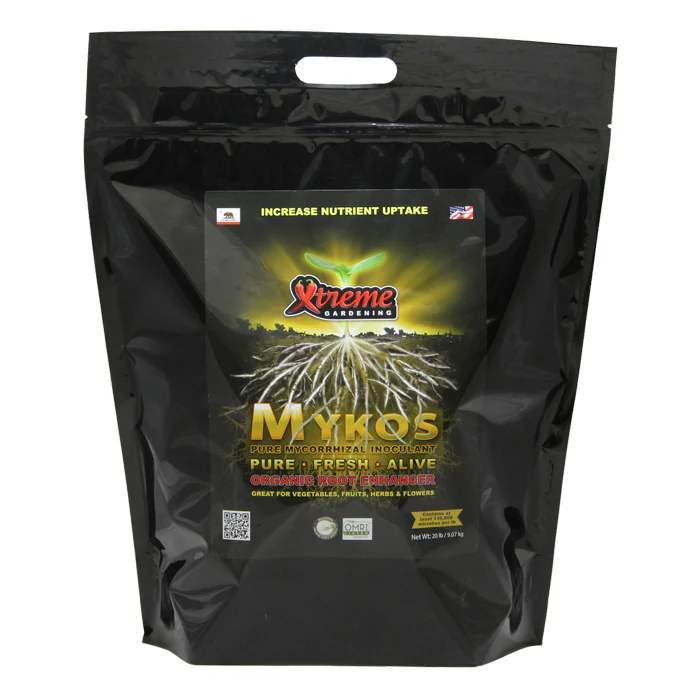
- Mycorrhizae: For root development, especially if you’re transplanting or preparing for a winter flower cycle, adding Xtreme Gardening Mykos to your regimen ensures that the fungi are ready to colonize the root zone immediately.
- Microbial Food: You need to feed the crew. Unsulfured blackstrap molasses is the classic choice for bacteria, while kelp meal or fish hydrolysate is excellent for fungal growth.
The Equipment: Keeping the Brew Warm
If your grow room or garage is a bit drafty, you might need a little help keeping the tea at the right temperature during the 24-48 hour brew cycle. Here are a few "pro-tips" for winter brewing:
- Aquarium Heaters: A small, submersible 50W or 100W aquarium heater is the most effective way to maintain a steady 70°F. Just make sure it’s a model that allows you to set a specific temperature so you don't overheat the brew.
- Heat Mats: Placing your 5-gallon bucket on a seedling heat mat can provide just enough warmth to keep the bottom of the bucket from getting chilled by a cold concrete floor.
- Insulation: Wrapping your brewing bucket in a "jacket" made of Reflectix or even an old sleeping bag can prevent heat loss.

Step-by-Step: The Perfect November Brew
- Clean Everything: Before you start, ensure your hydroponic bucket and air stones are scrubbed clean. Biofilm from a previous brew can harbor pathogens.
- Fill and Temper: Fill your bucket with filtered water. If you're using a Countertop Water Filtration System, you’re already ahead of the game. Let it reach room temperature.
- Aeration: Start your air pump. You want a "rolling boil" look in the water. Oxygen is what keeps the tea aerobic (good) rather than anaerobic (bad/stinky).
- Inoculate: Add your compost/worm castings into a mesh bag (400-micron is standard). Add your BAM! and Azos Nitrogen-Fixing Microbes directly to the water or the bag.
- Feed: Add 1 tablespoon of molasses and 1 tablespoon of liquid kelp per 5 gallons.
- The Wait: Let it brew for 24 to 36 hours. In the winter, it might take the full 48 hours if the temp dips occasionally. You’ll know it’s working when you see a healthy "foam" or "head" developing on the surface.

Application: Using Your Tea Efficiently
Once the brew is finished, the clock starts ticking. You have about a 4-hour window to use the tea before the oxygen levels drop and the microbes begin to die off or go dormant.
Soil Drench: This is the most common method. Pour the tea directly onto the root zone. The beneficial microbes will move into the soil, breaking down organic matter and making nutrients more bioavailable. This is especially important if you’ve noticed your plants looking a bit "stalled" due to the winter chill.
Foliar Spray: In the winter, indoor humidity can fluctuate wildly. A foliar spray of compost tea can help build a "biological shield" on the leaves, protecting them from common indoor pests and molds. Just be sure to strain the tea very well through a fine mesh or cheesecloth to avoid clogging your sprayer.
Common Pitfalls: The "Cold Brew" Mistake
The biggest mistake is thinking that "any" microbial activity is good enough. If you brew at 55°F, you are essentially just making "compost-flavored water." The microbes won't have the energy to colonize the root zone effectively.
Another mistake is over-feeding. It’s tempting to dump a ton of molasses in there to "make them grow faster," but too much sugar can actually lead to a bacterial bloom that consumes all the oxygen, turning your tea anaerobic. If your tea smells like rotten eggs or vinegar, do not use it. It should smell earthy, like a fresh forest floor. If you're unsure about your brewing process, check out our Grow Help Videos for a visual walkthrough.
The Results: Seeing is Believing
When you get the temperature and the inputs right, the results speak for themselves. Plants grown with consistent microbial support show much more vigorous root development and better resistance to environmental stress.
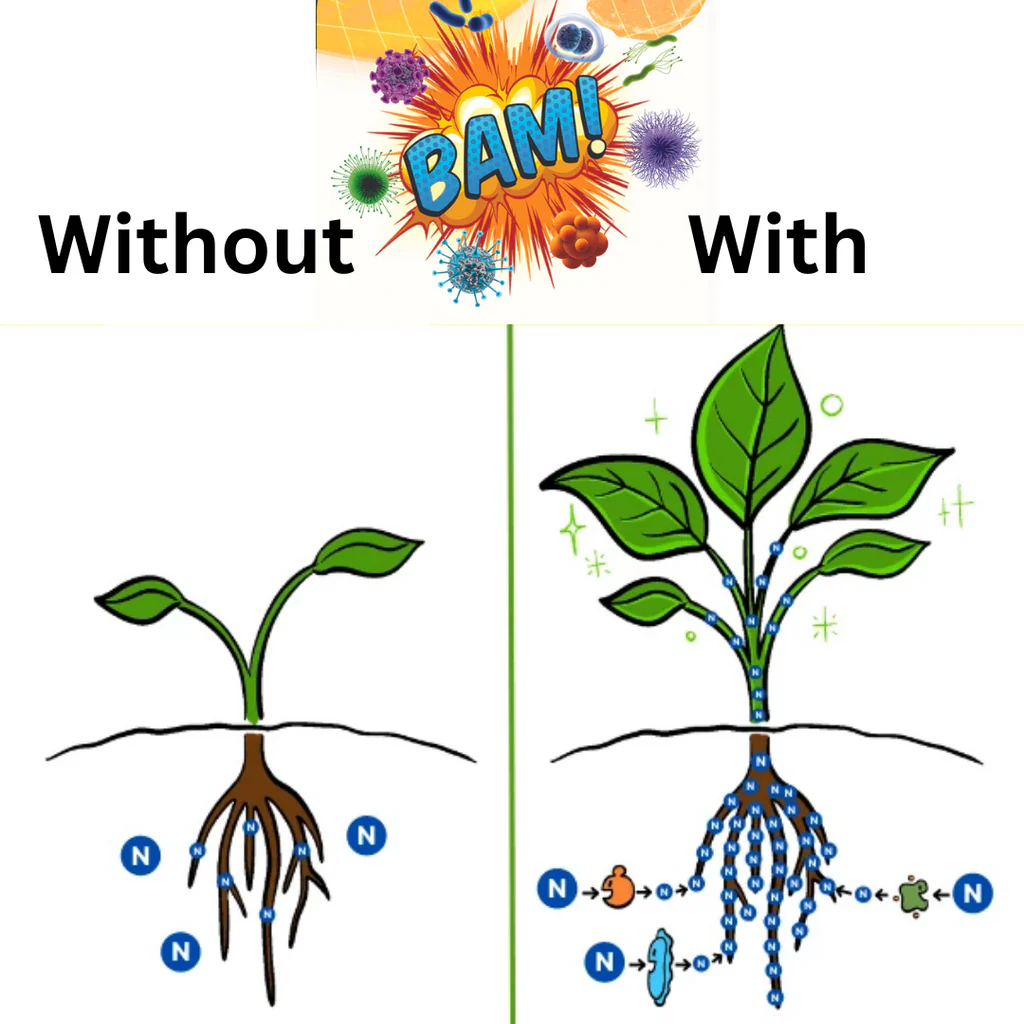
As you can see in the comparison above, the plant on the right: treated with beneficial microbes and proper nutrient delivery: has a vastly superior root structure. In the winter, a strong root system is your plant's best defense against the cold and fluctuating indoor conditions.
Final Thoughts
Brewing compost tea in November doesn't have to be complicated, but it does require you to be more mindful of the environment. By keeping your water warm, your oxygen high, and your microbes well-fed with products like BAM! and Mykos, you can maintain a thriving ecosystem in your pots all winter long.
If you have questions about your specific setup or need help picking out a Nutrient and Microbial Inoculant Kit, don't hesitate to reach out to us at Perfect Gardens. We’re here to help you grow your best, no matter what the thermometer says outside.
Ready to start your winter brew? Head over to our Home Page to grab your supplies and join the Army of Growers today!