Blog
DIY Grow Room Lighting Relays: Save Money, Boost Efficiency
Setting up proper lighting control in your grow room doesn't have to break the bank. While commercial lighting controllers can easily run you $300-500 or more, a DIY relay-based system can deliver the same functionality for under $80. Let's break down everything you need to know about building your own lighting relay system that'll save you money while boosting your grow room's efficiency.
What Exactly Is a Lighting Relay?
Think of a lighting relay as the smart middleman between your timer and your grow lights. Instead of plugging each light into its own individual timer, a relay system lets you control multiple lights from a single control point. The relay acts like a heavy-duty switch that can handle the electrical load of your lights while being controlled by a low-voltage signal from a timer or controller.
Here's the simple breakdown: your timer sends a small electrical signal to the relay, which then opens or closes the circuit that powers your lights. This might sound complicated, but it's actually much simpler and more reliable than daisy-chaining multiple timers or trying to run everything through standard household outlets.
Why Relays Beat Individual Timers Every Time
Centralized Control With individual timers, you're dealing with multiple points of failure. One timer goes bad, and part of your lighting schedule is shot. With a relay system, you've got one control point managing everything. Change your schedule once, and all your lights follow suit.
Load Management Most household timers aren't designed to handle the electrical draw of high-powered grow lights, especially when you're running multiple fixtures. Relays are built to handle heavy loads safely, which means less risk of overheated timers or electrical issues.
Consistency Ever notice how cheap timers tend to drift over time? Your lights start coming on a few minutes later each week until your schedule is completely off. Quality relay systems maintain precise timing, which is crucial for maintaining proper photoperiods.

Expandability Starting small but planning to expand? With individual timers, you'll need to buy more equipment every time you add lights. A proper relay system can often handle additional circuits with minimal additional investment.
The Real Cost Breakdown
Let's talk numbers. A basic commercial lighting controller for a small to medium grow room typically runs $250-400. Here's what you're looking at for a DIY setup:
- Arduino microcontroller: $15-25
- Relay module (4-channel): $20-30
- Electrical enclosure: $15-20
- Wire, terminals, and basic supplies: $15-25
- Total: $65-100
That's a savings of $150-300 right off the bat. And here's the kicker – you'll learn exactly how your system works, making troubleshooting and modifications much easier down the road.
DIY Setup Basics: Getting Started
Component Selection For most small to medium grow rooms, a 4-channel relay module gives you plenty of flexibility. You can control multiple light zones, exhaust fans, and even other equipment like pumps or heaters. A 5V relay module works perfectly with Arduino controllers and can handle most grow light loads.
Programming Made Simple Don't let the programming aspect scare you off. Basic timer functions are straightforward – you're essentially telling the system "turn on at this time, turn off at that time." There are plenty of pre-written code examples available online, and once you get the hang of it, customizing schedules becomes second nature.
Safety First This is electrical work, so respect the power you're dealing with. Always work with the power off, use proper wire nuts and electrical tape, and if you're not comfortable with electrical connections, consider having an electrician help with the final hookup. The control side (Arduino and relays) is low voltage and safe, but the load side deals with standard household current.
Electrical Considerations: Doing It Right
Schedule 40 Conduit: Your Friend When running electrical lines to your lights, don't cut corners with extension cords or loose wiring. Schedule 40 PVC conduit keeps your wiring protected and organized. It's inexpensive, easy to work with, and makes future modifications much simpler. Plus, it looks professional and keeps everything tidy.
220V for Larger Setups If you're running more than 3-4 high-powered lights, consider stepping up to 220V. Here's why this matters: the same amount of power draws half the current at 220V compared to 110V. Lower current means you can use smaller wire gauges, smaller breakers, and put less strain on your electrical system overall.
For example, a 1000W light draws about 9 amps at 110V but only 4.5 amps at 220V. When you're running multiple lights, this adds up to significant infrastructure savings and improved safety margins.
Proper Load Calculations Before you start wiring, add up the total wattage of all the equipment you want to control. A good rule of thumb is to size your relay system for 125% of your actual load. This gives you a safety margin and room for future expansion.
Perfect Gardens Equipment Solutions
While you're building your DIY relay system, you'll still need quality lights and components to make it all worthwhile. Perfect Gardens carries everything you need to build a professional grow room setup.
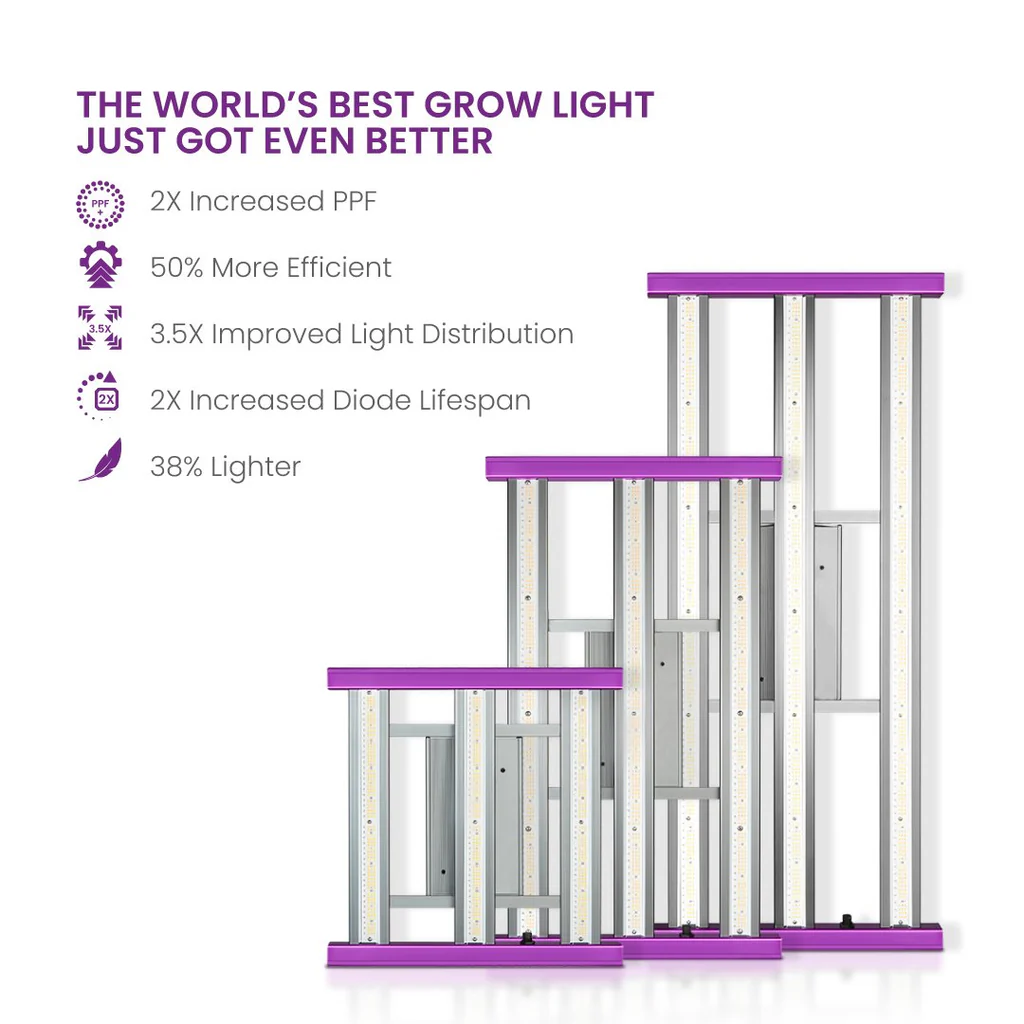
Quality Grow Lights The KIND LED X-Series lights are perfect for relay-controlled setups. They're efficient, reliable, and designed to handle frequent on/off cycling without issues. The X330, X220, and X420 models give you options for different room sizes and budgets.
Timer Solutions If you're not quite ready to jump into Arduino programming, Perfect Gardens offers mechanical timers that can work with relay systems. These 240V timers are perfect for controlling your relay's input signal while handling higher voltage loads.
Professional Setup Support Building your own relay system is rewarding, but if you want professional guidance on the overall room design, Perfect Gardens offers grow tent consulting to help you plan everything from lighting placement to ventilation integration.
Practical Tips for Different Room Sizes
Small Rooms (2-4 lights) A simple 2-channel relay setup works perfectly. Use one channel for your main growing lights and another for supplemental lighting or equipment. Keep it simple and focus on reliability over fancy features.
Medium Rooms (4-8 lights) This is where relay systems really shine. Use different channels for different zones – you might want your seedling area on a different schedule than your flowering plants. Consider integrating fan control so your ventilation ramps up when lights come on.
Large Operations (8+ lights) Multiple relay controllers or higher-capacity units become necessary. Plan your zones carefully and consider having backup controllers for critical circuits. At this scale, the complexity management and cost savings of relay systems become even more apparent.
Making It Future-Proof
One of the best aspects of building your own system is the ability to modify and expand as your needs change. Start with basic on/off control, then add features like dimming, temperature-based adjustments, or integration with other equipment as you get more comfortable with the system.
Consider running extra conduit and wire runs during initial setup – it's much easier to pull additional wires through existing conduit than to run new lines later. Plan for at least 50% more capacity than your current needs.
Monitoring and Troubleshooting Build in some basic monitoring from the start. LED indicators showing relay status, current sensors to monitor load, and even simple data logging can save you hours of troubleshooting later. Most Arduino setups can easily accommodate these features with minimal additional cost.
The fact of the matter is that DIY relay systems aren't just about saving money – they're about understanding and controlling your growing environment better. When you build the system yourself, you know exactly how it works, what can go wrong, and how to fix it quickly.
Whether you're just getting started with a small tent or planning a serious growing operation, a well-designed relay system gives you the control and reliability you need while keeping more money in your pocket for the things that really matter – like quality lights, nutrients, and genetics.
Ready to start building? Perfect Gardens has the components and expertise to help you create a professional-grade grow room that won't break the budget. The investment in learning these systems pays dividends in both immediate savings and long-term growing success.