Blog
Easy Tissue Culture: How to Save Sick Plants & Clone Thousands for Cheap
Mark recently dropped some serious knowledge on Perfect Gardens TV about tissue culture, and honestly, it's one of those game-changing techniques that most home growers are sleeping on. If you've ever lost prized genetics to bugs, mold, or questionable clone quality, tissue culture might be exactly what you need to take control of your propagation game.
The reality is that tissue culture isn't just for big commercial operations anymore. With the right setup and a little patience, you can save sick plants, preserve rare genetics, and clone thousands of plants for pennies on the dollar compared to buying clones from dispensaries or nurseries.
Why Traditional Cloning Falls Short
Let's be honest about the problems with conventional cloning methods. When you buy clones from other growers, you're essentially playing genetic roulette. You might get spider mites, powdery mildew, or worse: genetics that have been stressed and passed around so many times they're barely worth growing.
Even when you take your own cuttings, you're limited by the health of your mother plants. One contaminated mother can ruin your entire propagation cycle. Plus, maintaining mother plants takes up valuable space, requires constant care, and limits how many different strains you can keep in rotation.
Tissue culture solves these problems by giving you complete control over your genetics from day one. You're working with sterile plant material that's free from pests, diseases, and environmental stress. Think of it as creating a genetic backup drive for your favorite plants.
The Cost Savings Are Real
Here's where tissue culture gets really interesting from a financial perspective. A single tissue culture can potentially produce thousands of identical plants. Compare that to buying clones at $15-25 each, and the math becomes pretty compelling pretty fast.
Your main costs upfront are the basic equipment and supplies: MS media, petri dishes, some basic sterilization chemicals, and a simple light setup. After that initial investment, you're looking at maybe 50 cents per plant in ongoing materials. Even for hobbyist growers working with smaller batches, the savings add up quickly.
Commercial growers are already doing this at scale, producing over 30 million plants per year in some facilities. But the same principles work whether you're making 50 plants or 50,000.
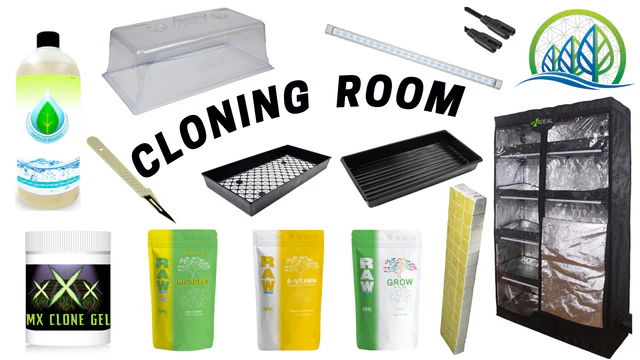
Essential Equipment and Supplies
The beauty of tissue culture is that you don't need a million-dollar laboratory to get started. Mark outlined the basic setup during his explanation, and it's surprisingly accessible.
MS Media is your growth medium: this is basically plant food in a gel form that provides all the nutrients your tissue cultures need to develop. You can buy pre-made MS media or mix your own from powder if you want to go the budget route.
Petri dishes are your sterile containers where the magic happens. Glass ones are reusable if you're planning to do this long-term, but disposable plastic dishes work fine for getting started.
For sterilization, you'll need bleach or hydrogen peroxide. Mark emphasized that proper sterilization is absolutely critical: one contaminated culture can spread to your entire batch if you're not careful.

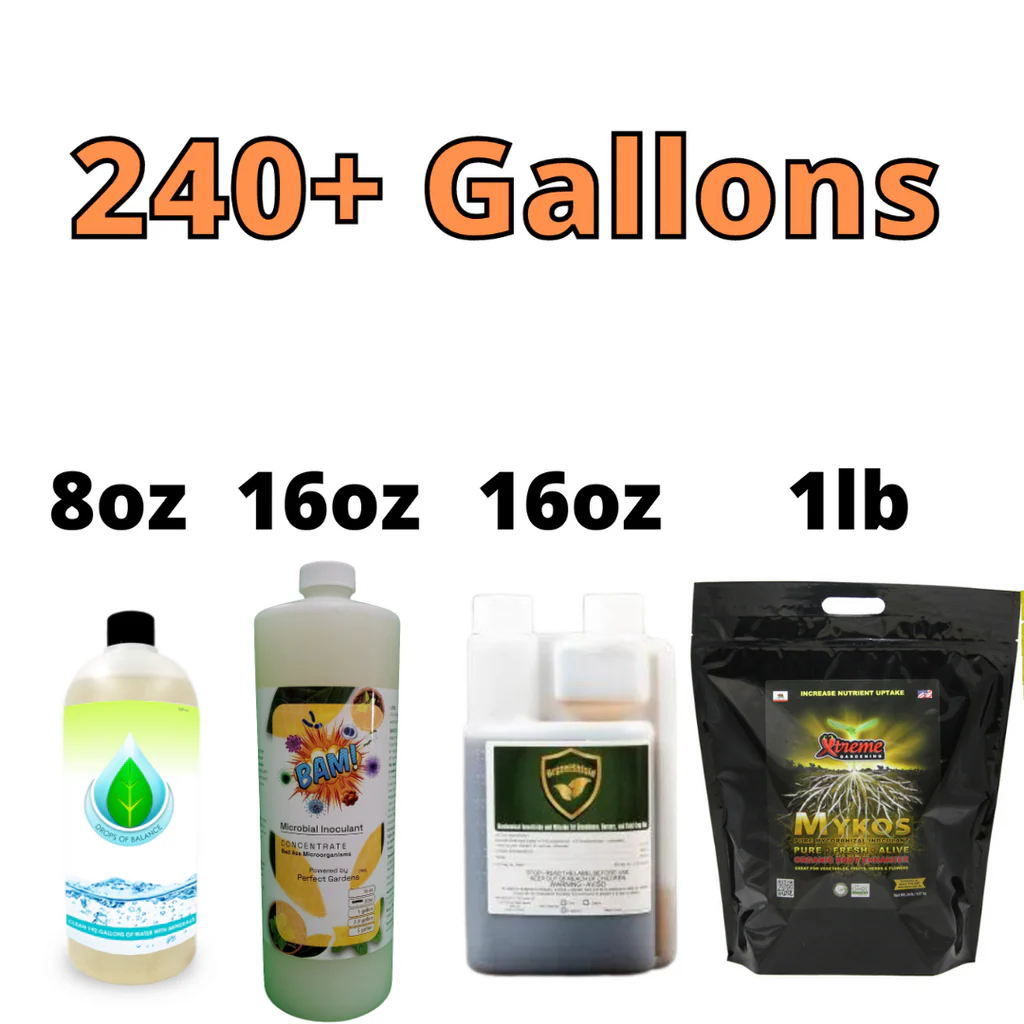
Drops of Balance can be incredibly helpful in this process. This mineral supplement helps purify and mineralize your water, which is crucial when you're working with such small amounts of plant tissue. Clean, balanced water makes a significant difference in success rates.
The Basic Process Step-by-Step
1. Select Your Source Material Start with the healthiest plant tissue you can find. Even if your mother plant is showing signs of stress or disease, you can often find clean tissue in the growing tips or newest growth. The key is cutting small enough pieces to avoid contaminated vascular tissue.
2. Sterilization Protocol This is where most beginners mess up. Surface sterilize your plant material with a diluted bleach solution (about 10% bleach, 90% water) for 2-3 minutes, then rinse with sterile water. Work in a clean environment: a laminar flow hood is ideal, but a still-air box or even just a very clean counter can work for small batches.
3. Tissue Preparation Cut your sterilized tissue into tiny pieces: we're talking 2-4mm sections. You want to remove as much of the vascular system as possible since that's where most contaminants live. Use a sharp, sterile blade and work quickly to minimize exposure.
4. Culture Placement Place your tissue pieces onto the MS media in your petri dishes. Each piece should have some contact with the medium but not be buried. You want maybe 3-5 pieces per dish to start.
5. Incubation and Light This is where the lighting tips Mark mentioned become crucial. Tissue cultures need light, but not intense light. Standard fluorescent or LED lights work perfectly: you want about 12-16 hours of light per day. Too much light can stress the cultures, too little and they won't develop properly.
Managing Growth and Multiplication
After 2-4 weeks, you should start seeing new shoot development. This is when tissue culture gets really exciting because you can begin multiplying your cultures. Take the new shoots and divide them into more pieces, placing each piece into fresh media.
The goal during this stage is to encourage shoot growth while actually limiting root development. This might seem counterintuitive, but it allows for much more efficient multiplication. You can keep dividing and re-culturing the same genetic material almost indefinitely.
Each multiplication cycle can potentially double or triple your plant count. After a few cycles, you'll have more plants than you know what to do with: all from that original piece of tissue.
Transitioning to Real Growing Conditions
Eventually, you'll want to move your tissue cultures out of the lab and into actual growing conditions. This transition phase is critical and requires some patience.
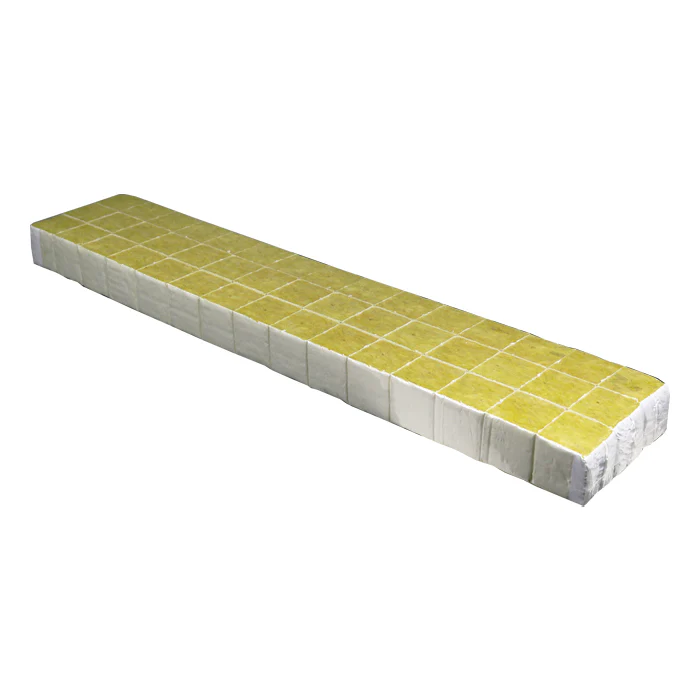
First, you'll encourage root development by changing to a different media formulation or moving to small plugs with rooting hormone. Rockwool cubes work well for this transition stage.

The key challenge here is acclimation. Plants grown in sterile lab conditions need to gradually adjust to the real world with all its bacteria, fungi, and environmental variations. Start with high humidity and gradually reduce it over 1-2 weeks.
Common Mistakes and How to Avoid Them
Contamination is the biggest killer of tissue culture attempts. The research shows that even commercial operations struggle with endophytic contamination: bacteria living inside the plant's vascular system. This is why cutting smaller pieces and avoiding antibiotics or pesticides is so important.
Poor sterilization technique ranks right up there with contamination. Everything that touches your cultures needs to be sterile. This includes your tools, work surface, hands, and even the air if possible.
Inadequate lighting can slow development or cause etiolated growth. You want enough light for photosynthesis but not so much that you stress the delicate tissue. A simple timer and basic LED setup usually does the trick.
Impatience during acclimation kills a lot of otherwise successful cultures. Don't rush the transition from sterile lab conditions to your growing environment. Give plants time to develop their natural defenses.
Why This Gives You Ultimate Genetic Control
The biggest advantage of tissue culture is the level of control it gives you over your genetics. You're starting with clean, disease-free material every single time. No more worrying about spider mites hitchhiking on clones or inheriting someone else's problems.
You can preserve rare genetics almost indefinitely in culture. Mother plants eventually age out or succumb to problems, but tissue cultures can theoretically be maintained forever with proper care.
For growers dealing with legal plant limits, tissue culture is a game-changer. Instead of dedicating space to multiple mother plants, you can maintain dozens of different genetics in a small lab setup.
It's Easier Than You Think
Mark's main message was that tissue culture seems intimidating but really isn't once you understand the basics. The learning curve exists, but it's not as steep as most people imagine. Start small, focus on sterile technique, and don't expect perfection on your first attempt.
Most home growers who try tissue culture are surprised by how straightforward the process becomes after a few rounds. The initial setup takes some effort, but the ongoing maintenance is actually quite minimal compared to keeping mother plants healthy.
The fact that commercial facilities can produce 30 million plants per year using these same basic principles should give you confidence that the science is solid. You're not reinventing anything: just scaling it down to fit your needs.
Getting Started with Perfect Gardens
If tissue culture sounds like something you want to try, Perfect Gardens can help you get set up with the right equipment and supplies. We carry everything from basic starter supplies to more advanced setups for serious growers.
The initial investment might seem significant compared to just buying clones, but the long-term savings and genetic security make it worthwhile for most growers. Plus, there's something deeply satisfying about producing thousands of plants from a tiny piece of tissue.
Ready to take control of your genetics and save serious money on propagation? Contact Perfect Gardens to discuss your tissue culture setup, or check out our educational resources for more advanced growing techniques.
Whether you're looking to preserve rare genetics, scale up production, or just want the peace of mind that comes with clean starting material, tissue culture might be the missing piece in your growing operation.