
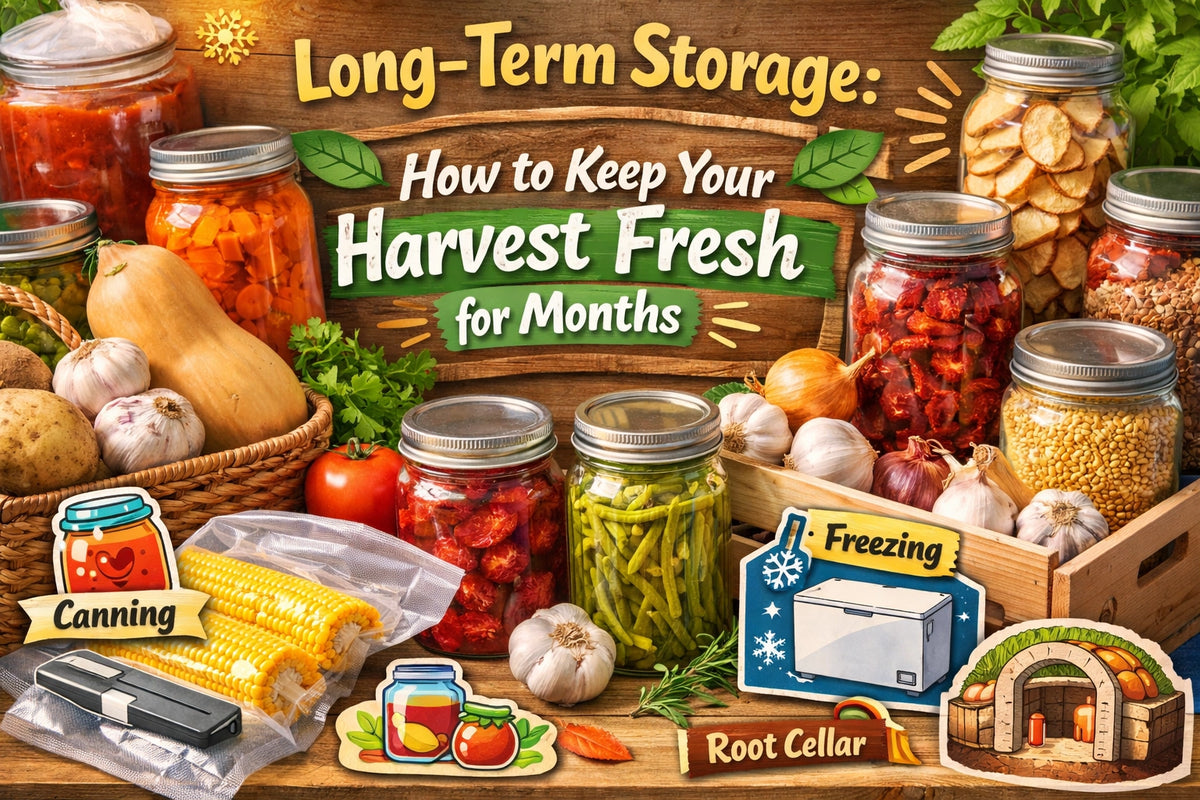
You’ve done the hard part. You spent weeks: maybe months: dialing in your nutrients, managing your Gorilla Grow Tent environment, and watching your plants thrive. You’ve finally chopped, dried, and trimmed your harvest. But here is the fact of the matter: if you don’t store that harvest correctly, all that hard work can disappear in a matter of weeks.
Freshness isn't just about smell; it's about potency, flavor, and preventing the dreaded "hay" smell that happens when terpenes evaporate and chlorophyll breaks down poorly. Whether you are growing high-value herbs or stocking up on garden vegetables, long-term storage is a science.
In this guide, I’m going to walk you through the "Big Four" enemies of freshness and the exact methods: from glass jars to vacuum sealing: that will keep your harvest shelf-stable for months, or even years.
The Four Enemies of Your Harvest
Before we talk about containers, we have to talk about what actually kills your harvest. If you want to keep things fresh, you are essentially at war with four specific elements:
- Light: UV rays break down organic matter and degrade cannabinoids and essential oils. This is why "cool and dark" is the golden rule.
- Heat: High temperatures accelerate the drying process and cause essential oils to evaporate. Ideally, you want your storage area to be below 70°F (21°C).
- Air (Oxygen): While plants need CO2 to grow and oxygen to breathe, your finished harvest hates it. Oxygen causes oxidation, which turns your vibrant green harvest into a brittle, brown shadow of its former self.
- Moisture: This is the trickiest one. Too little moisture and your harvest turns to dust. Too much, and you’re looking at a mold breakout.
Speaking of mold, if you are working with living soil or high-humidity environments, you might want to check out how Drops of Balance helps reduce mold risk during the growing phase, which leads to a cleaner, safer harvest for storage.
The Foundation: A Proper Cure
You can’t put a wet harvest into long-term storage and expect it to survive. Storage starts with the cure. Curing is the process of allowing moisture to move from the center of the plant material to the outside, while slowly breaking down chlorophyll.
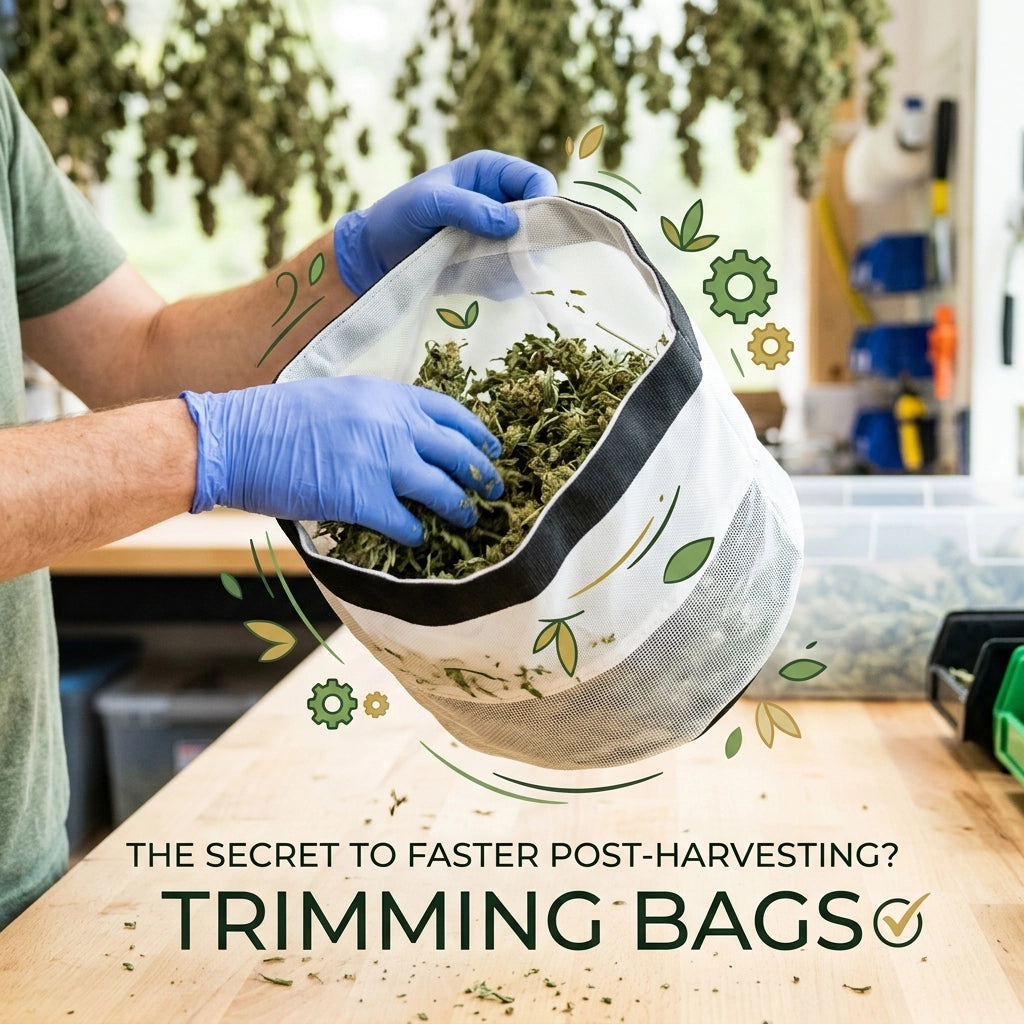
If you rush this or skip it, you’ll trap moisture in your storage containers, leading to anaerobic bacteria and mold. Many growers find that using tools like the Trim Bag can help speed up the processing side so you can get into the curing phase faster without damaging the delicate trichomes. For a deep dive on this stage, check out our guide on drying and curing best practices.

Method 1: Glass Jars and Humidity Control
For most home growers, wide-mouth glass Mason jars are the gold standard. Glass is non-porous, doesn't leach chemicals, and provides an airtight seal that is easy to monitor.
Why Glass Jars Work
Glass allows you to see what’s happening inside without opening the lid (if you use clear glass), though I always recommend keeping those jars in a dark cupboard or using amber-tinted glass to block UV light.
The Role of Humidity Packs
The biggest challenge with jar storage is maintaining the "sweet spot" of 58% to 62% relative humidity (RH). This is where 2-way humidity control packs come in. These packs either add or remove moisture to keep the environment stable.

Using a Boveda 62% pack inside your jar ensures that your harvest stays supple. It prevents the essential oils from drying out while ensuring there isn't enough "free water" for mold to grow.
Pro Tip: Don't pack your jars too tight. Leave about 25% of the jar as "headspace." This allows for a small amount of air to help with the final stages of the curing process during the first few weeks of storage.
Method 2: Vacuum Sealing for Bulk Storage
If you have a massive harvest that you don't plan on touching for six months or more, glass jars might take up too much space. This is where vacuum sealing becomes a viable option.
The Benefits of Removing Oxygen
By removing the air, you essentially stop the oxidation process in its tracks. This is the preferred method for long-term food storage and for growers who produce large quantities. Even when we look at finished products like infused coconut oil capsules, vacuum sealing is used to ensure the potency stays locked in for the end user.

The Downsides (and How to Avoid Them)
The biggest risk with vacuum sealing delicate flowers or herbs is the "crush factor." A standard vacuum sealer will squeeze the air out so hard that it can compress your harvest into a hard brick, damaging the structure.
To avoid this:
- Pulse Setting: Use a vacuum sealer with a manual "pulse" or "gentle" setting.
- Bag-in-a-Box: Place your harvest in a small cardboard box or a hard plastic container first, then vacuum seal the container inside the bag. This creates a vacuum environment without physical pressure on the plants.
Method 3: Mylar Bags and Oxygen Absorbers
If you are storing dry goods, seeds, or even dehydrated garden veggies, Mylar bags are an industry secret. Mylar is a metallic film that is completely opaque (blocking 100% of light) and provides a superior barrier against oxygen and moisture compared to standard plastic.
Using Oxygen Absorbers
When using Mylar, you often add a small packet called an "oxygen absorber." These contain iron powder that chemically traps any remaining oxygen in the bag. This can extend the shelf life of dried goods for years. According to research, properly sealed dried goods like beans or grains in Mylar bags can last up to 25 years if kept in a cool, dark place.

Temperature Control: The "Cool" Factor
I can't stress this enough: temperature is just as important as the container. Many people make the mistake of storing their harvest in a garage or an attic. These areas have massive temperature swings that cause "sweating" inside your jars or bags.
When the temperature rises, moisture is pulled out of the plant material into the air inside the jar. When the temperature drops at night, that moisture condenses on the sides of the jar or back onto the harvest. This cycle is a recipe for mold.
The Ideal Setup:
- Temperature: 60°F - 70°F (15°C - 21°C).
- Location: A basement, an interior closet, or a dedicated climate-controlled storage bin.
- Stability: Avoid areas near heaters, water heaters, or exterior walls.
Specialized Methods: Freeze-Drying
While expensive, freeze-drying is the pinnacle of long-term storage. Unlike traditional drying, which uses heat and airflow, freeze-drying uses sublimation. The harvest is frozen, and then a vacuum is applied to turn the frozen water directly into vapor.
This preserves the physical structure and nearly 100% of the nutritional and chemical profile. Freeze-dried food can last 25 years and rehydrates perfectly. For growers, this is the ultimate way to "lock in" the freshness of the day it was harvested.
Maintenance and Rotation
Long-term storage isn't "set it and forget it." You should be checking your stash regularly.
- The Smell Test: Once a month, open a "test jar" from your batch. It should smell like the plant, not like damp hay or ammonia. If you smell ammonia, your harvest was too wet when it went in: get it out and dry it immediately!
- Hygrometers: Use small digital hygrometers inside your bulk containers. If you see the RH climbing above 65%, you need to "burp" the container (let it air out) or add more desiccant/humidity packs.
- Labeling: This seems obvious, but after six months, every jar looks the same. Label with the strain/variety, the harvest date, and the date it went into long-term storage.
- FIFO: Use the "First In, First Out" method. Use your oldest harvest first to ensure nothing sits for years and loses its punch.
Final Thoughts
The difference between a "good" harvest and a "legendary" one often comes down to what happens after the plant is cut. By controlling the environment and choosing the right containers, you can enjoy the fruits of your labor for months to come.
Whether you’re using Gorilla Grow Tents for a small personal setup or managing a large-scale hydroponic garden, the goal is the same: protect your investment. Keep it cool, keep it dark, and keep that humidity locked in.
If you’re just starting your journey and want to avoid the common pitfalls that lead to a bad harvest, check out our guide on 7 mistakes you're making with indoor gardening setups. Happy harvesting!

Leave a comment
This site is protected by hCaptcha and the hCaptcha Privacy Policy and Terms of Service apply.