Blog
The Beginner’s Guide to Using a Compost Tea Brewer
If you’ve been hanging around the gardening world for more than a few days, you’ve probably heard people whispering about "liquid gold." No, they aren't talking about actual gold; they’re talking about compost tea. For a long time, this was seen as some sort of "witchcraft" or secret known only to organic master gardeners. But the truth is, anyone can do it.
At Perfect Gardens, we’re big fans of working with nature rather than against it. Using a compost tea brewer is one of the most effective ways to introduce massive biological diversity into your soil or hydroponic system. It’s not just about "feeding" the plant; it’s about building an entire ecosystem in your root zone that does the work for you.
In this guide, we’re going to break down exactly how to use a compost tea brewer, why aeration is your best friend, and how to make sure you aren't accidentally brewing a batch of "bad" bacteria.
What Exactly is Compost Tea?
Before we get into the "how," let’s talk about the "what." Compost tea is a concentrated liquid created by steeping high-quality compost in water while adding oxygen. This process extracts and multiplies the beneficial microorganisms, like bacteria, fungi, protozoa, and nematodes, found in the compost.
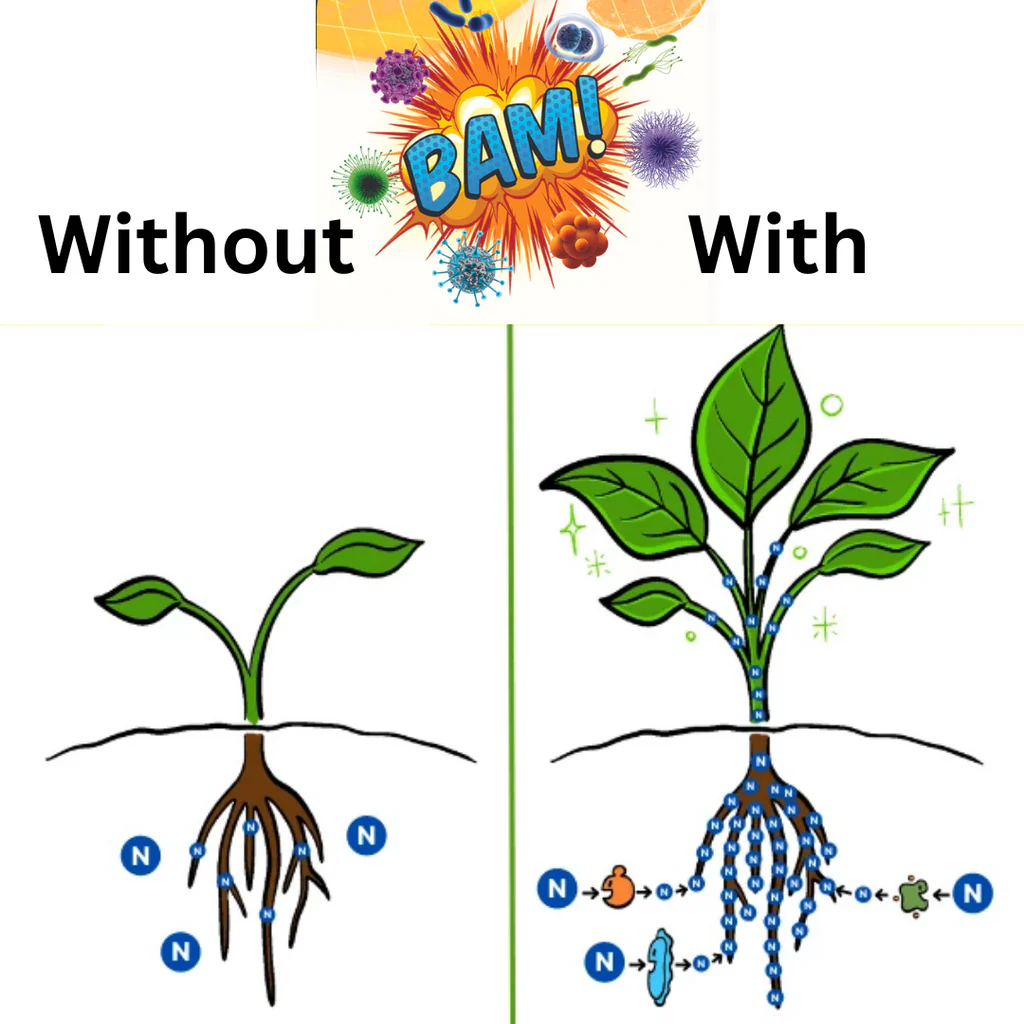
The goal isn't just to get the nutrients out of the compost. You can do that with a simple "extract" (just soaking compost in water). The goal of brewing is to use an air pump to multiply those microbes by the millions. When you pour this tea onto your plants, you are essentially deploying a microscopic army that helps break down nutrients, fights off pathogens, and improves soil structure.
Why You Need a Dedicated Brewer
You might be wondering, "Can't I just throw some compost in a bucket and stir it?" Technically, yes, but you won't get the same results.
The fact of the matter is that the "good" microbes we want are aerobic, meaning they need oxygen to survive and multiply. If you let compost sit in water without enough air, it becomes anaerobic. This is where things get smelly and dangerous. Anaerobic environments breed pathogens that can actually hurt your plants.
A dedicated brewer uses an air pump and air stones (or a specialized manifold) to keep the dissolved oxygen levels high enough to support explosive microbial growth. This is the difference between a stagnant pond and a fresh mountain stream.

The Basic Gear List
Getting started doesn't have to be expensive. If you’re a beginner, a 5-gallon setup is the perfect entry point. Here is what you’ll need:
- A 5-Gallon Bucket: Make sure it’s clean and food-grade if possible.
- An Air Pump: You want something powerful enough to make the water look like it’s boiling. A standard aquarium pump can work for small batches, but an industrial-grade air pump is better.
- Air Stones or Bubbler: This sits at the bottom of the bucket to distribute the air.
- A Mesh Brew Bag: Usually 400 microns is the sweet spot. It holds the compost so you don't end up with a bucket of mud that clogs your sprayers.
- Water Filtration: Chlorine and chloramines in city water are designed to kill bacteria. Since we are trying to grow bacteria, this is a problem. You’ll need a way to clean your water first.
Check out our Hydroponics collection for high-quality pumps and tubing to get your DIY setup running.
Choosing Your Ingredients: Quality In, Quality Out
Your tea will only be as good as the compost you start with. If you use cheap, unfinished compost that still smells like manure, your tea will reflect that.
The Foundation: Compost or Worm Castings
High-quality worm castings are generally the safest and most effective "starter" for beginners. They are packed with a diverse range of microbes and are very unlikely to contain harmful pathogens.
The Food: Microbial Catalysts
Microbes need to eat to multiply. Common foods include:
- Unsulphured Liquid Molasses: Feeds bacteria.
- Kelp Meal or Liquid Kelp: Feeds fungi and provides trace minerals.
- Humic Acids: Helps stabilize the brew and provides a carbon source.
The Boosters: Mycorrhizae and BAM!
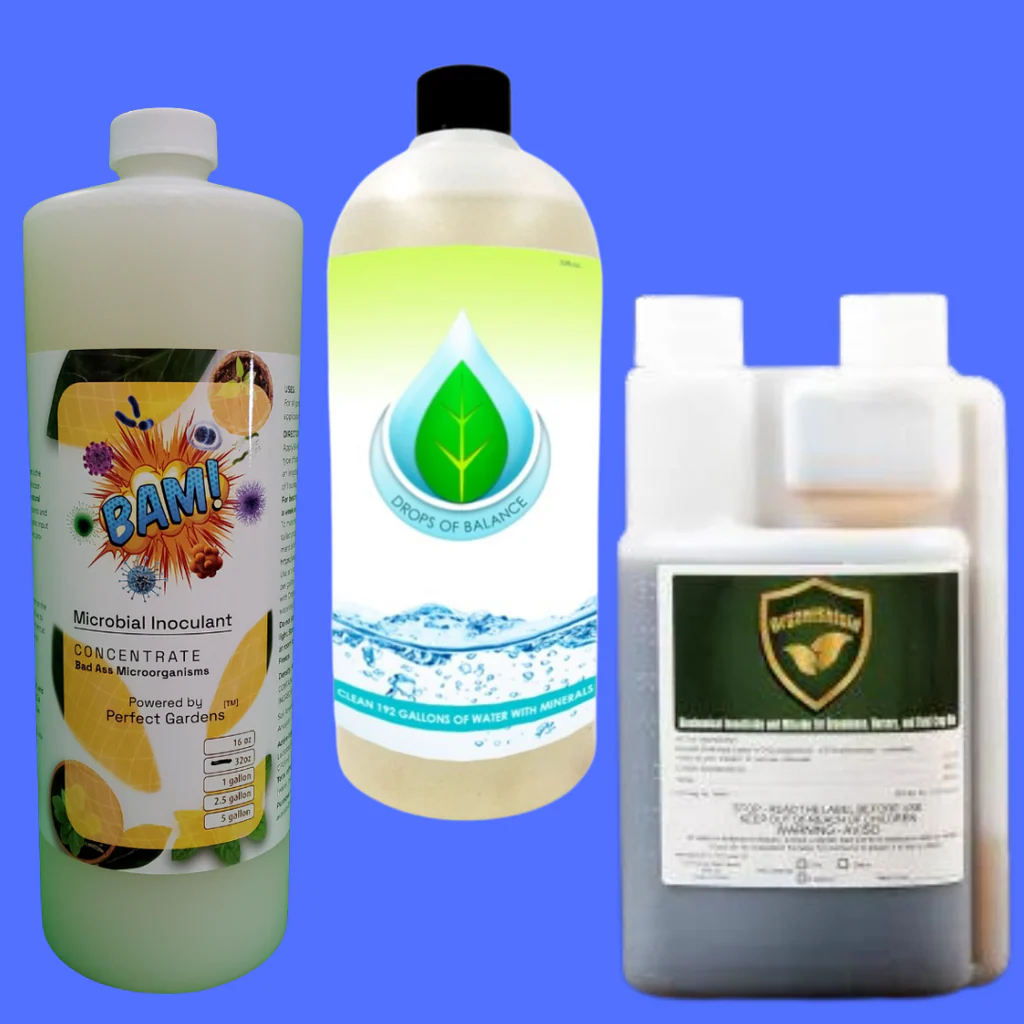
This is where you can really level up. While compost has a lot of "general" biology, adding specific inoculants ensures your plants get exactly what they need. Adding something like BAM! Microbial Inoculant provides a concentrated punch of beneficial bacteria that are specifically selected for plant health.
Furthermore, mentioning Mycorrhizae is essential. Mycorrhizal fungi create a symbiotic relationship with plant roots, essentially extending the root system's reach. Adding a product like Xtreme Gardening Mykos to your transplanting process or even including certain water-soluble versions in your tea regimen can dramatically increase nutrient uptake.
Step-by-Step: Brewing Your First Batch
Ready to brew? Follow these steps for a successful 24-to-48-hour cycle.
Step 1: Prepare Your Water
Fill your 5-gallon bucket with water. If you are using tap water, you must remove the chlorine. You can do this by bubbling the water with your air pump for 24 hours before adding your ingredients, or you can use a Water Filtration System to strip it out instantly.
Step 2: Set Up the Aeration
Place your air stones at the bottom of the bucket and turn the pump on. You want to see "rolling" bubbles. If there are dead spots in the bucket where the water isn't moving, microbes can settle and go anaerobic.
Step 3: Load the Brew Bag
Add about 1 to 2 cups of high-quality compost or worm castings into your mesh bag. Tie it off and suspend it in the water. Some people like to "massage" the bag to help the microbes release into the water, but if your aeration is strong enough, the bubbles will do the work for you.
Step 4: Feed the Microbes
Add 1 tablespoon of unsulphured molasses and 1 tablespoon of liquid kelp. Don't overdo it on the molasses; too much sugar can cause a bacterial bloom so large that it consumes all the oxygen, crashing the brew.
Step 5: The Brew Time
Let it brew for 24 to 48 hours.
- 24 Hours: Usually results in a bacterial-heavy tea, great for leafy greens and the vegetative stage.
- 48 Hours: Allows more time for fungal hyphae to develop, which is often preferred for woody perennials or flowering plants.
Caution: If the tea starts to smell like rotten eggs or "trash," something went wrong. This usually means your air pump isn't strong enough or you added too much sugar. If it smells bad, do not put it on your plants. Throw it out and start over. A good brew should smell earthy, like a fresh forest floor.
How to Apply Your Compost Tea
Once the brew is finished, you want to use it as soon as possible. The microbes are at their peak activity right when you turn the pump off. If the tea sits for more than 4-6 hours without air, the biology will start to die off.
1. Soil Drench
This is the easiest method. Simply pour the tea directly onto the soil at the base of your plants. This populates the rhizosphere (the area around the roots) with beneficial life. It’s almost impossible to "overdose" with compost tea, but a standard application is about 1 cup of tea per gallon of container size.
2. Foliar Spray
You can also strain the tea further and put it into a sprayer. Spraying the leaves (foliar feeding) covers the plant’s surface with beneficial microbes that can help prevent powdery mildew and other foliar diseases. Just make sure to do this early in the morning or right before the lights go out to avoid burning the leaves under intense LED lights.

Enhancing Biological Diversity
The true secret to a "Perfect Garden" is diversity. While a standard compost tea is great, adding diverse inputs like Xtreme Gardening Azos can help with nitrogen fixation, especially in the early stages of growth.
The goal of using a brewer is to create a living "soil food web" even if you are growing in coco coir or a hydroponic reservoir. By consistently introducing these microbes, you ensure that any plant nutrients you add are being processed and delivered to the plant as efficiently as possible.
Keeping Your Equipment Clean
This is the part everyone hates, but it’s the most important. As soon as you finish your brew, you must clean everything.
Bacteria create a "biofilm": a slimy layer that sticks to the walls of the bucket, the tubing, and the air stones. If you don't scrub this off, the next time you brew, you will be inoculating your fresh tea with old, potentially harmful bacteria.
- Rinse everything with hot water immediately.
- Scrub the bucket with a soft brush (no harsh soaps unless they are organic-safe).
- Run a diluted hydrogen peroxide solution through your air stones to keep them from clogging.
Final Thoughts
Using a compost tea brewer is one of the most rewarding skills you can learn as a gardener. It moves you away from just "throwing chemicals" at a problem and toward understanding the biological engine that drives plant growth.
It seems more like a science project at first, but once you see the vibrant green leaves and the explosive root growth that comes from a well-brewed tea, you’ll never go back to plain water again. If you're looking for the best starting point, check out our featured products for microbial kits that take the guesswork out of your first brew.
Happy growing!