Blog
Cleaning Your System Post-Pest Infestation
There’s no sugarcoating it: finding a pest infestation or a pathogen outbreak in your hydroponic systems is a total gut punch. Whether it’s spider mites, root rot (Pythium), or fungus gnats, these uninvited guests don't just ruin your current harvest: they leave behind "calling cards" in the form of eggs, spores, and biofilm that can haunt your next three cycles if you aren't careful.
The fact of the matter is that most growers under-estimate how resilient these pests actually are. You can’t just "rinse and repeat." To truly reset your grow room and ensure your next run is successful, you need a scorched-earth policy for sterilization. At Perfect Gardens, we’ve seen enough "clean" systems fail two weeks into a new flip because a few dormant spores were hiding in a 1/4" air line.
Here is the professional protocol for stripping down and sterilizing your setup after a breakout.
Step 1: The Total Tear-Down
The first mistake people make is trying to clean around the plants. If the infestation was bad enough that you’re reading this, the plants need to go. Once the room is empty, you need to disassemble every single component of your hydroponic systems.
- Disconnect all lines: Pull your 1/4" and 1/2" poly tubing.
- Remove the pumps: Take the covers off your submersible pumps to expose the impellers.
- Empty the reservoirs: Get every drop of old nutrient solution out.
- Toss the porous stuff: If you were using rockwool, coco, or air stones that look "slimy," just throw them away. Air stones, in particular, are nearly impossible to fully sterilize because of their porous nature.

Step 2: Choosing Your Sterilization Agent
You have two main heavy hitters when it comes to killing off pathogens and pests in a hydro setup: Bleach and Hydrogen Peroxide.
The Bleach Method
A solution of 1 part unscented household bleach to 9 parts water is the industry standard for killing viruses and bacteria. It’s cheap and effective, but it requires a massive amount of rinsing. If you leave any bleach residue behind, it will kill your next batch of beneficial microbes or, worse, your young clones.
The Hydrogen Peroxide (H2O2) Method
This is our preferred method. Using a high-concentration, food-grade H2O2 (like 35%) is incredibly effective at oxidizing organic matter and killing pests on contact. The best part? It breaks down into water and oxygen, leaving zero toxic residue behind.

When using 35% H2O2, you must wear gloves and eye protection. This stuff is not the diluted version you find at the grocery store; it will give you a chemical burn instantly. For a heavy-duty system flush, we recommend 2-3 cups of 35% H2O2 per 10 gallons of water.
Step 3: Scrubbing the Reservoir and Buckets
Pests and pathogens love to hide in "biofilm": that slippery, snot-like coating that builds up on the walls of your reservoir. This film acts as a shield for bacteria. You can't just soak it; you have to break it mechanically.
Use a clean scrub brush or a new sponge to scour the inside of every bucket and reservoir. Pay special attention to the corners and the "lip" of the containers. If you’re using a high-capacity tank like the Grow1 collapsible water storage tank, make sure you wipe down the support poles and the exterior as well. Spidermites are notorious for hiding on the underside of bucket lids and in the folds of collapsible tanks.
Step 4: Flushing the Plumbing and Manifolds
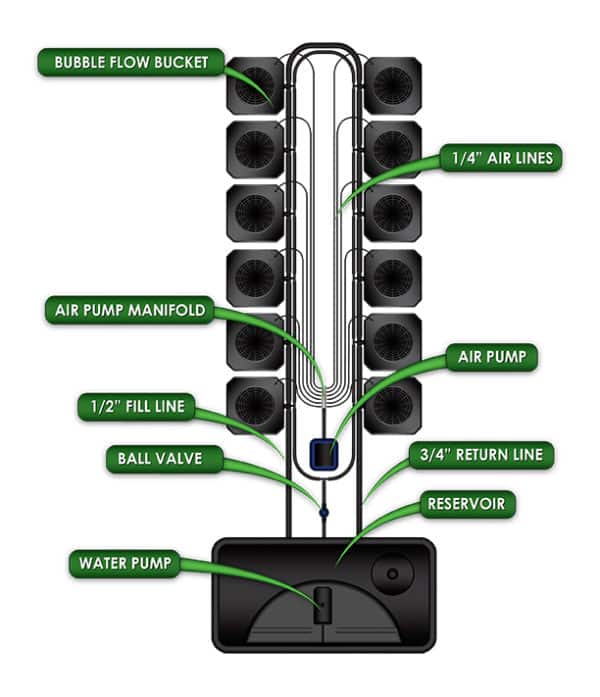
The plumbing is where most re-infestations begin. In a complex setup, like a Hydroponic Bubble Flow Bucket System, there are dozens of "blind spots" where water sits still or where eggs can lodge themselves.
- The Circulation Flush: Reassemble your system (without plants) and fill the reservoir with your cleaning solution (H2O2 or Bleach/Water).
- Run the Pumps: Let the system run for at least 24 hours. This ensures the sterilizer reaches the inside of every manifold, T-joint, and emitter.
- Check the Emitters: If you are using top-feed drippers or sprayers, check them for clogs. If they are even slightly restricted, replace them. They are too cheap to risk a crop over.
Step 5: Sanitizing the Grow Environment
It doesn't matter how clean your buckets are if your grow tent is still covered in mite eggs. Pests can survive for weeks in the cracks of your floor or the dust on your lights.
- Vacuum First: Use a vacuum with a HEPA filter to suck up all dust and debris.
- Wipe Down the Walls: If you’re using black and white panda film or a high-quality grow tent, wipe every inch of the surface with a 5% H2O2 solution.
- Clean the Lights: Dust acts as an insulator for heat and a hiding spot for spores. Gently wipe your LED bars or reflectors (while they are off and cool!).
- Wash Your Tools: Pruning shears, PH meters, and measuring cups should all be soaked in a disinfectant.
Step 6: The Reset and Re-Inoculation
Once everything is scrubbed, flushed, and dried, it’s time to rebuild. But here is the "Caution" part: after a heavy sterilization, your system is a "sterile field." This sounds good, but it actually makes your plants vulnerable. In a sterile environment, the first microbe to arrive wins. If a stray pathogen gets in, it has no competition and will explode in population.
We recommend "re-colonizing" your system immediately with beneficial microbes. This is where a product like BAM! (Beneficial Ancient Microbes) comes in.
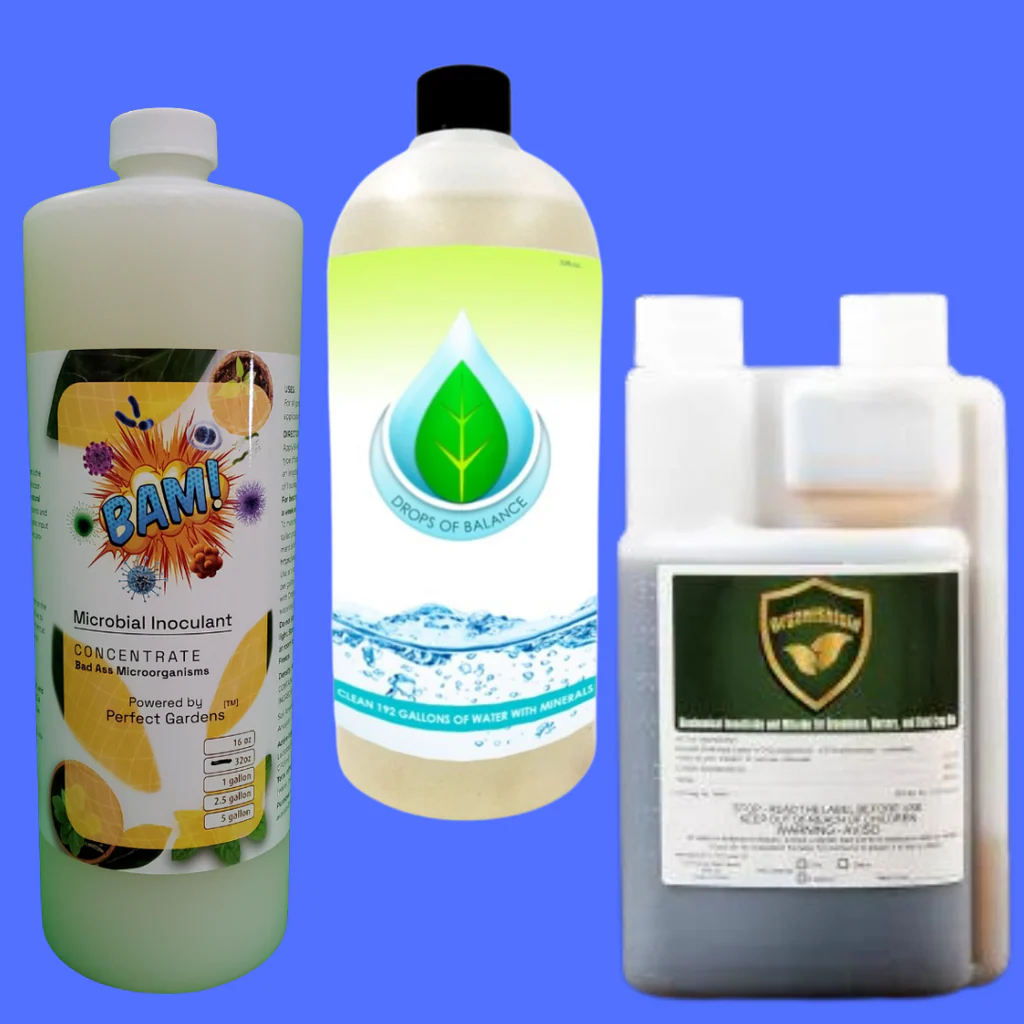
By introducing an Army of Growers in the form of beneficial bacteria and fungi, you create a biological shield around your roots. These "good guys" will eat any remaining organic waste and out-compete harmful pathogens like Pythium.
Realistic Expectations and Prevention
Look, cleaning a system post-infestation is a grueling 8-hour job, minimum. It’s tempting to cut corners, but every minute you spend scrubbing now saves you weeks of frustration later.
If you struggled with soft-bodied insects like aphids or mites, consider incorporating an organic preventative like OrganiShield into your new routine. It’s much easier to keep a system clean than it is to fix a contaminated one.
Common Pitfalls to Avoid:
- Using the same vacuum: If you vacuumed up a spider mite web, change the bag or clean the filter before bringing that vacuum back into your clean room.
- Ignoring the intake: Check your intake fans. If they don't have filters, you're just sucking the neighborhood pests right back into your sterile system.
- Reusing old clay pebbles: Unless you are boiling them or soaking them in concentrated H2O2 for 48 hours, just buy new ones. The risk-to-reward ratio isn't worth it.
If you’re feeling overwhelmed by a recent breakout and aren't sure if your system is salvageable, check out our Grow Help Videos for a visual walkthrough of these deep-cleaning techniques. You can also contact our team directly: we’ve helped thousands of growers bounce back from the brink of total crop failure.
The bottom line is: Cleanliness isn't just a chore in hydroponics; it’s a core component of your yield. Treat your system like a laboratory, and your plants will reward you for it. Stay diligent, keep scrubbing, and let's get that next run started on the right foot.