Blog
Compost Tea 101: How to Brew the Perfect Batch for Explosive Growth
If you’ve been hanging around the gardening world for more than five minutes, you’ve probably heard people whispering about "liquid gold." No, they aren't talking about buried treasure: they’re talking about compost tea.
At Perfect Gardens, we get asked all the time: "Is it really worth the effort?" The short answer is a resounding yes. If you want to see your plants hit a growth spurt that looks like something out of a sci-fi movie, mastering the art of the brew is the way to go. Compost tea isn't just "liquid fertilizer"; it’s a living, breathing microbial soup that supercharges your soil’s ecosystem.
In this guide, we’re going to break down everything you need to know about brewing the perfect batch, from the simple bucket method to using a high-end compost tea brewer.
What Exactly is Compost Tea?
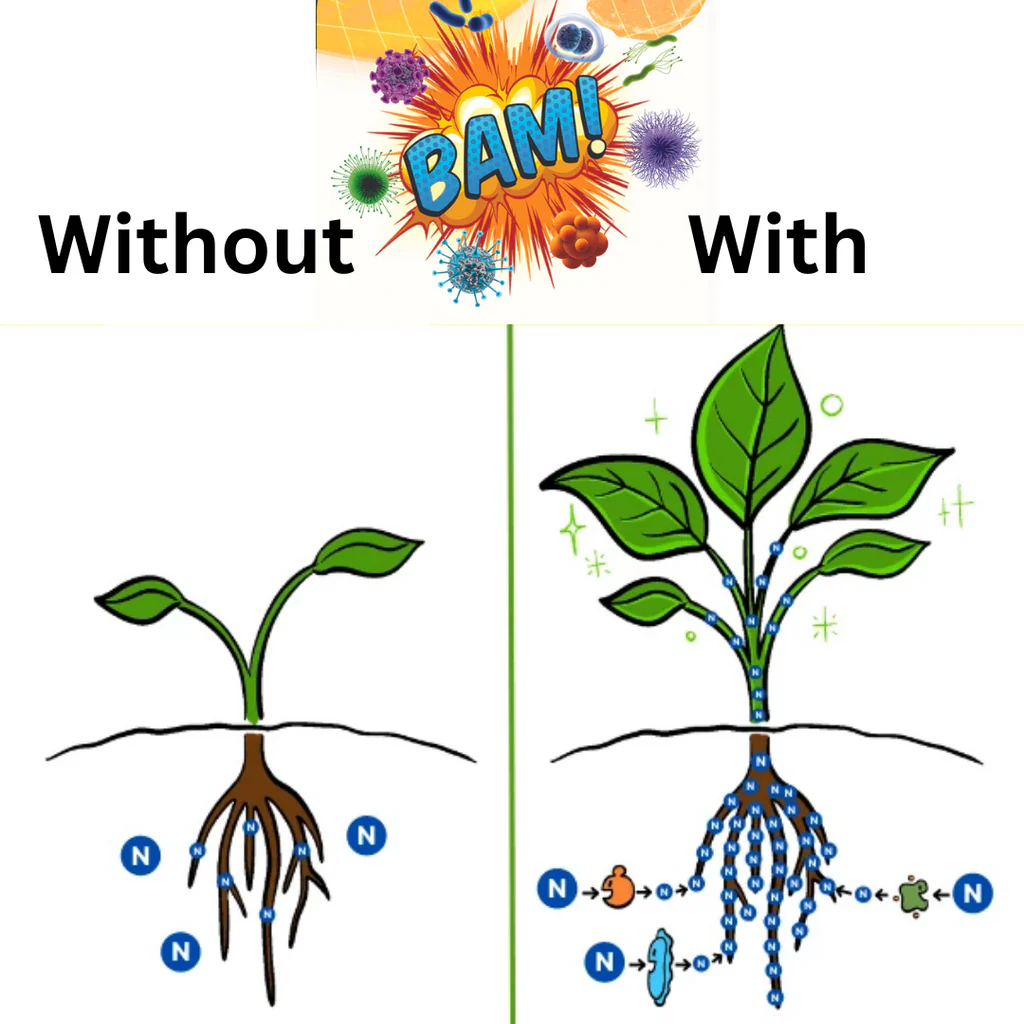
Think of compost tea as a probiotic shot for your garden. When you take high-quality compost and steep it in water, you aren't just extracting nutrients like Nitrogen, Phosphorus, and Potassium. You are actually "growing" the beneficial bacteria, fungi, protozoa, and nematodes that live in the compost.
By providing these microbes with oxygen and a food source (like molasses), you encourage them to multiply exponentially. When you pour that tea onto your soil or spray it on your leaves, you’re delivering an army of beneficial organisms that help with:
- Nutrient Cycling: Microbes break down organic matter into a form plants can actually eat.
- Pathogen Protection: Beneficial bacteria can outcompete "bad" fungi and diseases.
- Soil Structure: Fungal hyphae help bind soil together, improving aeration and water retention.
The Core Ingredients: What You’ll Need
Before you start brewing, you need to gather your supplies. The quality of your tea is directly related to the quality of your inputs. If you put garbage in, you’re going to get garbage out.
1. High-Quality Compost
This is the most important part. You want well-aged, finished compost. It should smell like a fresh forest floor, not like a landfill. Vermicompost (worm castings) is often the gold standard for tea because it is naturally loaded with diverse microbial life.
2. Dechlorinated Water
This is a dealbreaker. Most city tap water contains chlorine or chloramines designed to kill bacteria. Since we are trying to grow bacteria, using straight tap water will sabotage your brew before it starts.
- The Fix: Let your tap water sit out for 24 hours so the chlorine can evaporate, or use a product like Drops of Balance to help condition and mineralize your water source.
3. Microbe Food
To get those microbes multiplying, they need a snack.
- Unsulfured Blackstrap Molasses: This provides simple sugars that bacteria love.
- Kelp Meal or Seaweed Extract: Great for fungal growth and adding trace minerals.
- Fish Emulsion: Provides nitrogen and proteins to kickstart the process.
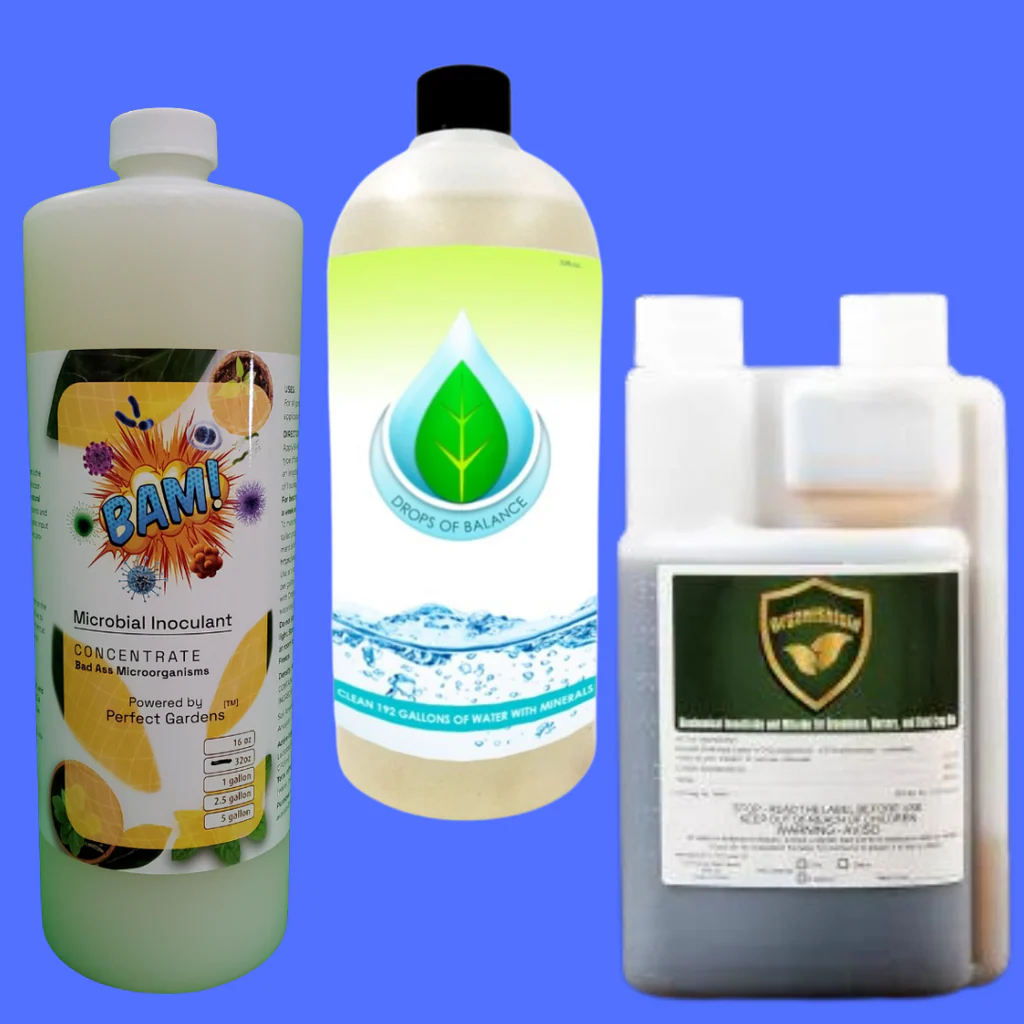
4. Beneficial Inoculants
While good compost has microbes, adding a concentrated boost can ensure your tea is dominant in the "good guys." Products like BAM! Microbial Inoculant are specifically designed to enhance these populations.
Two Ways to Brew: Simple vs. Aerated
There are two main philosophies when it comes to brewing: the "let it sit" method and the "active aeration" method.
The Simple (Non-Aerated) Method
This is for the gardener on a budget or someone who just wants to dip their toes in. You basically put compost in a bucket of water, stir it a few times a day, and let it sit for a few days.
- Pros: Very cheap; requires no electricity.
- Cons: Lower microbial counts; risk of the tea going anaerobic (smelly and harmful to plants) if left too long without oxygen.
The Aerated Method (Actively Aerated Compost Tea - AACT)
This is where the magic happens. By using an air pump and air stones: essentially creating a compost tea brewer: you keep the water saturated with oxygen. This prevents the "bad" anaerobic bacteria from taking over and allows the "good" aerobic microbes to thrive and multiply.

The Essential Gear: Choosing a Compost Tea Brewer
If you’re serious about your yields, investing in or building a proper compost tea brewer is the move. You don't need a lab-grade setup, but you do need a few basics:
- A Reservoir: A 5-gallon bucket works for small tents, but larger grows might need a Grow1 collapsible water storage tank.
- Air Pump & Stones: You want enough "bubble" to keep the compost moving. If the compost settles at the bottom, those spots will lose oxygen.
- A Mesh Bag: To hold the compost so you don't have to strain the whole bucket later. A 400-micron bag is usually perfect.
Step-by-Step: Brewing Your First Batch
Ready to get started? Follow these steps for a standard 5-gallon brew:
- Prep the Water: Fill your bucket with 4 gallons of water. If using tap water, aerate it for 24 hours first or use a mineral conditioner.
- Bag the Compost: Put about 2-4 cups of high-quality compost or worm castings into your mesh bag.
- Add the Food: Mix in 1 tablespoon of molasses and 1 tablespoon of liquid kelp or fish emulsion directly into the water.
- Insert the Brewer: Place your air stones at the bottom and drop in the compost bag. Turn on the pump.
-
The Wait: Let it brew for 24 to 48 hours.
- Pro Tip: In warmer weather, 24 hours might be enough. In cooler temps, you might need the full 48.
- The "Sniff Test": Your tea should smell earthy, sweet, or like yeast. If it smells like rotten eggs or sewage, do not put it on your plants. That means it went anaerobic, and it could contain pathogens that harm your garden.
Maximizing Growth with Additives
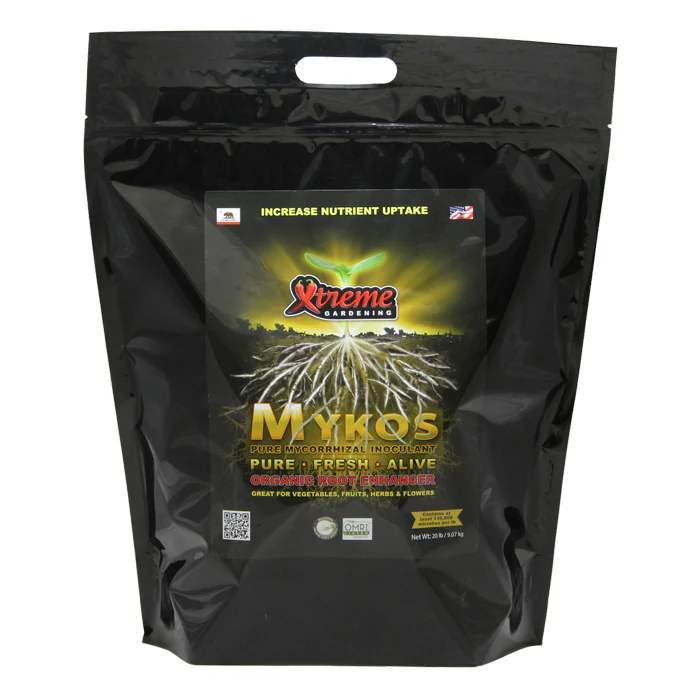
While the compost is the base, adding specific inoculants can tailor the tea to your plant's current stage. For example, if you are in the transplanting phase, adding Xtreme Gardening Mykos or Azos can help with root development and nitrogen fixation.
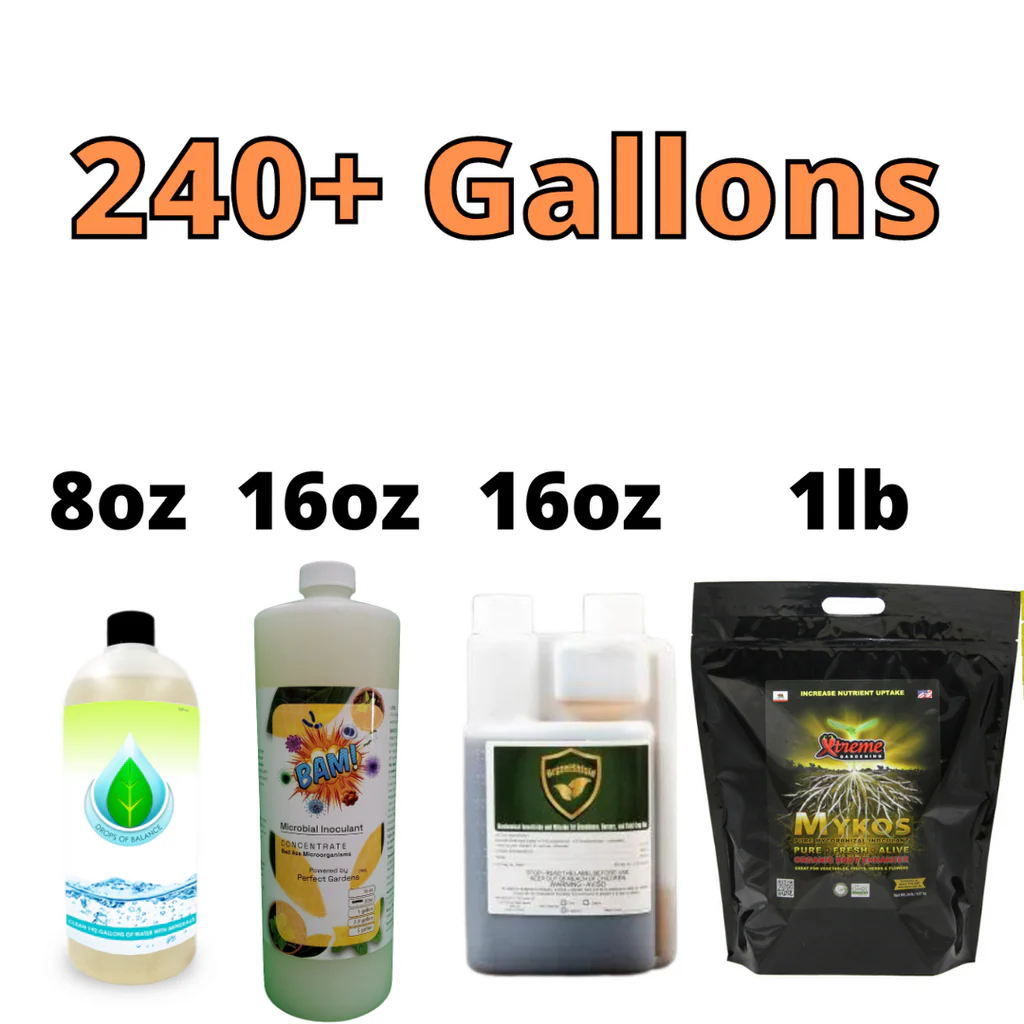
If you want a "one-and-done" solution to ensure your tea is perfect every time, consider a Nutrient and Microbial Inoculant Kit. These kits take the guesswork out of the chemistry.
Applying Your Tea Like a Pro
Once the brew is finished, the clock is ticking. The microbes are at their peak activity right when you turn the pump off. As the oxygen levels drop, they will start to die off. Try to use your tea within 4-6 hours of finishing the brew.
Root Drench
The most common method. Simply pour the tea around the base of your plants. This populates the rhizosphere (the area around the roots) with beneficials. You can apply it at full strength or dilute it 1:1 with dechlorinated water.
Foliar Spray
You can also spray the tea directly onto the leaves. The microbes will occupy the leaf surface (the phyllosphere), making it harder for diseases like powdery mildew to take hold.
- Note: If you use a foliar spray, make sure to strain the tea extremely well so you don't clog your sprayer.
Common Pitfalls to Avoid
Even the pros mess up sometimes. Here are the big ones to watch out for:
- Over-Brewing: If you let it go for 3 or 4 days, the microbes will eventually run out of food and oxygen and die off. Stick to the 24-48 hour window.
- Dirty Equipment: Biofilm (that slimy stuff) can build up on your air stones and hoses. This slime can harbor bad bacteria. Clean your compost tea brewer thoroughly with hydrogen peroxide or a specialized cleaner after every single use.
- Wrong Temperatures: Try to brew at room temperature (65-75°F). Extreme heat or cold will slow down or kill the microbial activity.
Final Thoughts
Brewing compost tea is one of those skills that separates the "average" growers from the "expert" growers. It’s a low-cost way to dramatically improve the health, flavor, and yield of your crops. Whether you're building a DIY rig or buying a professional compost tea brewer, the results speak for themselves.
If you're feeling overwhelmed, don't sweat it. Start with a simple bucket, some good worm castings, and some molasses. Your plants will thank you.
Got questions about your specific setup or need help picking the right microbes? Check out our Grow Help Videos or reach out to us at Perfect Gardens. Happy growing!