Blog
Compost Tea Brewer Guide: Maintenance Tips for Long-Term Use
Brewing your own compost tea is one of the most effective ways to supercharge your garden’s biology. By multiplying beneficial bacteria and fungi, you’re essentially creating a "probiotic drink" for your root zone. However, a compost tea brewer is not a "set it and forget it" piece of equipment.
The reality is that your brewer is a biological reactor. While it’s designed to grow the "good guys," it can just as easily become a breeding ground for pathogens if it isn't maintained correctly. If you’ve ever noticed a foul, swampy smell coming from your tea, or a slimy film coating the inside of your bucket, your maintenance routine needs an upgrade.
In this guide, we’ll dive into the essential maintenance steps to ensure high microbial counts, proper oxygenation, and long-term durability for your brewing system.
The Science of Cleanliness: Why Biofilm is the Enemy
When you brew compost tea, you’re often adding catalysts like molasses, kelp, or fish hydrolysate. These are high-energy food sources for microbes. As these microbes multiply, they create something called biofilm.
Biofilm is a sticky, slimy layer composed of extracellular polymeric substances (basically, bacterial glue). In your brewer, biofilm acts as a protective shield for anaerobic bacteria. If you don’t scrub this film off after every brew, it stays behind, hardens, and becomes a "seed" for pathogens in your next batch.
The fact of the matter is that you can have the best compost in the world, but if your brewer is contaminated with old biofilm, you will never achieve a high microbial count of the beneficial aerobic organisms you actually want.
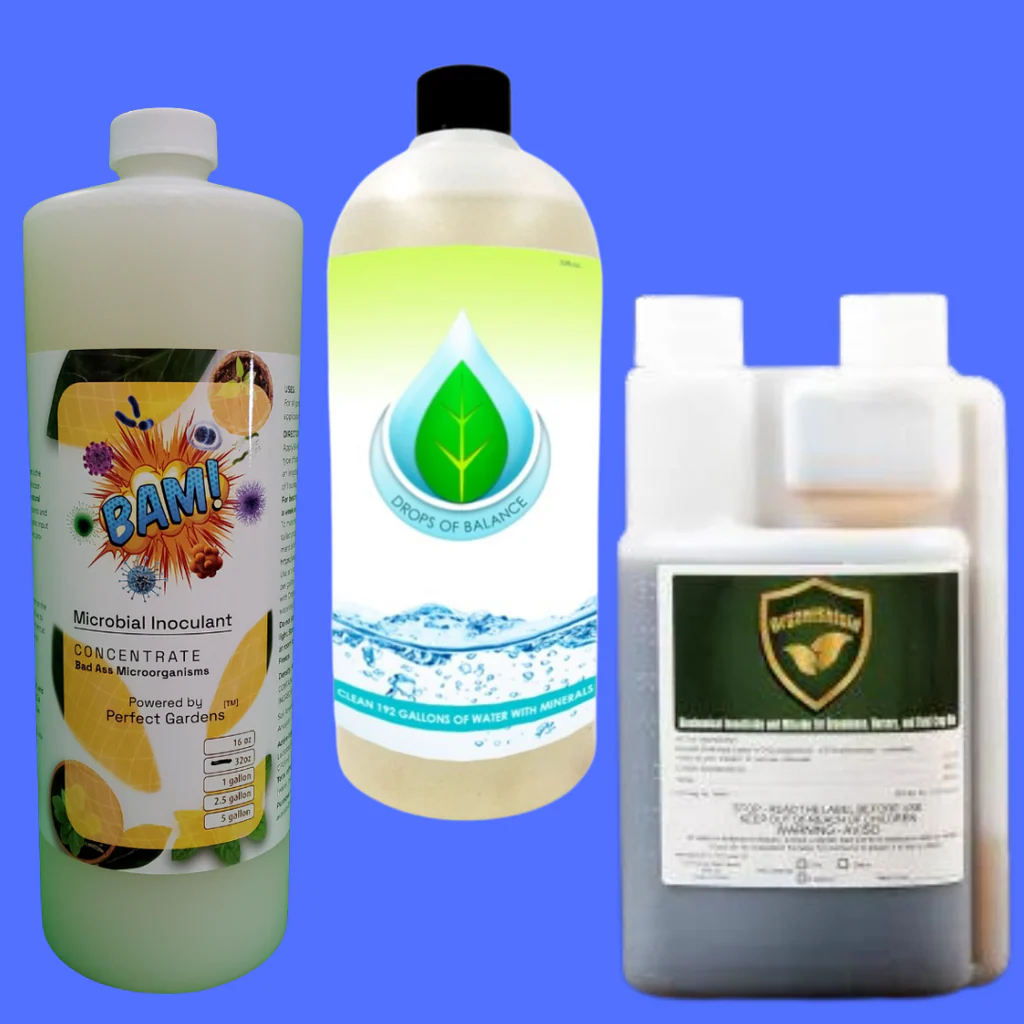
Using a high-quality BAM! Microbial Inoculant ensures you start with the right biology, but maintenance ensures that biology thrives.
The Golden Rule: Clean Immediately
If there is one tip that will save you hours of frustration, it is this: Clean your brewer immediately after the brew cycle is finished.
As soon as you pour that last gallon of tea onto your plants, the clock is ticking. Once the organic matter and sugars in the tea dry, they become incredibly difficult to remove, especially from porous surfaces like air stones or the mesh of your tea bag.
The Post-Brew Routine
- Rinse Everything: Use a high-pressure hose to spray out the bucket, the air stones, and the tea bag.
- Scrub with Hot Soap and Water: Use a dedicated scrub brush and mild dish soap to remove any visible slime or residue.
- Flush the Lines: Keep the air pump running while you rinse the stones to prevent tea from being sucked back into the lines.
- Dry Thoroughly: This is the part most growers skip. Mold loves moisture. If you store your brewer while it’s still damp, you’re asking for trouble.
Deep Cleaning and Disinfection
Standard soap and water are great for removing physical debris, but every few brews, you need a deep disinfect. There are two primary schools of thought here: Bleach or Hydrogen Peroxide.
The Bleach Method
Bleach is highly effective at killing pathogens, but it must be used with caution. If any bleach residue remains in your brewer, it will kill the beneficial microbes in your next batch of tea.
- Fill the brewer with water and add 2 teaspoons of bleach per gallon.
- Let it sit for several hours (or overnight).
- Crucial Step: Rinse the system repeatedly. Run the air pump with fresh water to flush the air stones. You should not be able to smell even a hint of chlorine before your next brew.
The Hydrogen Peroxide Method
Many professional growers prefer using 35% Food Grade Hydrogen Peroxide. It is a powerful oxidizer that breaks down into water and oxygen, leaving no toxic residue behind.

Using a solution of H2O2 to soak your air stones and scrub your bucket is a "cleaner" way to ensure your system is sterile. It’s also excellent for cleaning collapsible water storage tanks if you use them to store your base water.

Maintaining Proper Oxygenation
Oxygen is the "fuel" for an aerobic compost tea. Beneficial microbes require high levels of Dissolved Oxygen (DO) to stay alive and multiply. If your oxygen levels drop, the tea becomes anaerobic, which can produce alcohols and acids that harm your plants.
Air Stone Maintenance
Air stones are the most common point of failure in a brewer. Because they are porous, they trap fine particles of compost and molasses. Over time, these pores clog, reducing the volume of air bubbles.
- The Boil Method: If your stones seem clogged, you can boil them in water for 10-15 minutes to loosen organic material.
- Pressure Check: If you notice your air pump is getting louder or vibrating more, it’s likely because the stones are clogged, creating "back pressure." Clean or replace them immediately to avoid burning out your pump.
Air Pump Longevity
Your air pump should always be placed above the water level of the brewer. If the power goes out and the pump is on the floor, water can siphon back through the air lines and destroy the pump's motor. Always use a check valve if you can’t place the pump in an elevated position.
Managing the Tea Bag (Filter)
The mesh bag used to hold your compost is another hotspot for microbial contamination.
- Turn the bag inside out to rinse it.
- Avoid using harsh detergents that can get trapped in the fabric.
- If the bag starts to feel stiff or develops a permanent "earthy" smell, it’s time to replace it. A clean bag allows for better water flow, which means more microbes are washed out of the compost and into the tea.
Tips for Long-Term Durability
Investing in a quality brewer is only half the battle; how you treat it between uses determines its lifespan.
- Store in a Dark, Dry Place: UV light can degrade plastic buckets and hoses over time, making them brittle.
- Check for Leaks: If you use a system with a bottom spigot, check the gaskets regularly. A small leak can lead to a big mess (and wasted tea).
- Monitor Your Water Source: If you have hard water, mineral scale can build up on your equipment. Using a Countertop Water Filtration System or products like Drops of Balance can help keep your water "clean" and your equipment free of scale.

Common Pitfalls to Avoid
It’s easy to get lazy with maintenance, but here are a few things that will definitely ruin your progress:
- Leaving the "Gunk" Overnight: If you finish a brew at 10 PM and think, "I'll clean it in the morning," you've already lost. The biofilm will have hardened by then.
- Overloading the Brewer: Putting too much compost in the bag can restrict oxygen flow, leading to an anaerobic "dead zone" in the middle of the bag.
- Using Abrasive Scrubbers: Don’t use steel wool on plastic buckets. It creates microscopic scratches where bacteria can hide. Use a soft nylon brush or a sponge.
Why Maintenance Matters for Your Plants
At the end of the day, we do this for the plants. A well-maintained brewer produces tea that is teeming with life. When you apply clean, highly-oxygenated tea to your soil, you see the results in the roots.

Healthy roots, like the ones shown on the right in the image above, are the result of a consistent microbial program. If your brewer is dirty, you're not just wasting time: you're potentially introducing root rot pathogens like Pythium into your garden.
Final Thoughts
A compost tea brewer is one of the most powerful tools in an organic or hydroponic grower's arsenal. By treating it with the same respect you give your lights or your nutrient reservoir, you ensure that every batch of tea you brew is a success.
If you have questions about setting up your first brewing system or need help troubleshooting a "smelly" batch, don't hesitate to check out our Grow Help Videos or Contact Us directly. We're here to help you grow your best garden yet!
By following these maintenance tips, you’ll protect your investment and, more importantly, your plants. Keep it clean, keep it oxygenated, and watch your garden thrive.