Blog
Spring Cleaning: Deep Cleaning Your Hydroponic System
It’s March, the sun is starting to stay out a little longer, and for most of us, that "spring cleaning" itch is starting to set in. But while most people are focused on cleaning out their garages or dusting ceiling fans, indoor growers have a much more critical task: deep cleaning the hydroponic system.
If you’ve just finished a harvest or you’re transitioning between seasonal crops, you cannot afford to skip a deep sanitize. Residual salts, decaying root matter, and those tiny green patches of algae are essentially a "Welcome" mat for pathogens like Pythium (root rot) and fungus gnats.
At Perfect Gardens, we always say that a clean environment is the foundation of a heavy harvest. You can have the best lights and the most expensive nutrients in the world, but if your reservoir is a petri dish for bacteria, your plants will never reach their potential. Let’s break down how to strip your system down and get it back to "factory fresh" status.
Why "Good Enough" Isn't Enough
In a soil-based garden, the soil acts as a buffer. In hydroponics, the water is the delivery system, the environment, and the lifeblood. This means any contamination spreads at the speed of your water pump.
Over a single growing cycle, a few things happen:
- Mineral Scaling: Nutrients are salts. As water evaporates or is taken up by plants, these salts crystallize on your pumps, air stones, and tubing.
- Bio-films: This is a fancy word for that "slime" you feel on the inside of your reservoir. It’s a colony of bacteria and fungi that protects itself with a sugary coating.
- Algae Growth: If even a tiny bit of light hits your water, algae will grow. Algae isn't just ugly; it competes for oxygen and eventually dies, creating a feast for bad bacteria.

Phase 1: The Pre-Game (Room Sanitation)
Before you even touch your reservoir, you need to clean the room it sits in. If the air is full of dust and spores, your clean system won't stay clean for long.
Start by sweeping and mopping the floors with a diluted bleach solution or a peroxide-based cleaner. Wipe down the walls of your grow tent or the panda film lining your room. Dust often carries powdery mildew spores and spider mite eggs. Getting the environment sterile first ensures that once you open up your irrigation lines, you aren't inviting the "bad guys" back in immediately.
Phase 2: The Tear-Down
You can't clean a system that’s still put together. You need to get into the nooks and crannies.
- Drain Everything: Pump out the remaining nutrient solution. If you have a collapsible water storage tank, make sure to drain it completely using the bottom spigot.
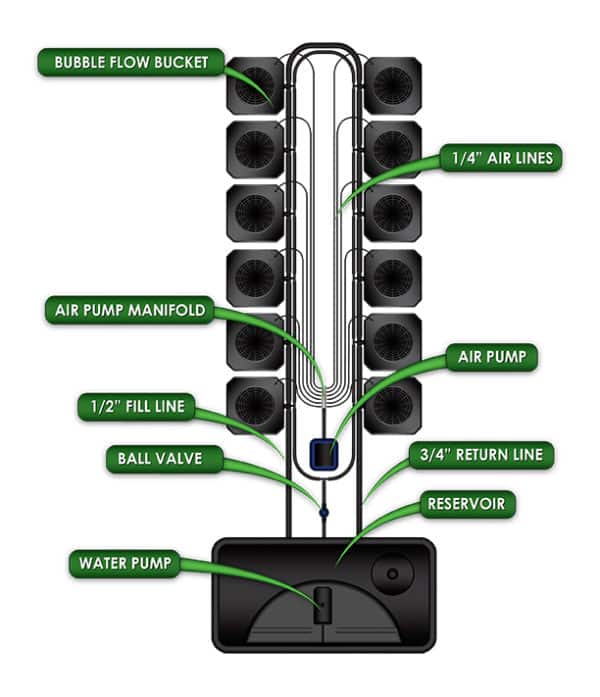
- Disassemble the Plumbing: Disconnect your 1/2" fill lines, 3/4" return lines, and air tubing. If you’re using a complex setup like a Hydroponic Bubble Flow Bucket System, pay close attention to the grommets and T-joints. These are where mineral deposits love to hide.
- Remove the Pumps: Take the covers off your water pumps. You’ll likely find "hair" (actually fine root fibers) wrapped around the impeller.
Phase 3: The Scrub Down
Once the system is apart, it’s time for some elbow grease.
Removing Mineral Deposits:
If you see white, crusty buildup, soap and water won't cut it. You need something acidic to break down the calcium and magnesium salts. White vinegar is a grower's best friend here. Soak your air stones, small fittings, and even your pump impellers in a 50/50 mix of vinegar and water for a few hours. The salts will bubble and dissolve, making them easy to scrub away with an old toothbrush.
Scrubbing Trays and Reservoirs:
Use warm soapy water (unscented dish soap is fine) and a soft brush to scrub the walls of your reservoir and grow trays. Pay attention to the "water line": that’s where the most bacteria usually congregate. If you are using DWC buckets, make sure to scrub the underside of the lids and the net pots thoroughly.

Phase 4: Chemical Sanitization (The Deep Clean)
Scrubbing removes the "bulk," but sanitizing kills the microscopic threats. You have two main choices here: Hydrogen Peroxide or Bleach.
Option A: Hydrogen Peroxide (Highly Recommended)
Food-grade 35% Hydrogen Peroxide (H2O2) is the industry standard for a reason. It kills pathogens on contact and then breaks down into water and oxygen, leaving zero toxic residue.
- How to use: Dilute 35% H2O2 down to about 2–3% for general cleaning. You can soak your tubing and small parts in this solution. For the main reservoir, fill it with water, add the H2O2, and run the pumps for an hour to flush the internal lines.
- Safety Note: 35% H2O2 is extremely concentrated. It will bleach your clothes and cause chemical burns on your skin. Always wear gloves and eye protection.

Option B: Bleach
Bleach is powerful and cheap, but it requires much more rinsing.
- How to use: Use about 1 tablespoon of unscented bleach per gallon of water.
- Caution: Never mix bleach with vinegar or any acid, as it creates toxic chlorine gas. If you used vinegar to remove mineral salts, rinse the components 100% before using a bleach solution.
Phase 5: Cleaning the "Hard Parts" (Tubing and Filters)
Tubing is the hardest part of any hydroponic system to clean. Bio-film builds up inside the walls of 1/4" or 1/2" lines where you can’t reach with a brush.
If your lines are heavily stained or look "brown" inside, the best advice is often to just replace them. Poly tubing is cheap, and the peace of mind is worth the $10. However, if you want to save them, you can use a "tube brush" (similar to a pipe cleaner) or run a high-pressure H2O2 solution through them for an extended period.
Don't forget your filters! If you have inline Y-filters, unscrew the housing, remove the mesh screen, and soak it in H2O2. A clogged filter is the #1 cause of pump failure and uneven nutrient delivery.
Phase 6: Sterilizing Growing Media
If you’re using clay pebbles (LECA), you don't necessarily have to throw them away. To reuse them:
- Sift out all the old root material.
- Wash them in a bucket of water to remove dust.
- Soak them in a strong H2O2 solution or boil them in water for 15 minutes to kill any lingering pathogens.
Note: We generally recommend against trying to reuse rockwool or coco coir, as it’s nearly impossible to fully remove the old organic matter and salt buildup without damaging the structure of the media.
Phase 7: The Final Rinse and Test Run
This is the most skipped step, and it’s the most dangerous one to miss. You must rinse every component with fresh, clean water: ideally twice. Any leftover bleach or high-concentration H2O2 will shock and potentially kill your new seedlings the moment you turn the system on.
After rinsing, reassemble the system and fill it with plain water. Run the pumps for 24 hours. This serves two purposes:
- Leak Check: It’s better to find a loose fitting now than after you’ve added $50 worth of nutrients.
- Residue Flush: It ensures any final traces of cleaning agents are diluted and moved out of the system.
Prevention: Keeping it Clean Until Next Spring
Once your system is pristine, how do you keep it that way?
The best way to prevent algae is to ensure your system is light-proof. Use Black and White Panda Film to cover any areas where light might be leaking into your reservoir or root zone.
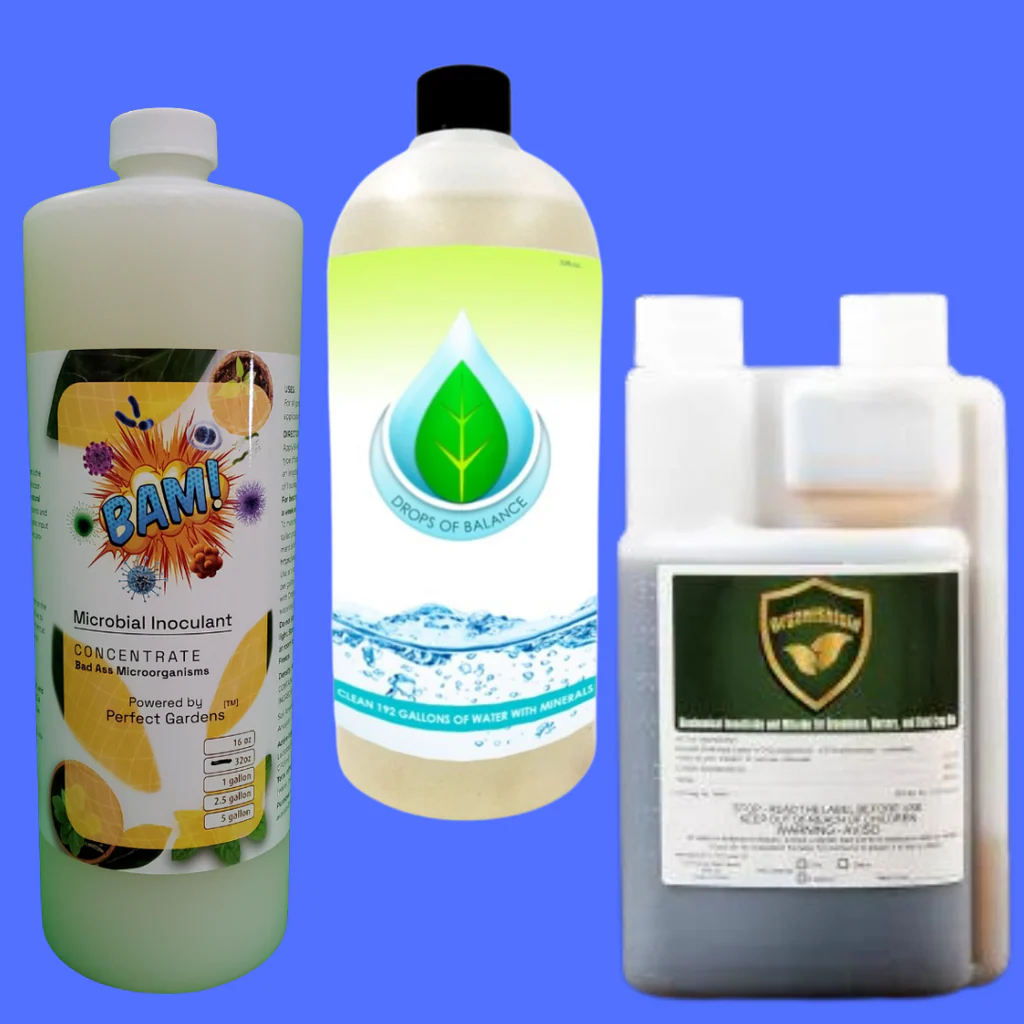
Secondly, consider using a "beneficial" approach rather than a sterile one. By adding beneficial microbes like those found in BAM! Microbial Inoculant, you occupy the "ecological niche" in your water. When the good bacteria are thriving, there’s no room for the bad bacteria to take hold.
If you're looking for more visual guides on keeping your grow room in top shape, check out our Grow Help Videos.
Deep cleaning is a chore, no doubt about it. But that "new system" smell and the sight of bright white roots in a crystal-clear reservoir make it all worth it. Take the time this spring to do it right, and your plants will reward you come harvest time.
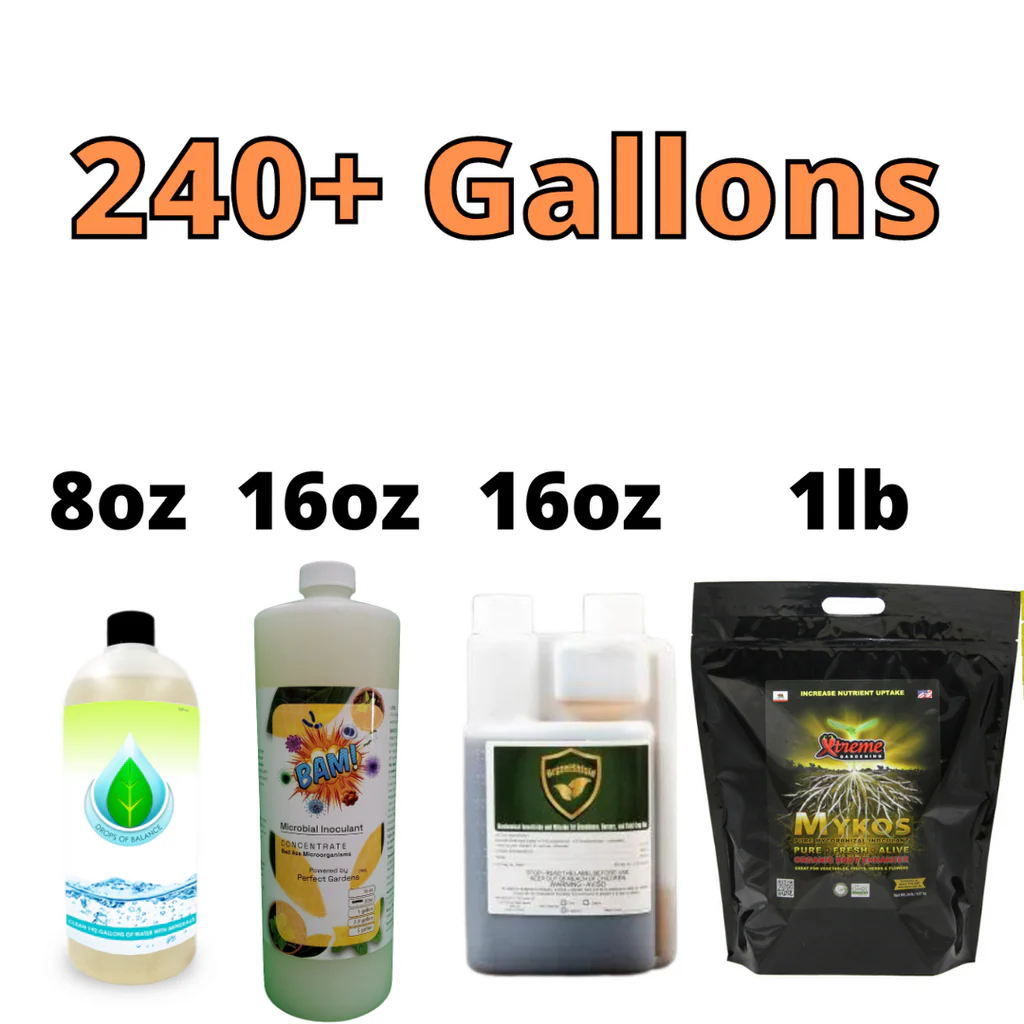
If you need to restock on nutrients or cleaning supplies to get your next cycle started, head over to our Plant Nutrients Packages to make sure you have everything you need for a successful spring run!