Blog
Indoor Gardening Setup: 5 Mistakes Beginners Make in the Spring
Spring is officially in the air. For most of us, that means the "itch" to start growing has become an unbearable scratch. Whether you’re looking to get a head start on your outdoor vegetable garden or you’re diving into a permanent year-round indoor gardening setup, the enthusiasm is usually high, but the technical execution can sometimes lag behind.
The truth is, indoor gardening is a different beast than sticking a seed in the ground in your backyard. You are the weather, you are the sun, and you are the rain. When you take on the role of Mother Nature, there is a lot of room for human error. We see it every year: well-intentioned growers come into the shop or message us online wondering why their seedlings are falling over or why their "perfect" setup is producing yellowing leaves.
If you’re setting up your indoor garden this spring, let’s make sure you don’t fall into the common traps. Here are the five most frequent mistakes beginners make and, more importantly, how you can avoid them.
1. Using the "Wrong" Dirt: Garden Soil vs. Potting Mix
One of the most common mistakes happens before a single seed is even planted. It’s tempting to head out to the backyard with a shovel, fill up some pots, and call it a day. After all, plants grow in dirt, right?
Not exactly. Garden soil is incredibly dense. It’s designed to work in an open-ground environment where worms, insects, and natural weathering keep it aerated. When you put that same soil into a small container for an indoor gardening setup, it compacts. This compaction chokes out oxygen from the roots, leading to stunted growth or total plant failure. Furthermore, backyard soil is often teeming with "hitchhikers": pest larvae and fungal spores that will thrive in the warm, humid environment of your grow room.
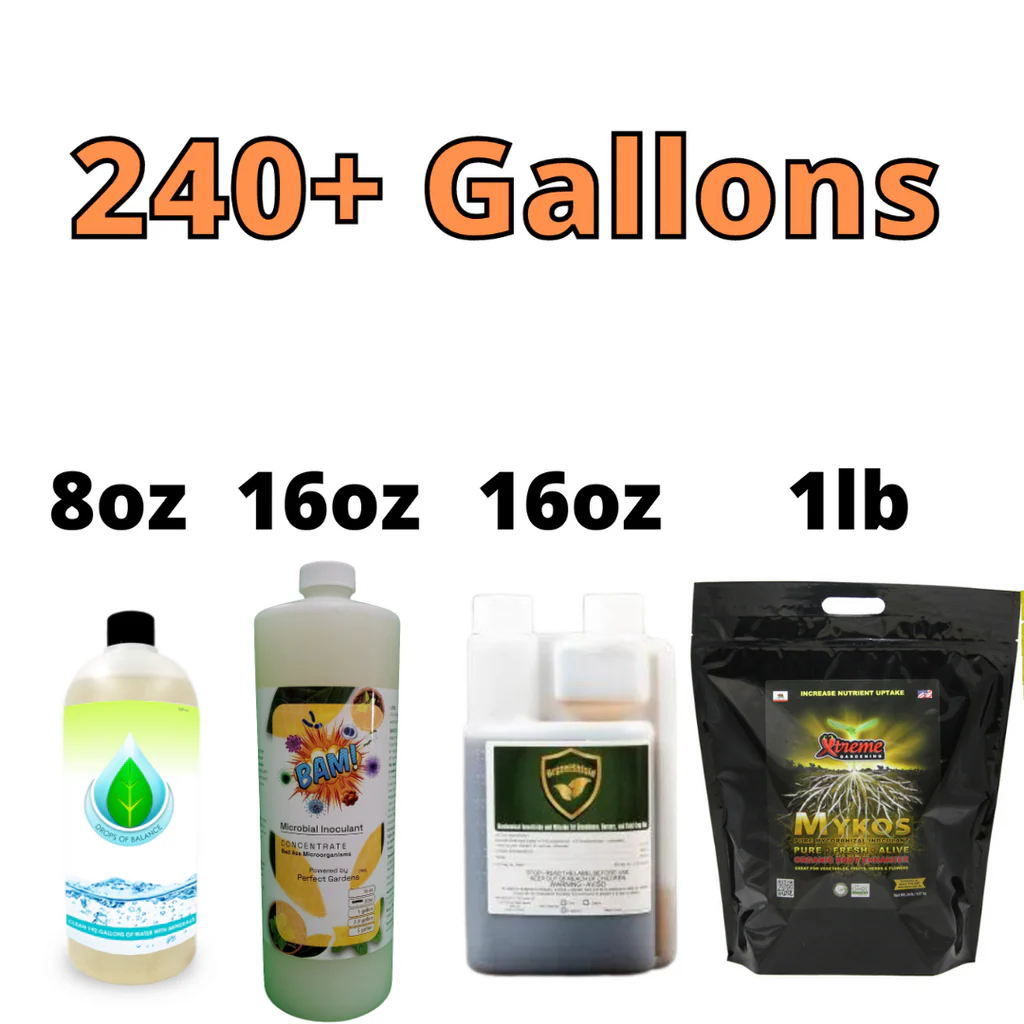
For indoor setups, you need a high-quality potting mix or a soilless medium (like coco coir or peat). These are formulated to provide excellent drainage and aeration. If you want to take it a step further, focusing on the biology of your medium is key. Using something like a Nutrient and Microbial Inoculant Kit ensures that even if your medium is "sterile" to start, you’re introducing the beneficial microbes that help plants process nutrients efficiently.
The fact of the matter is, your plants are only as healthy as their root zones. Starting with a medium that allows roots to breathe is step one.
2. The "Window Sill" Fallacy: Underestimating Light Requirements
We’ve all seen it: a seedling that is six inches tall with only two tiny leaves, leaning desperately toward the glass. This is what we call "leggy" growth. It happens because the plant is literally stretching its neck to find a sufficient light source.
While a south-facing window might seem bright to the human eye, it rarely provides the intensity or the duration of light required for vigorous growth, especially in the early spring when days are still relatively short. If you are serious about your indoor gardening setup, you cannot rely on the sun through a pane of glass.
Seedlings and vegetative plants need high-intensity light to build strong stems. This is where LED lights become your best friend. Modern LEDs provide the full spectrum of light that mimics the sun, but they do it without the massive heat signature of old-school HID bulbs.
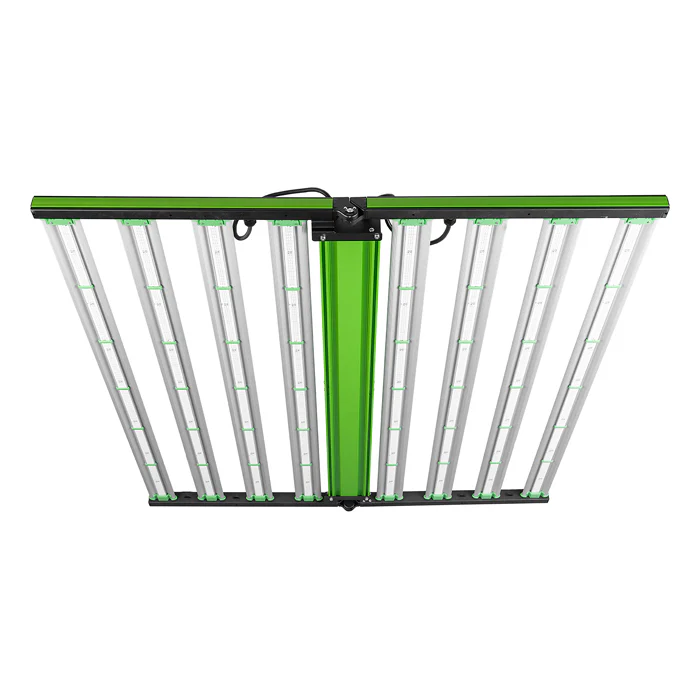
When setting up your lights, height is everything. If the light is too far away, the plants stretch. If it’s too close, you risk light burn. A good rule of thumb is to start your LED a bit higher and lower it gradually, watching how the plants react. If the leaves start curling up at the edges, back it off. If they look like they’re trying to reach the ceiling, bring it closer.
3. Loving Your Plants to Death: Improper Watering
Overwatering is arguably the #1 killer of indoor plants. It’s a natural impulse; you want to care for your new green friends, so you give them water every time you walk by. However, roots need a cycle of wet and dry. Constant moisture leads to a lack of oxygen in the root zone, which invites "damping off": a fungal disease that causes the stem to rot at the soil line: and attracts the dreaded fungus gnat.
On the flip side, letting seedlings completely dry out can be just as fatal. Their root systems are shallow and delicate; once they wilt past a certain point, there’s no coming back.
The secret to a successful indoor gardening setup is consistency, not quantity. This is why many experienced growers move away from hand-watering and toward automated solutions. Systems like the Blumat Automatic Watering System use ceramic sensors to detect exactly how much moisture is in the soil. They only release water when the plant actually needs it, effectively removing human error from the equation.

If you must water by hand, always check the weight of the pot. A dry pot is light; a wet pot is heavy. Don't just look at the surface: stick your finger an inch into the soil. If it feels moist, put the watering can down.
4. Neglecting Drainage and Airflow
If you put a plant in a beautiful ceramic pot that doesn't have a hole in the bottom, you’ve essentially built a grave. Without drainage, water pools at the bottom, the soil turns anaerobic (stinky and oxygen-free), and the roots rot.
Proper drainage is non-negotiable. But drainage isn't just about the hole in the bottom of the pot; it’s also about the "breathability" of the container itself. This is why we are huge fans of fabric raised beds and pots. Fabric containers allow air to reach the root zone from all sides. This leads to "air pruning," where the roots stop growing when they reach the edge of the pot rather than circling around and becoming root-bound.

In addition to drainage, beginners often forget about airflow above the soil. In an indoor environment, stagnant air is an invitation for mold and pests like spider mites. A small oscillating fan in your grow area helps strengthen the plant stems (by mimicking wind) and keeps the humidity from settling on the leaves. It’s a small addition to your setup that prevents massive headaches later.
5. The "Transplant Shock" Trap: Temperature and Acclimatization
If your plan is to eventually move your indoor-started plants outside, you have to be careful about the "Great Outdoors" shock. Beginners often spend weeks pampering their plants in a steady 75°F environment with perfect light, only to move them outside on the first "nice" day of April.
The problem? The sun outside is much more intense than any indoor light, and the wind and temperature fluctuations are brutal to a plant that has lived a sheltered life. This transition requires a process called "hardening off."
You should start by moving your seedling starter trays into a shaded, protected area outside for just an hour or two a day, gradually increasing their exposure to direct sunlight and wind over the course of a week.

It seems like extra work, but skipping this step often results in "sunburned" leaves (white or yellow patches) or plants that simply stop growing for two weeks while they try to recover from the stress.
Putting It All Together
Setting up an indoor garden in the spring is incredibly rewarding, but it requires a bit more than just a "green thumb." It requires a system.
The fact of the matter is, most "bad" growers aren't actually bad at gardening; they just have bad setups. When you provide the right medium, consistent light, measured watering, and proper airflow, the plants basically grow themselves.
If you’re feeling overwhelmed by the choices, we often recommend starting with complete hydroponic systems or pre-configured kits. They take the guesswork out of matching your lights to your tent size or your nutrients to your medium.
Don't let these common mistakes discourage you. Every expert grower has killed their fair share of plants: that's how we learn. By keeping an eye on your soil choice, your light height, and your watering habits, you’re already miles ahead of the average beginner.
Happy growing, and remember: if you run into trouble, there’s always a solution to be found in the Grow Help section of our community. Let's make this spring your most productive season yet!