Blog
Germination Masterclass: Ensuring a 100% Success Rate
Every grower has experienced the frustration of "duds." You spend good money on high-quality seeds, wait five days with bated breath, and... nothing. Whether you are a hobbyist or part of our Army of Growers, achieving a 100% germination rate is the foundation of a successful harvest. If you start with weak seedlings or empty pots, you are playing catch-up for the rest of the season.
Germination is the process of "waking up" a seed from its dormant state. To do this consistently, you have to provide a specific set of environmental triggers: moisture, warmth, and oxygen. When these three factors hit the sweet spot, the seed’s internal enzymes activate, the radical (taproot) emerges, and life begins.
In this masterclass, we will break down the technical steps for the most effective germination methods and how to troubleshoot common issues before they kill your crop.
Pre-Sowing Preparation: The Secret Sauce
Before you even think about putting a seed into a medium, you can significantly increase your success rate by prepping the seed coat. In nature, seeds often sit in cold, damp soil for months, slowly wearing down their outer shell. We don't have that kind of time.
1. The Water Soak and H2O2 Trick
Soaking your seeds in a glass of room-temperature water for 12 to 24 hours is one of the easiest ways to jumpstart the process. It softens the "shell" (the testa), allowing the embryo inside to hydrate faster.
Pro Tip: Add a few drops of 3% hydrogen peroxide (H2O2) to your soaking water. This does two things: it kills any surface pathogens or fungi that might cause "damping off," and it adds an extra molecule of oxygen to the water, which helps stimulate the seed. Do not soak for more than 24 hours, or you risk drowning the embryo.
2. Scarification
For seeds with particularly thick or hard coats, a process called scarification can help. This involves lightly "roughing up" the outside of the seed. You can line a matchbox with sandpaper, put the seeds inside, and shake it gently for 30 seconds. This creates micro-abrasions that allow water to penetrate the seed more effectively.

Method 1: The Paper Towel Method (The "Ziploc" Strategy)
This is perhaps the most popular method for indoor growers because it allows you to see the progress without digging around in the dirt.
Step-by-Step:
- Moisten: Take a thick, high-quality paper towel and dampen it with pH-balanced water (around 6.0–6.5). It should be wet but not dripping.
- Placement: Lay your seeds on one half of the towel, leaving at least an inch of space between them. Fold the other half over the top.
- Seal: Place the folded towel into a plastic Ziploc bag. This traps the humidity, creating a mini-greenhouse effect.
- Heat: Place the bag in a dark, warm spot. A kitchen cabinet above the refrigerator or on top of a heat mat is ideal. Aim for 75-80°F.
- Check: Check daily. As soon as you see a white taproot emerge (the "tail"), it is time to transplant it into your growing medium. Be extremely careful; those taproots are fragile.
Method 2: Rapid Rooters and Plugs (The Professional Choice)
If you want to minimize transplant shock, using starter plugs like Rapid Rooters or Rockwool is the gold standard. These plugs provide the perfect air-to-water ratio, which is where most beginners fail.

Step-by-Step:
- Pre-Soak: If using Rockwool, you must soak it in pH-adjusted water (5.5) for a few hours to stabilize the alkalinity. Rapid Rooters are usually ready to use out of the bag.
- Insert: Place the seed into the pre-drilled hole, about 1/4 to 1/2 inch deep.
- Cover: Pinch a tiny piece of the plug material over the hole to keep the seed in total darkness.
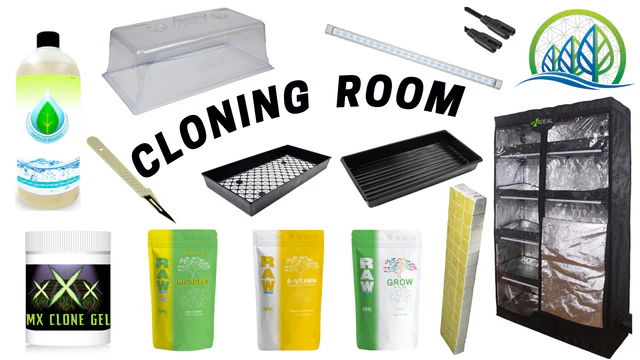
- Tray and Dome: Place your plugs into a seedling tray and cover with a humidity dome.
- Bottom Heat: Use a heat mat. This is the single most important tool for 100% germination in cooler months.
Method 3: Direct Sowing (The Natural Way)
Direct sowing means planting the seed directly into its final home, whether that’s soil or coco coir. This method is preferred by some because it eliminates the risk of breaking the taproot during transplanting.
Step-by-Step:
- Prepare Media: Ensure your media is moist but not saturated. If you are using soil, make sure it isn't "too hot" (too much fertilizer), as this can burn delicate new roots.
- The Hole: Poke a hole 1/2 inch deep. A common mistake is burying seeds too deep: they run out of energy before they hit the surface.
- The Drop: Drop the seed in and lightly cover with loose soil. Do not pack it down; the seedling needs to be able to push through easily.
- Spray: Use a spray bottle to moisten the top layer. Avoid using a heavy watering can, which can wash the seed deeper into the pot.
Environmental Control: The "Make or Break" Factors
You can follow the steps above perfectly, but if your environment is off, your success rate will plummet.
Temperature
The fact of the matter is that seeds are programmed to stay dormant if it’s too cold. If your grow room is 65°F, your seeds might take two weeks to sprout, or they might just rot. You want your "root zone" temperature to be consistently between 75°F and 82°F. This is why we almost always recommend a heat mat for germination.
Humidity and Airflow
Seeds need high humidity (70-80%) to keep the seed coat soft until the plant can break through. However, once the plant has emerged, you must provide airflow. If the air is stagnant and the humidity remains at 90% without a breeze, you risk "Damping Off": a fungal disease that causes the stem to wither and collapse at the soil line.
For a deeper dive into setting up your environment, check out our Grow Help Videos.
Boosting Success with Microbes
One of the best things you can do for a brand-new seedling is to introduce beneficial biology immediately. In the wild, seeds are surrounded by soil microbes that protect them from pathogens. In a sterile indoor environment, we have to add them back in.
We recommend using a microbial kit early on. Products like Mykos (Mycorrhizae) and Azos (Nitrogen-fixing bacteria) can be dusted directly onto the seed or into the planting hole.
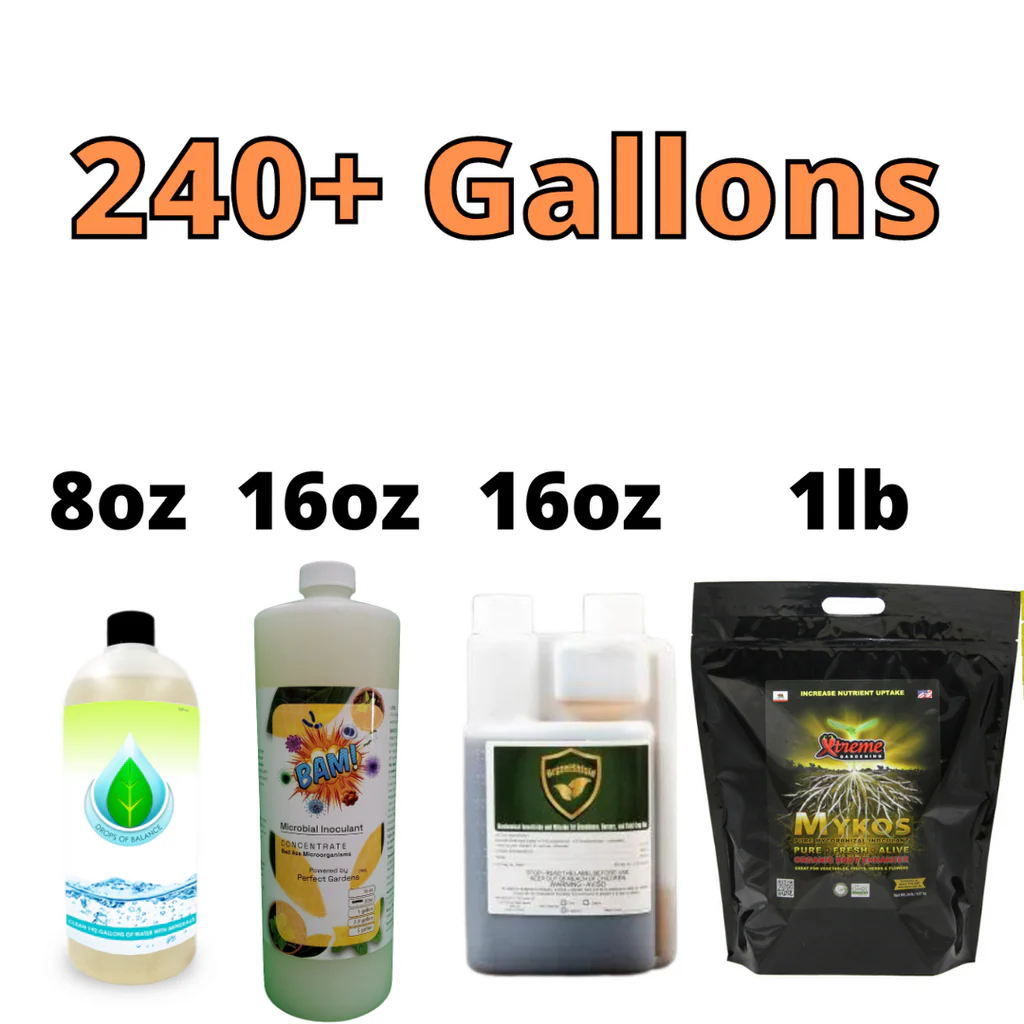
Mycorrhizae create a symbiotic relationship with the roots, effectively extending the root system’s reach, while Azos helps the young plant convert nitrogen into a usable form for rapid early growth. You can find these in our Plant Nutrients Packages.
Common Pitfalls (And How to Avoid Them)
- Overwatering: This is the #1 killer. If the medium is soggy, there is no oxygen. If there is no oxygen, the seed suffocates and rots. Use a spray bottle, not a gallon jug.
- Burying Too Deep: A seed only has a limited amount of stored energy (the cotyledons). If it has to fight through two inches of soil, it will die before it sees the light.
- Checking Too Often: We know it's exciting, but digging up a seed to "see if it's doing anything" usually results in breaking the microscopic root hairs. Be patient.
- Using "Old" Seeds: Seeds are living things. While they can last years if stored in a cool, dark, dry place, their germination percentage drops every year. If you are using old stock, expect lower rates.
Final Thoughts
Achieving a 100% germination rate isn't about magic; it's about consistency. If you provide the right temperature, keep the moisture levels steady, and use high-quality starting plugs, nature will do the rest.
If you're just starting your indoor journey and need the right gear: from LED Lights to Tents: we’ve got you covered. And if you ever run into a problem that this guide didn't cover, don't hesitate to reach out to us through our Contact Page. We're here to make sure your garden is a success from day one.
Happy growing!