Blog
Grow Light Height: Finding the Sweet Spot for KIND LED
When you first unbox a high-end KIND LED grow light, it’s easy to get caught up in the excitement. You’ve got the spectrum, you’ve got the power, and you’re ready to see some explosive growth. But then reality hits: where exactly do you hang the thing?
Hanging your lights is a bit like a "Goldilocks" scenario. Hang them too high, and your plants will stretch, becoming weak and spindly as they reach for the sun that feels too far away. Hang them too low, and you risk light bleaching or heat stress, essentially "sunburning" your hard work. Finding that sweet spot: the perfect distance between your canopy and your diodes: is what separates a hobbyist from a master grower.
In this guide, we’re going to dive into the specifics of KIND LED lights, how to manage height throughout the plant’s life cycle, and why a "set it and forget it" mentality will actually cost you yield in the long run.
Understanding the KIND LED Difference
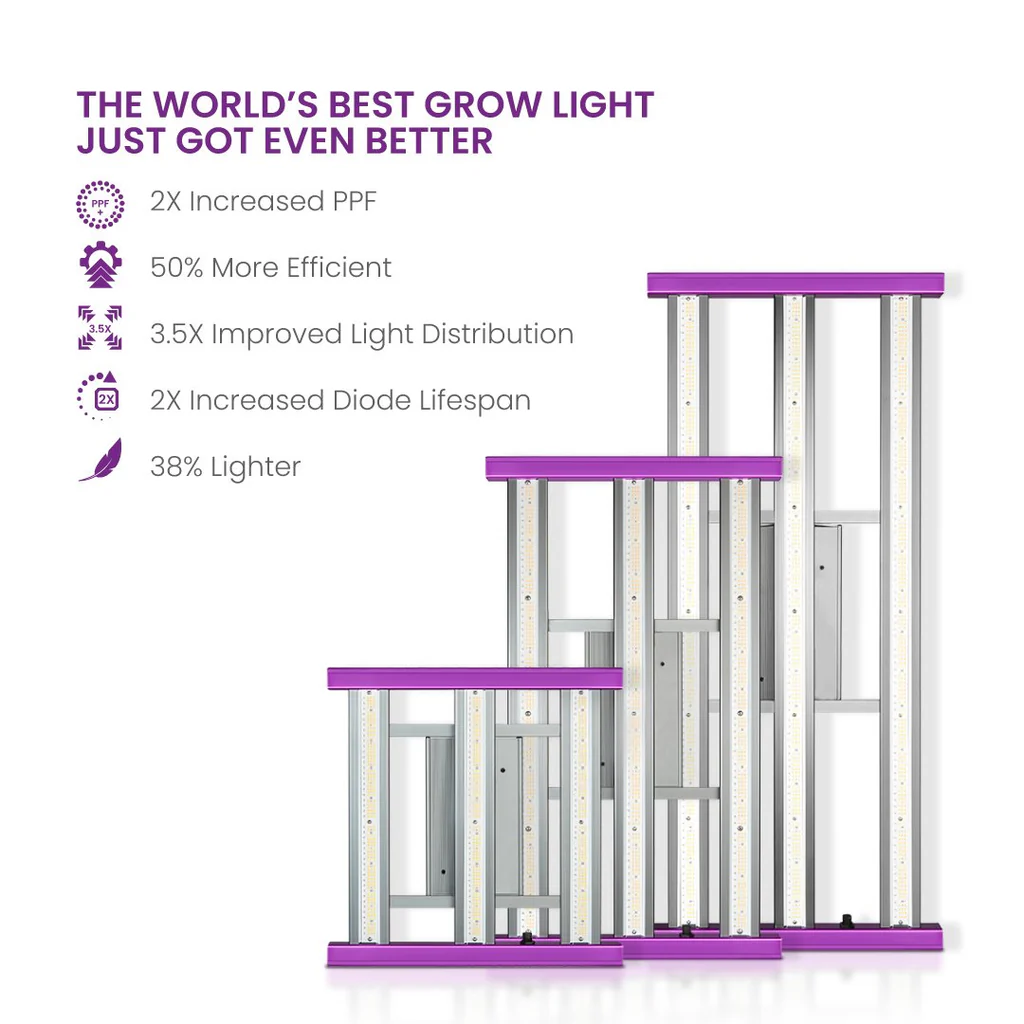
KIND LED isn't just another light on the market; they use a specific configuration of diodes and secondary optical lenses to drive light deeper into the canopy. Because of this intensity, the hanging heights are often different than what you might be used to with cheap "blurple" lights or even standard white-light bars.
The two main lines we often talk about are the K3 and the K5 series. The fact of the matter is, these two series behave very differently because of their internal hardware.
- K3 Series: These typically use 3-watt chips. They are powerful but a bit more forgiving. The sweet spot for these usually falls between 12 and 24 inches above the canopy.
- K5 Series: These are the heavy hitters. They utilize a mix of 3-watt and 5-watt chips and high-intensity secondary lenses. Because they are so powerful, they require more "headroom." You’re looking at a range of 30 to 36 inches for these to ensure the light has enough space to mix and spread before hitting your leaves.
The Acclimation Period: Don't Fry Your Plants on Day One
One of the most common mistakes we see at Perfect Gardens is a grower taking a plant from a low-intensity fluorescent or a cloning rack and sticking it directly under a KIND LED at full power. This is a recipe for disaster.
Your plants need to build up a "tan," so to speak. When introducing KIND LED lights to new plants or clones, you have to prioritize acclimation.
The Golden Rule for New Plants: If you have a K5 series, start by reducing the intensity to 50% power. If you have a light that isn't dimmable, or you just prefer moving the fixture, hang the light 48 inches or higher for the first 3 to 4 days. This gives the plant time to adjust its internal chemistry to handle the high photon count.
After this initial break-in period, you can gradually lower the light by 4–6 inches every couple of days until you reach your target height. If the plants show any signs of "praying" (leaves pointing straight up) or drooping, back off. They are telling you they’ve had enough.
Growth Stage Adjustments: A Moving Target
As your plants move from a tiny seedling to a flowering beast, their light requirements change drastically. You can’t just leave the light at 36 inches and expect a massive harvest. You need to be proactive with your controllers and light hangers.
1. Seedlings and Clones (24–36 Inches)
Seedlings are fragile. Their root systems are still developing, and they can't process a lot of light yet. If the light is too close, the plant will stop growing upward and might even turn a pale yellow.
- Target: Keep your KIND LED high (24-36") or dimmed significantly.
- Focus: Stretching just a little bit is okay here; you want the plant to develop a strong stem.
2. Vegetative Stage (18–24 Inches)
During the veg stage, your plant is building its "engine": the leaves and stalks that will eventually support heavy buds. This is where you start to bring the light closer.
- Target: 18-24 inches is generally the sweet spot for established veg plants.
- Effect: This distance encourages tight internodal spacing (the distance between branches), which leads to a bushier, more productive plant.
3. Flowering Stage (12–18 Inches)
This is the "power phase." During bloom, plants crave photons. They want as much energy as they can get to produce resin and bulk.
- Target: 12-18 inches (for K3) or 24-30 inches (for K5).
- Caution: Monitor the top colas daily. If the tips start turning white or crispy, you've crossed the line.

Reading the Signs: Is Your Light at the Right Height?
While measurements are great, the plants are your best instructors. You need to learn to "read" the leaves.
Signs the light is too close:
- Light Bleaching: The top of the plant starts turning white. This isn't "frost" or resin; it's actually the chlorophyll being destroyed because the light is too intense.
- Leaf Curling/Tacoing: The edges of the leaves will curl upward to try and reduce their surface area exposure to the light.
- Yellowing at the Top: Unlike a nitrogen deficiency (which starts at the bottom), light burn starts at the top, closest to the source.
Signs the light is too far:
- Stretching (Etiolation): If the stems are getting long and "leggy" with huge gaps between leaves, the plant is desperately searching for more light.
- Small Leaves: If the new growth looks puny and the plant seems to have stalled, it might not be getting enough "food" via photosynthesis.
The Technical Side: PPFD and the Inverse Square Law
If you want to move beyond guesswork, you need to understand PPFD (Photosynthetic Photon Flux Density). This is the measure of how many photons are actually hitting a specific area of your plant per second.
When you move a light twice as close to the plant, you aren't just getting double the light: you're getting significantly more because of the Inverse Square Law. This is why even a 2-inch adjustment can make a massive difference in your plant's health.
For those using a PAR meter, here are the target ranges you should aim for with your KIND LED:
- Seedlings: 200–400 μmol/m²/s
- Veg: 400–600 μmol/m²/s
- Flower: 600–1000+ μmol/m²/s (Note: CO2 supplementation is usually required if you go above 1000).
If you’re looking to maximize these numbers without burning your plants, using a tents and film setup with high reflectivity, like Black & White Panda Film, helps bounce that light back into the lower parts of the canopy that are further from the LED.
Environmental Synergy: Heat and Nutrients
It’s important to remember that light height doesn't exist in a vacuum. The closer your light is, the more "metabolic pressure" you put on the plant.
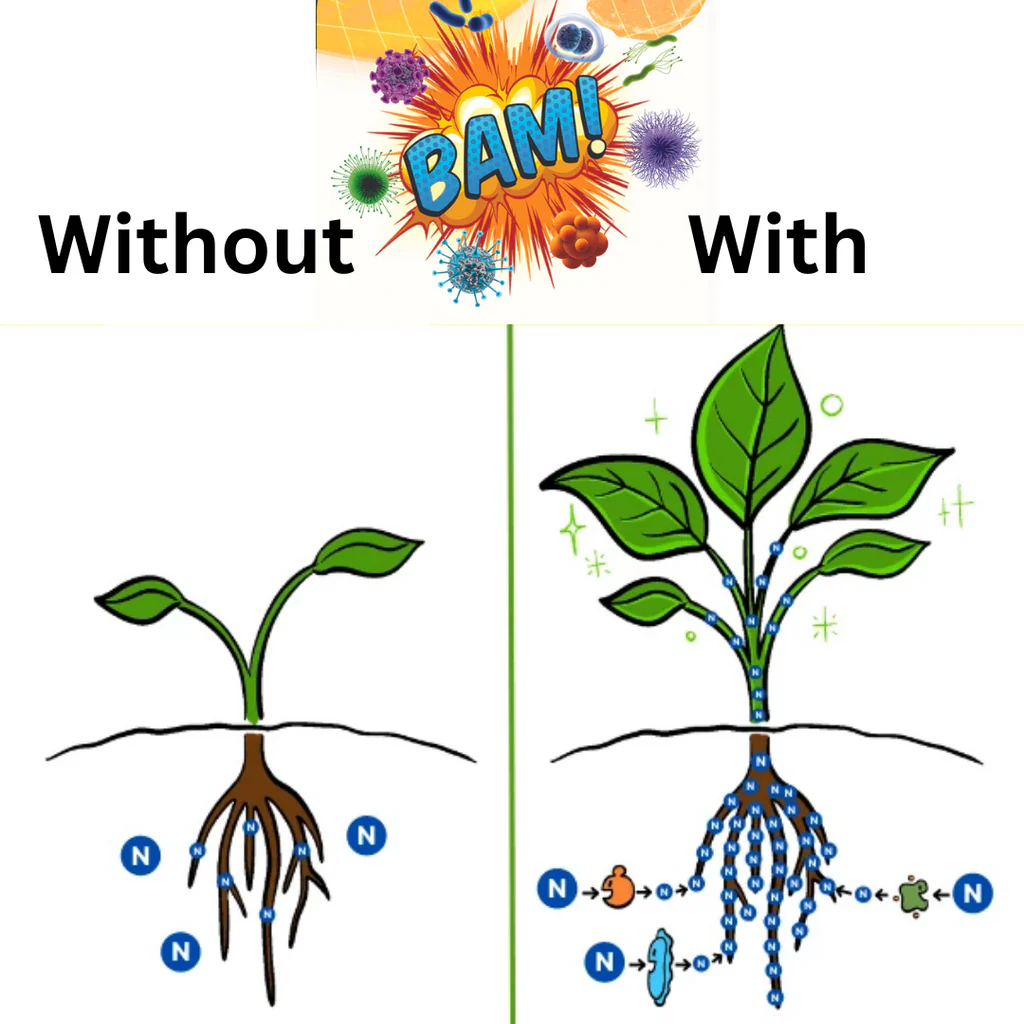
When you lower your KIND LED, the plant's internal temperature rises and its metabolism speeds up. This means the plant will drink more water and require more nutrients. If your light is at the "sweet spot" but your nutrient levels are low, the plant will show deficiencies faster.
Conversely, if your grow room is too hot, having the light at the recommended height might still cause heat stress. Always ensure you have proper extraction kits to move the warm air out and keep the environment stable.
Pro Tip: Stability is Key
As your plants grow toward the light, the distance decreases every day. In a fast-growing vegetative stage, a plant can grow an inch or more in 24 hours. If you don't adjust your light height daily, that "sweet spot" will quickly become a "burn zone."
We recommend checking your hanging height every single morning. Use a simple tape measure or even a piece of string cut to the target length and hang it from your light fixture. It’s a low-tech solution to a high-tech problem, but it works every time.
Summary
Finding the sweet spot for your KIND LED isn't a one-time task; it's an ongoing conversation between you and your plants. Start high and bright, acclimate slowly, and adjust as they grow. By following the 12-24" (K3) and 30-36" (K5) guidelines, you're setting yourself up for a harvest that isn't just large, but high-quality and resin-rich.
If you're still feeling unsure about your setup or need help dialing in your hydroponics system, don't hesitate to check out our Grow Help section. We’ve seen every setup imaginable, and we’re here to help you get the most out of your gear. Happy growing!