Blog
Spring Prep: Getting Your Indoor Garden Ready for the Season
When most people think of spring gardening, they picture muddy boots, tilling soil, and checking the frost dates for their backyard plots. But for those of us in the indoor growing community, spring is just as significant a milestone. Whether you are running a high-tech hydroponic setup or a simple grow tent in the spare bedroom, the shift in seasons is the perfect reminder to hit the reset button, perform some much-needed maintenance, and get your next cycle off to a flying start.
Hey everyone, Mark here. At Perfect Gardens, we see a lot of growers get caught off guard by equipment failure or pest outbreaks right when they are trying to kick off their biggest spring harvests. The fact of the matter is, a little bit of prep work now saves you a massive headache: and potentially a lost crop: later down the road.
The Deep Clean: Sanitizing Your Space
The very first thing you should do when prepping for the new season is a total deep clean. I’m not just talking about sweeping the floor; I’m talking about a full-scale sanitization of your environment. Over a few months of growing, salts build up, dust settles on your equipment, and microscopic pathogens can hide in the corners of your tent.
Start by wiping down the walls of your grow room or the reflective surfaces of your tent. A diluted solution of hydrogen peroxide or a specialized garden cleaner works wonders. This isn't just about looks; it’s about light reflectivity. Dust on your tent walls actually absorbs light that should be bouncing back onto your plants.
Cleaning Your Irrigation Lines
If you’re running a hydroponic system, cleaning your lines is non-negotiable. Mineral deposits from nutrients and organic "biofilm" can clog emitters and create breeding grounds for root rot.
- Flush the system: Run a cleaning solution through your pumps and lines for at least 24 hours.
- Scrub the reservoir: Use a soft brush to remove any scale or algae from the bottom of your tanks.
- Check for leaks: While the system is running, inspect every T-junction and valve.
For those using a Grow1 collapsible water storage tank, take a moment to empty it completely, scrub the interior, and ensure the spigot is clear of debris. It’s much easier to fix a slow leak now than when you have 50 gallons of nutrient solution on your floor.

Equipment Check: Lights, Timers, and Ventilation
Your equipment has likely been working hard all winter. Spring prep is the time to make sure your hardware is still performing at peak efficiency.
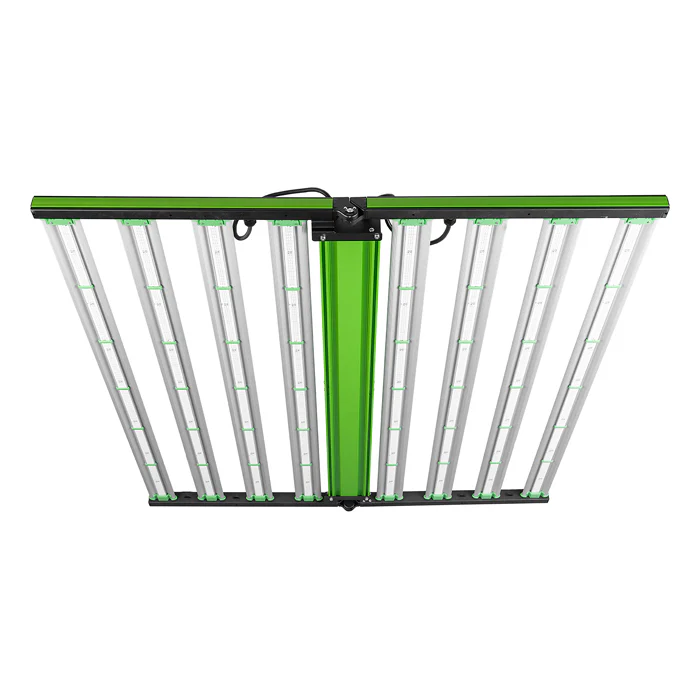
Grow Lights
Take a close look at your LED fixtures. Dust buildup on the diodes or the heat sinks can cause the light to run hotter than it should, which reduces the lifespan of the unit. Use a can of compressed air or a soft, dry microfiber cloth to gently clean the diodes.
If you’ve noticed your yields dipping, it might be time to upgrade your light intensity. High-quality fixtures like the Kind LED X420 are designed for long-term durability, but even the best lights benefit from a quick inspection of the power cords and mounting hardware.
Timers and Controllers
It’s a common pitfall to assume your timers are always accurate. Mechanical timers can sometimes get "stuck" or drift over time. Double-check your light cycles. If you’re using a mechanical timer 6-pack, ensure the pins are set correctly and that the manual override hasn't been accidentally flipped.
Refreshing Your Growing Medium
If you are a soil grower, your plants have likely exhausted the nutrients in their pots over the winter. Research shows that for established container plants, you should refresh the soil every 1 to 2 years.
The 2-Inch Rule: You don't always have to repot the whole plant. Sometimes, you can simply remove the top 2 to 3 inches of old, crusty soil and replace it with fresh potting mix, worm castings, or high-quality organic compost. This "top-dressing" provides a fresh boost of microbes and nutrients just as the plants enter their spring growth spurt.
Drainage Check: Ensure your soil hasn't become too compacted. If the water is sitting on top of the soil for a long time before soaking in, you might need to poke some holes in the medium or add perlite to improve aeration.
For those growing specific crops like tomatoes or peppers repeatedly in the same containers, it is usually safer to replace the entire soil batch each season. This drastically reduces the risk of soil-borne pests like fungus gnats or diseases that may have overwintered in the medium.

Starting Seeds: Propagation Tips for Spring
Spring prep usually means one thing: babies. Whether you’re starting veggies for an outdoor transition or launching a new indoor flower cycle, your propagation game needs to be on point.
The Right Start
Don't just throw seeds into old garden soil. Use a dedicated seed-starting mix or Cultilene Rockwool cubes. These provide the perfect air-to-water ratio that tiny, fragile roots need to thrive.
Using plastic seedling starter trays allows you to organize your varieties efficiently.
Caution: Always label your seeds immediately! It seems like you’ll remember which tray is the "Super Hots" and which is the "Sweet Bell Peppers," but two weeks later, they all look identical. Use a permanent marker on a plastic stake; printed labels often peel off in high-humidity environments.

Managing Environment
Your seedlings need warmth. If your grow room is still a bit chilly from the winter, a heating mat can make the difference between 50% germination and 95% germination. Keep your humidity high using a dome until the first set of true leaves appear, then gradually vent the dome to "harden" them off to the room's ambient humidity.
Automating for the Busy Season
As spring progresses, life usually gets busier. This is the best time to look into automation so you aren't tethered to your garden every single day.
If you find yourself constantly forgetting to water, consider a gravity-fed or automated system. The Blumat Automatic Watering System is a favorite because it doesn't require electricity; it uses ceramic sensors to deliver water only when the soil is dry. It’s a "set it and forget it" solution that works perfectly for both soil and coco coir.

Final Thoughts and "To-Do" Checklist
Getting your indoor garden ready for spring isn't about one big task; it’s about a dozen small ones that add up to a successful harvest. It seems more like a chore at first, but once you see those first healthy sprouts popping up in a clean, bright, and calibrated room, you’ll be glad you did the work.
Your Spring Prep Checklist:
- Sterilize: Wipe down tent walls, trays, and reservoirs.
- Flush: Run a cleaning agent through all irrigation lines and pumps.
- Dust: Clean your LED diodes and check all electrical connections.
- Test: Ensure your timers and pH pens are calibrated and working.
- Refresh: Top-dress soil or replace old media with fresh potting mix.
- Organize: Get your seeds, trays, and labels ready for propagation.
If you ever feel overwhelmed or aren't sure why your previous season didn't go as planned, don't hesitate to reach out. We offer grow room consulting to help you dial in the specifics of your environment.
The fact of the matter is, every garden is different. What works for a basement in Denver might not work for a garage in Florida. But the basics of cleanliness and equipment maintenance are universal. Happy growing, and let’s make this spring season the most productive one yet!