Blog
The Essential Guide to Microbial Inoculants for Indoor Growth
Interactive Tip: As you read through this guide, hover over the sections to identify which microbial "superpower" your current grow setup might be missing. Whether you are a soil purist or a hydroponic enthusiast, understanding the microscopic world beneath the surface is the fastest way to increase your harvest quality.
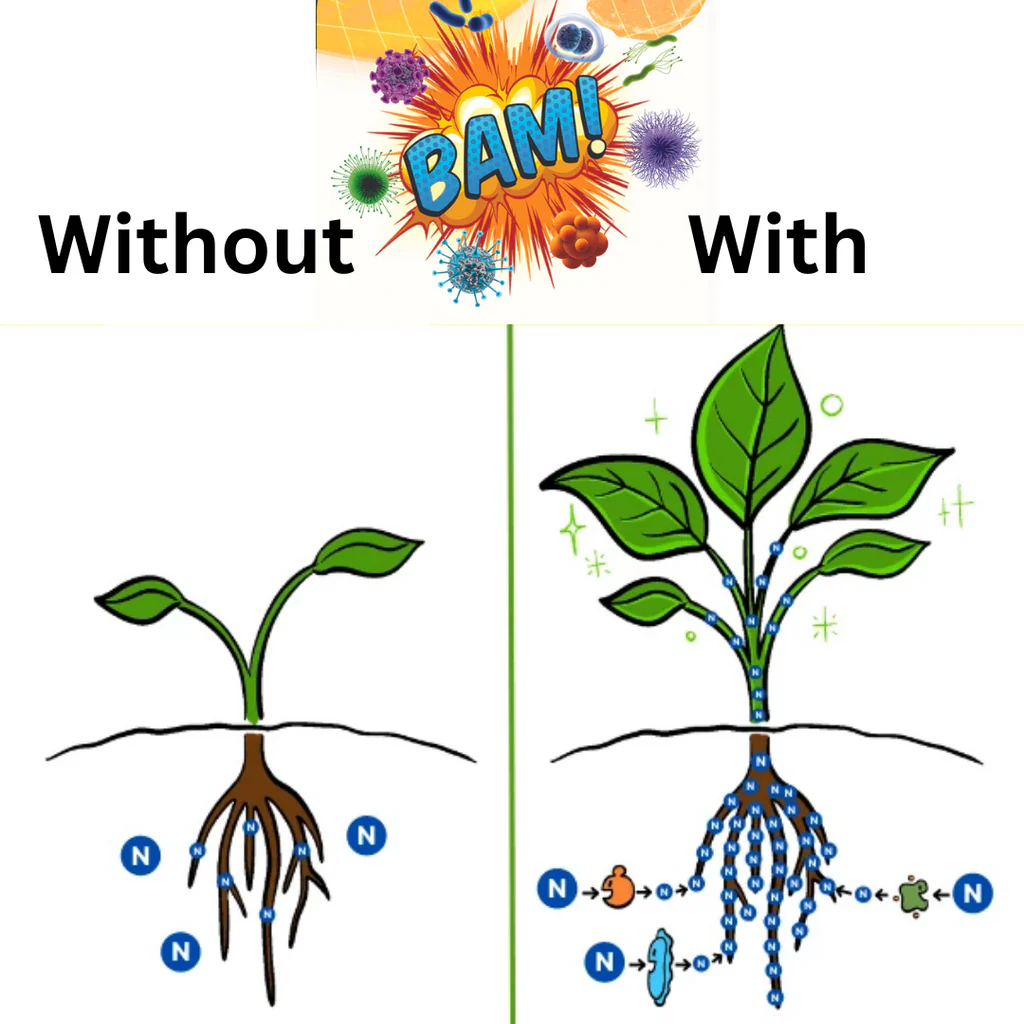
When we grow plants indoors, we are essentially playing God. We control the light, the wind, the temperature, and the food. However, in our quest for a "clean" grow room, many of us accidentally create a sterile environment that lacks the biological complexity of Mother Nature. In the wild, plants have spent millions of years evolving alongside a massive network of fungi and bacteria.
The fact of the matter is that without these tiny helpers, your plants are working twice as hard for half the results. This is where microbial inoculants come into play. They aren't just "supplements"; they are the workforce that bridges the gap between the nutrients in your medium and the roots of your plants.
Why Indoor Plants Are "Starving" in Plain Sight
You might be feeding your plants the most expensive nutrient line on the market, but if your medium is biologically dead, your plants might still suffer from nutrient lockout or slow growth. Indoor mediums, especially coco coir, rockwool, and even some bagged potting soils, often lack the diverse microbial ecosystems found in natural topsoil.
Microbial inoculants introduce beneficial bacteria and fungi that perform several critical roles:
- Nutrient Cycling: Breaking down complex organic matter into "chelated" forms that plants can actually eat.
- Root Expansion: Fungi like Mycorrhizae physically extend the surface area of the root system.
- Pathogen Defense: Beneficial microbes occupy the "real estate" around the roots, leaving no room for harmful pathogens like Pythium (root rot) to take hold.
- Stress Tolerance: They help plants handle fluctuations in pH and temperature more effectively.
The Heavy Hitters: Mycorrhizae and Nitrogen-Fixers
Not all microbes do the same job. When you're looking at products, you’ll generally see two main types of biologicals: Mycorrhizal Fungi and Beneficial Bacteria.
1. Mycorrhizae (The Root Builders)
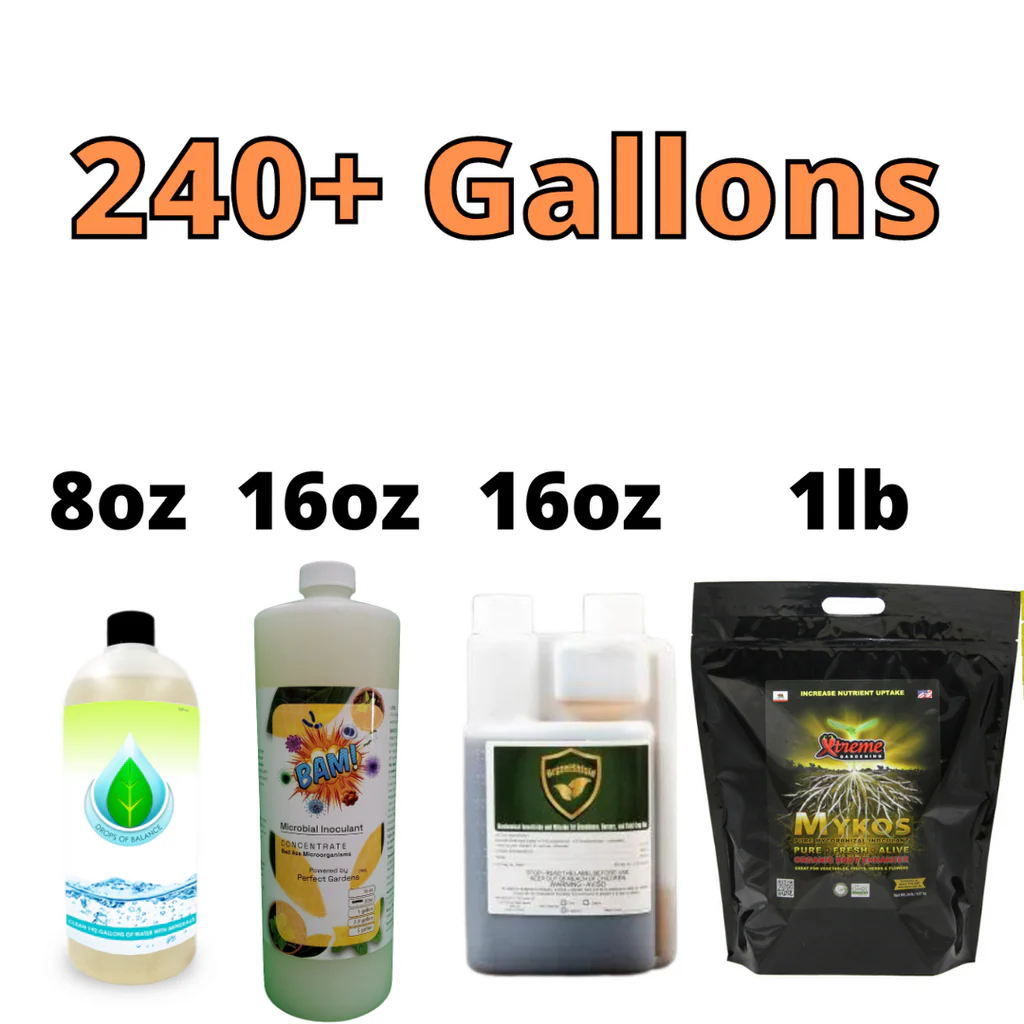
Think of Mycorrhizae as the "Internet" of the soil. These fungi attach themselves to the roots and grow out into the medium, effectively increasing the root's reach by up to 100 times. They are particularly skilled at hunting down phosphorus and micronutrients. For indoor growers, products like Xtreme Gardening Mykos are the gold standard. Since Mykos is a pure mycorrhizal inoculant, it’s specifically designed to boost root mass and reduce transplant shock.
2. Beneficial Bacteria (The Nutrient Chefs)
While fungi build the infrastructure, bacteria do the heavy lifting of chemical conversion. Nitrogen-fixing bacteria, such as those found in Xtreme Gardening Azos, take nitrogen from the environment and convert it into a form the plant can use immediately. This is especially vital during the vegetative stage when nitrogen demand is at its peak.
 Visualizing the Micro-Universe: A microscopic view of beneficial bacteria colonizing a root hair, creating a protective bio-shield.
How to Apply Inoculants in Different Systems
One of the biggest misconceptions we see at Perfect Gardens is the idea that microbes are only for soil growers. That couldn't be further from the truth. While the application varies, every system benefits from a biological boost.
In Soil and Coco Coir
This is the easiest environment for microbes to thrive.
- Transplanting: This is the "Golden Hour" for inoculation. When you move a plant to a larger pot, sprinkle your granules (like Mykos) directly onto the root ball and into the new hole. Direct contact is mandatory.
- Soil Drench: For established plants, you can mix a soluble inoculant like BAM! (Beneficial Agricultural Microbes) into your water. This ensures the entire medium is populated.
- The Injection Method: If you feel your soil has become compacted or "dead" mid-cycle, you can poke several small holes into the medium and pour your microbial solution directly into those channels to reach the root zone.
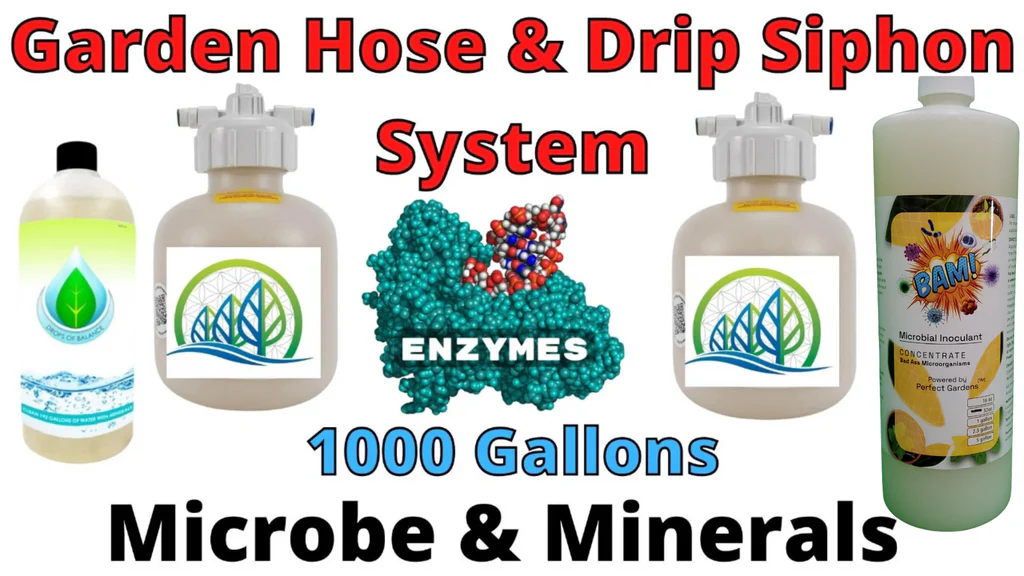
In Hydroponics and Rockwool
Hydroponic systems are notoriously sterile, which makes them vulnerable. If a "bad" bacteria gets into a sterile reservoir, it spreads like wildfire.
- Rockwool Cubes: When moving a seedling to a larger rockwool block, add a small amount of microbial granules to the hole.
- Reservoir Maintenance: Use a liquid inoculant like BAM! in your reservoir. However, be cautious: microbes are living organisms. If your reservoir temp gets too high (above 75°F), you might encourage the wrong kind of growth.
- The Siphon System: For larger setups, using a Garden Hose & Drip Siphon System allows you to inject microbes and minerals into your lines efficiently, treating up to 1,000 gallons with ease.
Crucial Success Factors: Don't Kill Your Helpers!
It’s easy to buy a bag of microbes, but it’s even easier to accidentally kill them before they can do their job. Here is what you need to keep in mind:
1. Beware of Chlorine and Chloramine Most municipal tap water is treated with chlorine or chloramine to kill bacteria. Guess what? It doesn't distinguish between "bad" bacteria and the expensive "good" bacteria you just bought. If you are using tap water, let it sit out for 24 hours to off-gas chlorine, or use a filter. If your city uses chloramine, you will need a specific filter or a neutralizer like Drops of Balance.
2. Moisture is Life Microbes need a moist environment to colonize. If you apply an inoculant and then let your pots bone-dry for three days, you’ve likely killed off a significant portion of the population. Maintain a consistent moisture level of about 60-70% for at least two weeks after application.
3. Watch the Synthetic Salts High concentrations of synthetic fertilizers can "burn" microbes. If you are running a very high EC (Electrical Conductivity), the salt levels can dehydrate the microbial cells. It is often better to use a slightly lower nutrient dose when working with a heavy microbial program, the microbes will make the nutrients more efficient anyway!
Scaling Up: Seedlings and Clones
The earlier you start, the better the results. We highly recommend inoculating during the cloning stage. Using an Aeroponic Cloning System or simple Seedling Starter Trays gives you the perfect controlled environment to introduce beneficial biology.
When your cuttings first begin to "callus" and push out those tiny white nubs, that is the perfect time for them to meet their microbial partners. By the time they move into your main grow tent, they will already have a robust "immune system" ready to handle the stress of high-intensity LED lights.
Summary: The Perfect Microbial Routine
If you want to keep things simple, here is the "Perfect Gardens" baseline for using microbial inoculants:
- Seed/Clone Stage: Dust your rooting cubes or plugs with Mykos.
- Vegetative Stage: Apply Azos to boost nitrogen uptake and BAM! once a week to maintain a diverse bacterial population.
- Transplant: Always apply granules directly to the roots.
- Flowering Stage: Continue with BAM! to help the plant process the heavy phosphorus and potassium loads required for big yields.
- Troubleshooting: If you see signs of stress, check our Grow Help Videos for specific biological "reset" strategies.
The fact of the matter is that microbial inoculants are the closest thing to an "insurance policy" for your garden. They protect against mistakes, maximize your nutrient investment, and ultimately lead to a cleaner, more potent harvest.
If you're not sure which microbes are right for your specific setup: whether you're running a massive warehouse or a small 2x2 tent: don't hesitate to Contact Us. We’ve helped thousands of growers in our Army of Growers community dial in their biology, and we’re here to do the same for you.
Happy growing, and keep that soil alive!